*Battery Station*
By Jaden
11 January 2004
A couple months ago we started stocking up on rechargeable batteries. Found a good charger at Home Depot. I was looking for a place to put a battery center so that the batteries wouldn’t get scattered about. Also a place for charging…preferably some place where I could plug into the inverter.
I tested my charger with the inverter. Plugged it in, slapped in a couple of AA batteries. They charged without a problem. So I know I have a way to charge them w/o grid power and w/o running the generator.
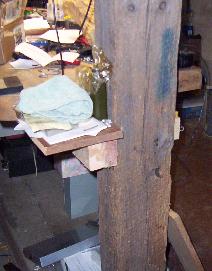
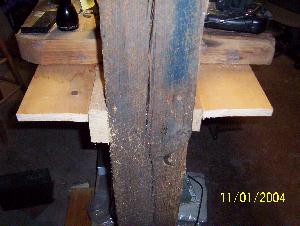
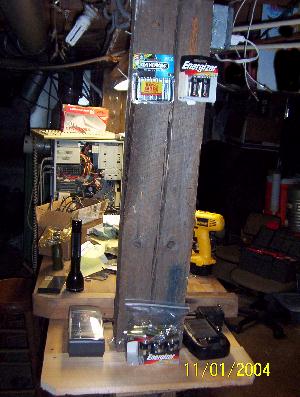
Today I accidently found the perfect spot for a shelf…right on the end of my workbench. I figured I could wrap a shelf right around this post.
I used some boards that were salvaged from a stair demolition project. Nothing wrong with the stair steps…they were just too narrow.
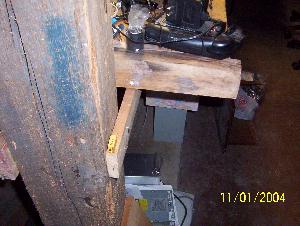
I ran a board underneath the workbench and screwed it to the bottom. Got to use my NEW DeWalt I got for Christmas.

I love this drill
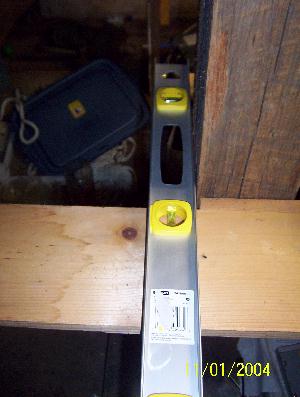
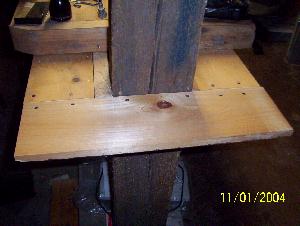
Here’s the board screwed to the bottom of the bench. It runs to the edge of the post. I used my level for straight edge and penciled a line to make the cut even. Then I used a handsaw and cut the remainder off.
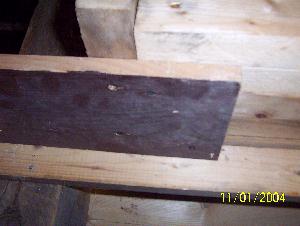
The remainder was used on the other side of the workbench.
The 2 sides
Next I screwed a piece of 2x4 to the end to help support an end piece. Then the end piece was screwed to the 2x4 and I used a couple more small pieces of wood to join the 2 sidepieces to the end piece.
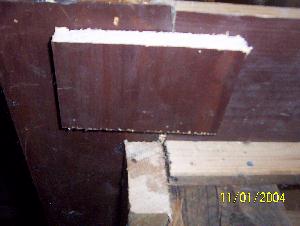
Screw thru the shelf and into the support pieces
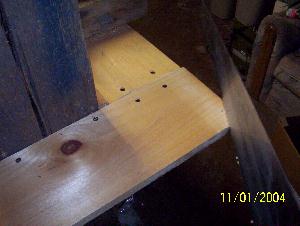
Ok, its there, pretty rugged at this point.
Thar she is. Still one problem though
Notice them unfriendly corners…. They gotta go. They’re at gut level and since this is near the walkway I don’t need one poking me.
Cutting off the corners with a handsaw
Then I loaded the shelf. It holds the AA, AAA, 9V, C & D cell battery charger. Also is the new home for my portable radio charger and all the batteries…soon as we find ‘em all.
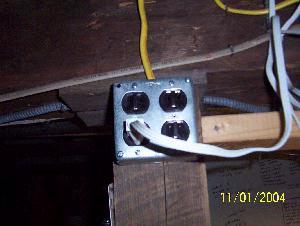
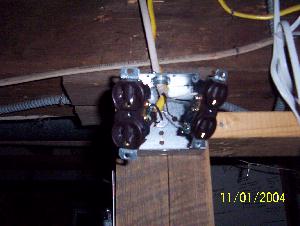
There is a double outlet above the shelf. Both outlets were powered from the grid. Tonight I took it apart and rewired it. Now the one on the right is on the inverter.
Jaden
www.alpharubicon.com
All materials at this site not otherwise credited are Copyright (c) 1996-2004 Trip Williams. All rights reserved. May be reproduced for personal use only. Use of any material contained herein is subject to stated terms or written permission.