*Carburetor Rebuild on a Briggs and Stratton Engine*
By: Lou832
21 September 2011
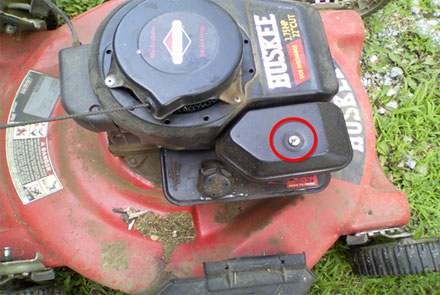
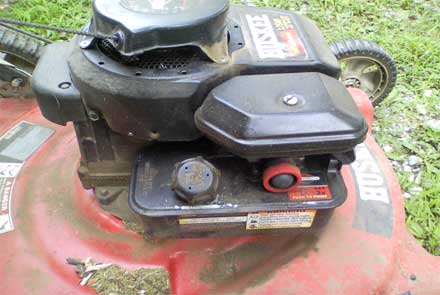
If you have a lawn mower with a Briggs and Stratton engine, odds are that you have one of these models with the primer ball on the side of the carb, and the carb is attached to the tank. These models also have the distinctive air cleaner on top of the carb (note rectangular air cleaner with point on one end)...
Also, unfortunately, you may have already dealt with these engines developing an intake leak on the diaphragm between the carb and the gas tank. When this happens the mower typically will barely run, lacks power and chugs and surges. If taken in to a small engine repair facility you could expect to pay anywhere from 25 to 100 dollars (depending upon the honesty of the technician and establishment) to have the "carb rebuilt".
This particular engine has a ridiculously simple carb set up, and the only thing involved in "rebuilding the carb" is taking two bolts out of the tank mounting bracket, 5 phillips head screws and changing a 3.00 diaphragm that is available at any small engine parts facility.
Step 1:
Remove the air cleaner using a flat head screw driver...
Step 2:
Remove the two bolts holding the tank onto the engine...
*note that there is a spacer behind this bolt. Make sure you don't lose track of it.
Step 3:
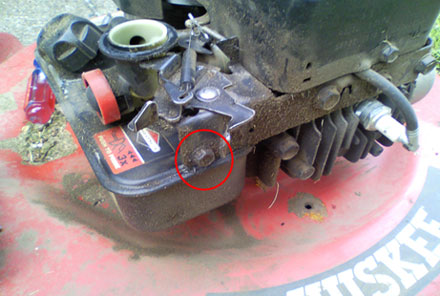
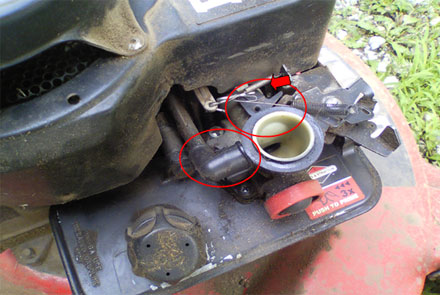
Disconnect the linkage and rubber elbow. Then separate the tank/carb from the engine. Note that you will only have to disconnect the linkage in one place. (no springs and such... *red arrow below)...
Step 4:
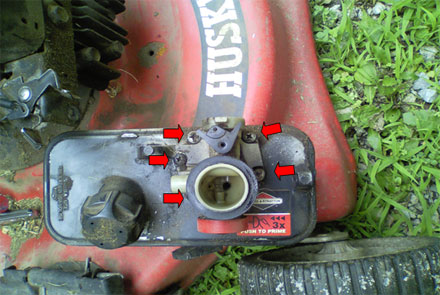
Remove 5 phillips head screws that hold the carb on the tank...
Step 5:
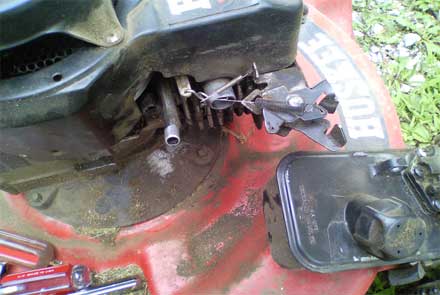
Separate the carb from the tank. Note that there is a spring. It isn't under a terrific amount of tension, and shouldn't fly away, but make sure you don't lose it, and take note of where it belongs. Inspect the metal screens on the carb for debris. If there is any present clean it off. I use brake cleaner and a clean cloth...
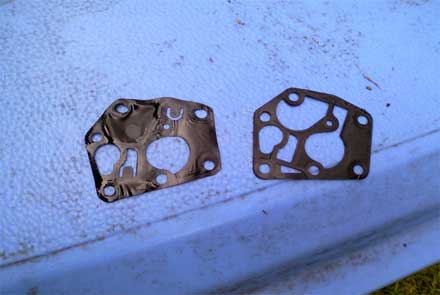
With the carb and tank separated you should be able to remove the diaphragm. It is a two piece unit, so make sure to note how it comes off so that you can put the new one on in the same direction...
*Now may also be a good time to change the oil in the mower, and inspect the blade.
Step 6:
Reassemble in reverse order.
Now, you can sit back and gloat to the spouse that you just saved $X.XX dollars, and it only took you 10 to 15 minutes.
Lou832
www.alpharubicon.com
All materials at this site not otherwise credited are Copyright © 1996 - 2011 Trip Williams. All rights reserved. May be reproduced for personal use only. Use of any material contained herein is subject to stated terms or written permission.