*Brake Line Repair*
By: Roto
10 February 2013
Preamble: This is the first time ever I had to make my own brake hard line. I had to replace it at night in pouring rain. The level of skill involved to do this is about the same as replacing a rubber brake hose. Take your time, brakes aren't the component that you should rush, but this is far from rocket science. It helps when you can take the old line off and make a new one on the bench line I did, but it's not necessary at all.
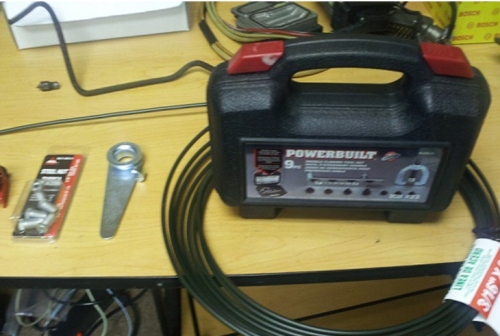
Tools required for making a new line: tubing cutter, flaring tool set, tubing bender.
Tool required for removal and installation in most cases: flare nut wrenches of appropriate sizes for your vehicle, possibly screwdrivers, vice grip and hammer (and whatever else is your favorite inappropriate tool for this job).
Supplies: a length of brake tube of appropriate diameter (determined by the fittings you have to use), correct fittings. Most parts stores will have pre-made lengths of tube with fittings on them and will not have the coil of the tube available for normal customers. Fear not - ask the guy responsible for the parts that are delivered to local mechanics. The commercial side of the store will have what you need most likely. I found that even with buying the tools (not the flare nut set, I borrowed that), the tube coil and fittings I was only $5 more that a pre-made line...and I had 20' of tubing left and 4 more fittings, plus a brand new skill.
The process:
- Remove old brake line. In my case this is the rear line going from the brake cylinder in the rear of my van to the soft hose that connects the body hard line to the axle hard line. Use a flare nut wrench to undo the line. Most likely if the line is old and rusty you'll twist the fittings with the line effectively destroying it. Usually this is the cause of this repair.
- Take the old line with you if it's short enough to use as a template.
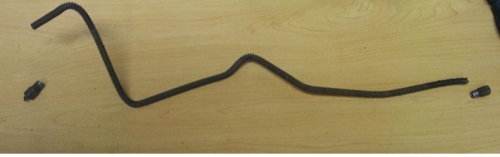
- measure the length of the old line. Don't unbend it as you will a. break it and b. will not have a template to work against. Just measure all the segments and add them up or use a string and a tape measure. Whatever way you know and trust.
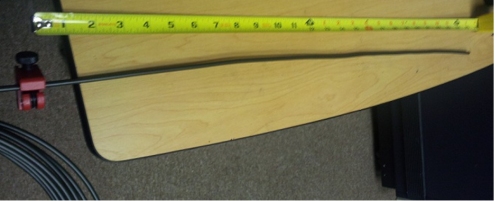
- Straighten the tubing carefully and cut the required length.
- Put both fittings on the line. You could first flare one end and then put the fittings on, but if you forget it'll feel really silly to cut off a fresh flare. A little electrical tape will keep them from falling off.

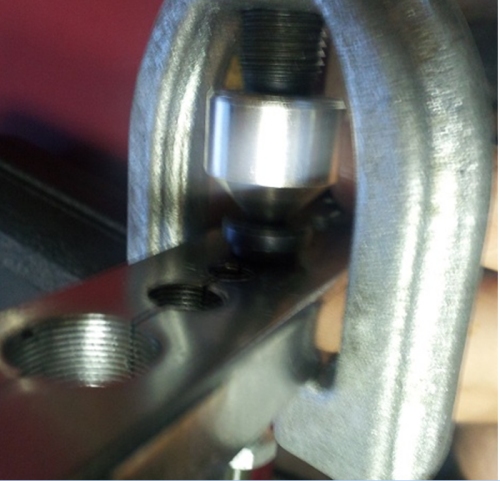
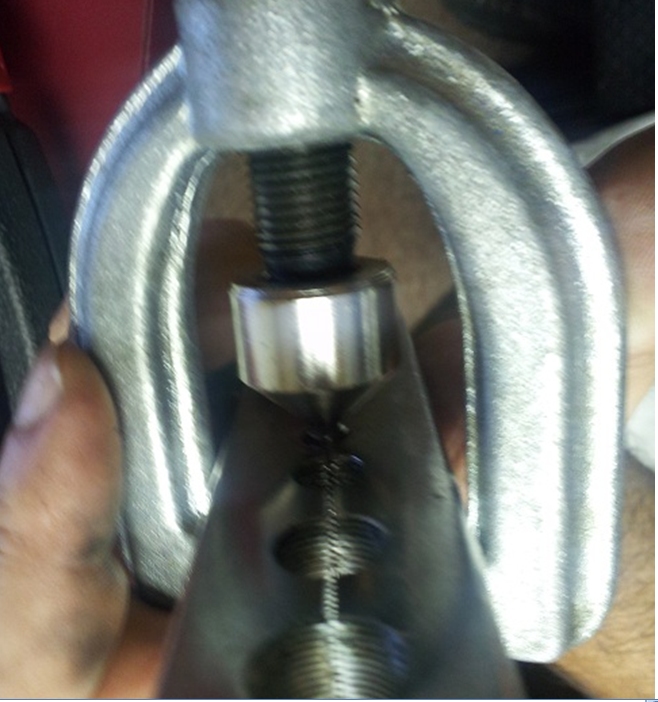
- Loosen the flaring clamp. Insert one end of the line into the correct size opening and also take a correct size opening round anvil from the kit. The first "step" on the anvil is the height your tubing is supposed to stick out. Tighten the clamp.
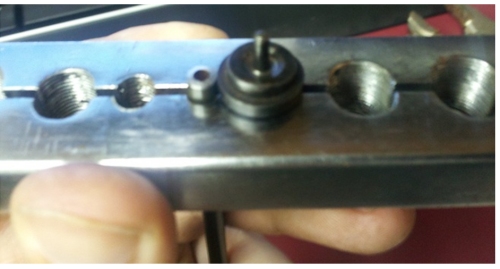
- Insert anvil into the line, put the flaring tool on top of the anvil and start tightening until the anvil is flush against the clamp.
- Remove the flaring tool, remove the round anvil, put the flaring tool back on, tighten it until it goes no more, but remember that your objective is a nice looking double flare and not a broken tool.
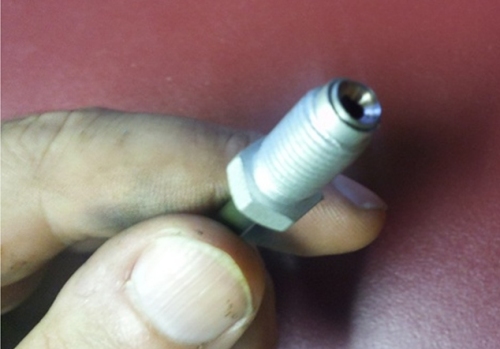
- Inspect your work.
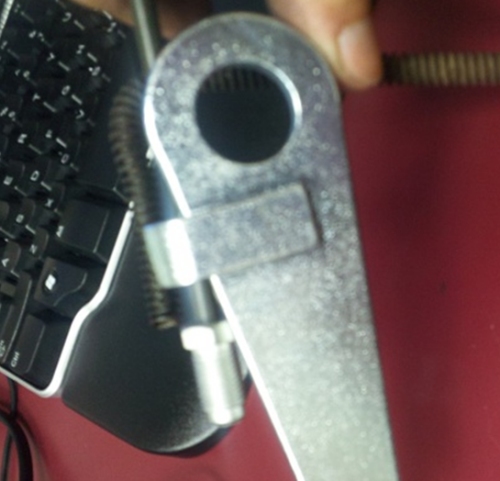
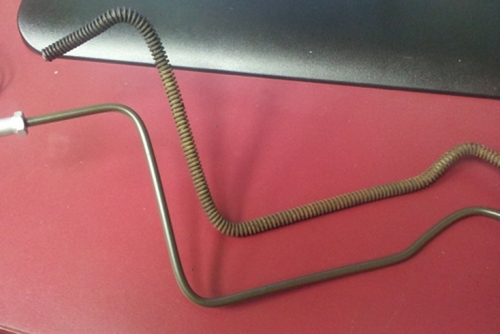
- Using a tubing bender, bend your new line into the shape of the old line.
- Install new line on the vehicle, bleed the brakes, and make sure there's no leak around your flare work.
Roto
This Article Was Proudly Formatted For The AlphaRubicon Website By: Auflister_Geliebte
www.alpharubicon.com
All materials at this site not otherwise credited are Copyright © 1996 - 2013 Trip Williams. All rights reserved. May be reproduced for personal use only. Use of any material contained herein is subject to stated terms or written permission.