*Building a Bug-Out Jeep Trailer: Part 3 - Suspension & Primer*
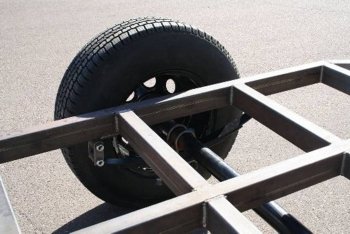
The first thing we had to do was mount the spring perches onto the axle. Be sure to get them on the right side otherwise the camber (bend) in the axle will be wrong, more on that later.
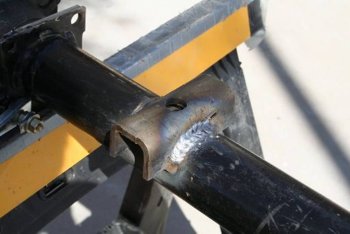
The first spring perch welded in place. Once again the welder got a real workout as the perches are made out of some really thick material.
With the spring perches in place everything was test bolted together to test for fit. Currently the axle is mounted in a “spring under” configuration. If I ever get even larger tires for the jeep I can gain some additional clearance by converting to a “spring over” suspension.
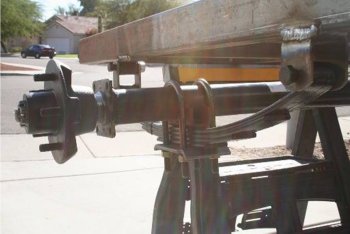
Notice the camber in the axle is up. Guess I did my homework correctly : )
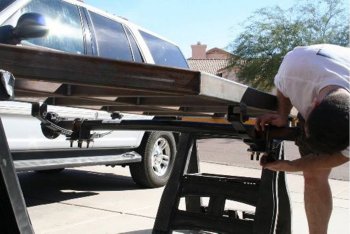
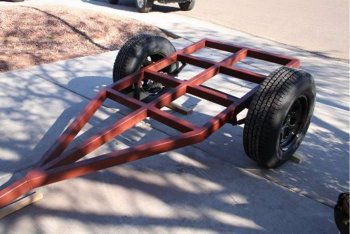
Wheels mounted, now we’re getting somewhere.
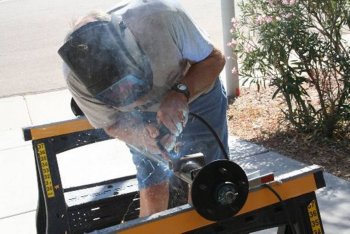
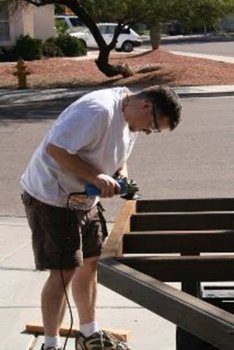
All the welds on the topside of the frame were ground level, the ones on the bottom were left alone for maximum strength. The angle grinder really got a workout.
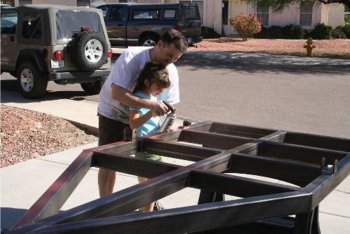
The entire frame was next wiped down with Lacquer Thinner to remove any oil and my assistant and I applied a thick coat of Rust-oleum primer to keep everything from rusting.
Everything was then reassembled for easy storage. Now it’s starting to look like a trailer.
Azgard
www.alpharubicon.com
All materials at this site not otherwise credited are Copyright © 1996 - 2007 Trip Williams. All rights reserved. May be reproduced for personal use only. Use of any material contained herein is subject to stated terms or written permission.