*Bug Out Trailer*
This article will deal with the modifications I made to my trailer. I made the mods based on my needs, as my situation dictated. Your needs may be far different from mine, but we may just learn something from each other. I make no claims that this way is the best way of construction, but it works for me.
Requirements were to provide clean drinking water, washing water, and power.
CAUTION: The trailer has many safety features built in. Do NOT overload the recommended weight for the trailer, nor make the load top heavy. As well, loading the bulk of the weight to the rear of the axle will make for tracking problems (trailer wonÆt run straight). This can be dangerous! If youÆre not sure of what youÆre doing, get some help!
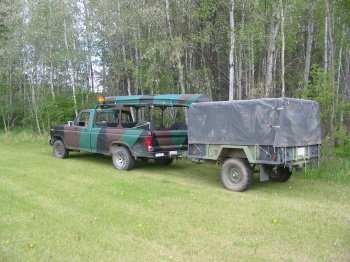
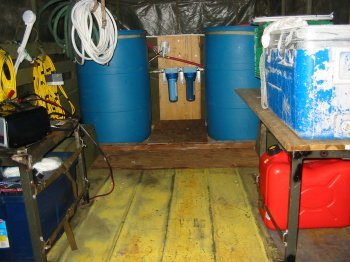
So, where to startģģI defined what I wanted the trailer to do, and that was provide power and water. I started out with a clean, empty Military 5/4 ton trailer and two 55 gallon food grade drums. I figured out that the drums would weigh app 900 pounds full, leaving me with app 1100 pounds useable weight remaining.
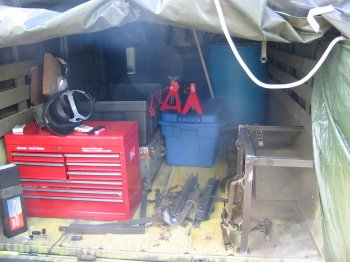
Test fitting the drums for weight and balance was a good thing. It also gave me time to ōadd onö stuff. I made a battery box out of salvaged metal, and used the trailer to keep tools dry during construction. Note that the drums will go forward, and the batteries will go to the rear to help balance the load a little on the axle.
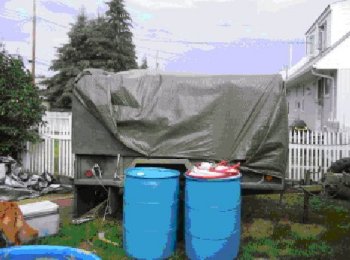
Another test fit, this time with the barrels about where theyÆll ride.
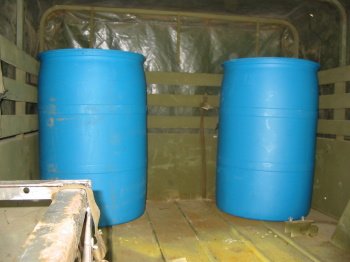
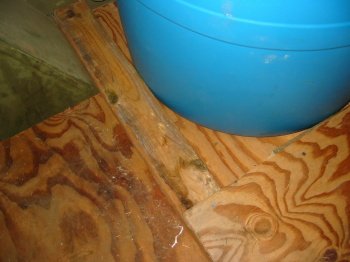
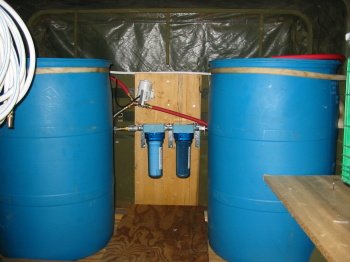
Stability is really important: I do NOT need 450 pounds of barrel walking around the interior. I used a piece of plywood to smooth out the base, (see the ridges?) with more plywood under the base to equal the ridge height. Firm and flat. I next nailed 2x4Æs in to surround the base of the drums. Most stuff wonÆt wander on bumpy roads if the base is secure. I added another piece of plywood on top of the 2x4Æs in between the barrels both for structural integrity, storage space, and looks.
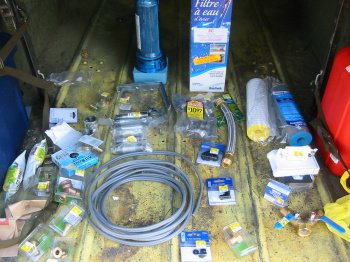
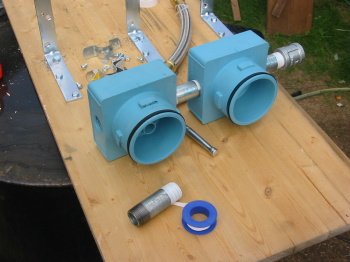
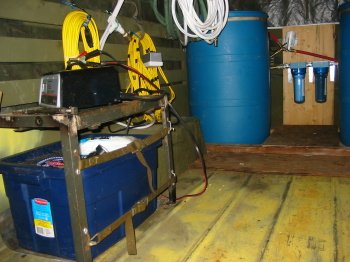
IÆm a big believer in filtered water. I included 2 x ōRainfreshö filters. HereÆs some of the hardware needed to make the water flow from the barrels and to my shower/kitchen:
Time spent in test fitting is NEVER wasted! Make sure that your plan makes sense, and that it will work before you make anything permanent!!! Below I have the water pump and filter housings, along with the hardware to hold them all together on their mounting boardģnothing is fastened, just ōlooking and studyingö on the fit.
Taking the plunge: installing the brackets for the filters.
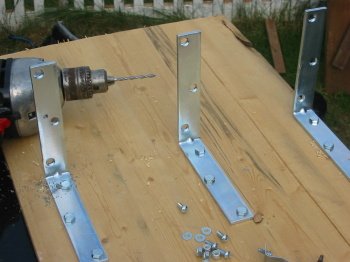
Coming along. DonÆt forget the Teflon tape, stops a lot more problems than it startsģ..
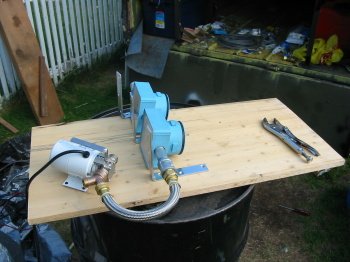
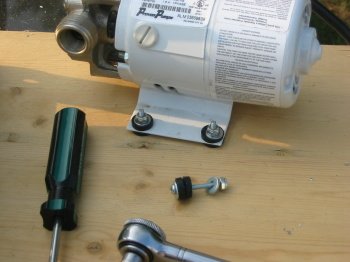
Mounting the water pump. It came with rubber ōfeetö. I substituted these pads for a more permanent foundation.
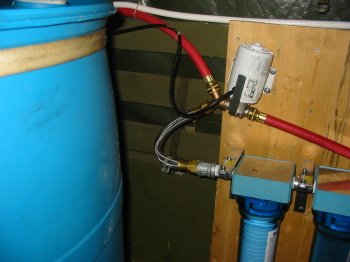
Close up of the pump and hoses. The red line on the right of the photo is the ōinö line (supply), from the barrels. The pump then pumps directly to a ōyö valve (on the left of the pump body). This splits to the filtered side (silver no-kink line) and the ōshowerö side (red hose leading up and to the left). Both hosed can be run at the same time, but normal Ops will have one side shut down at a time. Water is shut off to a side via valves at the operating end of the hose. Typically one line is run to the side of the trailer for a shower (Thanks MacGuyver for the idea!) while the filtered side is run into the cooking area. The pump is turned on and off via a switch on a 50 foot cord. Next edition of the trailer will have an ōon demandö pump that automatically comes on when the water pressure drops, negating the need for an ōon/offö switch.
Power for the pump comes from a two-battery bank and 600 watt inverter, located in the blue Tupperware container in the lower left. On/off switch is the yellow and black coil. I used an extension cord, mated to a GFI receptacle for power. Many articles about inverters and battery banks in the Rubicon. Note: white coil is food grade hose for the filtered drinking water, yellow coil is a 100ft extension cord, while the yellow and black cord with GFI switch is the water pump power switch.
Shelf is in, and a really nice touch is the ōlipö on the edge, keeps everything in. I routered the edge of a 1x4ö board, then ran it through the table saw to give me a 7/8ö high ōlipö. Several screws later, voila! Fixer mentioned the fluorescent trouble lights, and boy are they great! One stays in the trailer, the other resides at the end of a 100ft extension cord. Great light, and low power drain. They also can stand being dropped a few times and still light up. I added a small kitchen (blue barracks box on right) as well as Coleman stoves, lanterns, and propane. When I need to run the genny, it just slides to the end. Exhaust is already facing out, I just run it in the trailer. As always, our indoor/outdoor toilet is nearby- first thing the girls check for before we leave for camping!!
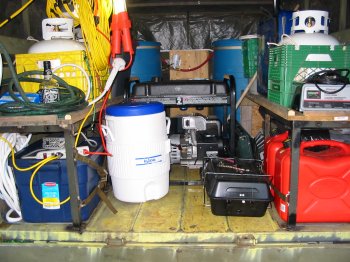
Once again this is a work in progress. I store the cables, etc from the roof supports with bungee cords, worked well so far. I also store the inverter inside the Tupperware while moving. Plan is to replace Tupperware with a purpose built box, with Inverter mounted permanently. I plan on putting in another battery bank where the gas cans are now, and storing the gas cans behind the genny. May increase the battery bank to 3 per side. Have a ōkitchen tarpö and cord inside, and will probably slide a 6Æ folding table down the middle as well. Need some folding metal chairs now. Have the weight and space available, working on the $$. (ItÆs always the $$ LOL)
Big thing is to figure out what you want/need, then get it started! Trailer has hit the field already with a successful 5 day deployment. Hmmm, where could I put solar panelsģ.???
Bottom line, I have immediate power, water, toilet and cooking facilityÆs ready 24/7 in a sturdy off road package. I figure if I have to live through something nasty, I may as well be comfortable.
Cheers_
Garry
All materials at this site not otherwise credited are Copyright ® 1996 - 2003 Trip Williams. All rights reserved. May be reproduced for personal use only. Use of any material contained herein is subject to stated terms or written permission.