*How to Use a Tire Plug Kit*
Flat tires are a fact of life. Tires are made of rubber and therefore can be punctured, there it little anyone can do to prevent this. We can however be prepared to face this eventuality. Everyone should have a spare tire, a can of “Fix-A-Flat” type emergency sealant and a tire plug kit in their vehicle, especially if it is your BOV. Using a plug kit one can easily make a basically permanent repair to their tire in the field.
If you happen to have a flat while away from your home and are not confident in being able to plug the tire you should install the spare tire and try plugging the flat once you return to the comfort of your home. Using a plug kit generally requires that you have access to compressed air in order to re-inflate your tire once it has been plugged; portable 12v compressors are handy for this. If you have sidewall damage then go straight to the spare and take the tire to a repair shop to be evaluated. The sidewall of a tire is much weaker than the tread and often times will not properly hold a plug. Only use the canned “Fix-A-Flat” type repair in an emergency when you cannot or do not feel safe trying another repair method, the material in the can is generally flammable and messy to remove.
The plug can be applied to the tire while it is mounted on the vehicle if you are able to reach the damaged area, stabilize the vehicle with your jack first since the tire will be loosing air pressure (this can be dangerous). I recommend you remove the tire for the repair, this will make the damage easier to get to and therefore more likely you will apply the plug correctly and it is safer.
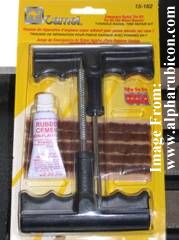
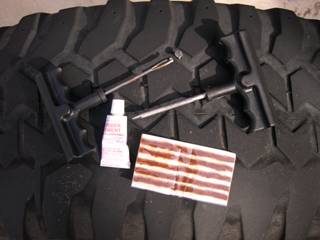
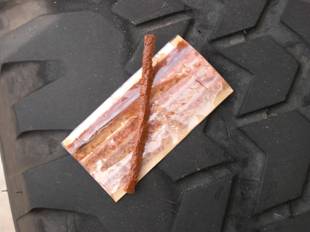
Here is a simple plug kit I picked up for about eight bucks at the local auto parts store:
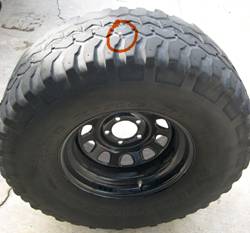
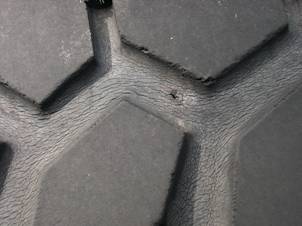
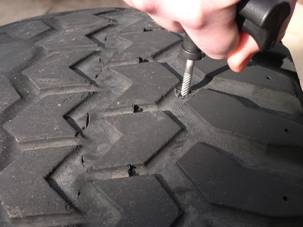
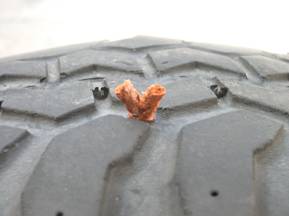
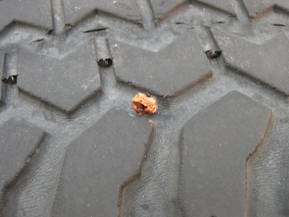
1. The first step is to locate the offending foreign object in your tire.

2. Remove the Object…..

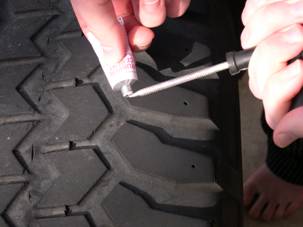
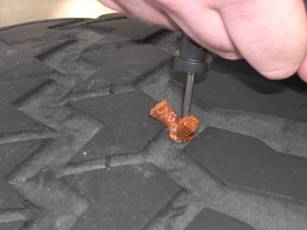
3. Put 2-3 drops of the rubber cement on the tip of the probe and insert the probe into the puncture. Work the probe in and out while twisting to clean and prep the puncture and apply the cement. This process will also enlarge the hole to that the plug will fit through; because of this the first couple of insertions can be difficult. Repeat this process 2-3 times to make sure the puncture is clean and that there is enough cement in the wound.
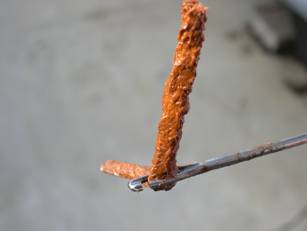
4. Take each end of the repair strip, this is the plug, and roll the center of the strip into the needle eye. Apply 2-3 drops of rubber cement to the end of the needle and push the needle into the puncture leaving about Ľ inch above the surface of the tire. The needle can be difficult to push through depending on the size of the puncture.
5. Twist the handle Ľ turn and pull the needle out of the tire, the plug should not come out with the needle. Now cut the remaining plug down to about 1/8 of an inch.
Congratulations, you have finished the plug. The tire should be drivable almost immediately. I have used many plugs and never had a problem with them leaking or coming out of the tire. The manufacturer of the kit recommends that you have the tire inspected by a professional afterwards, but I consider the plugs permanent. Be sure to air the tire back up to recommended specs and if you have removed the wheel be sure to properly torque the lugs nuts after you reinstall it.

www.alpharubicon.com
All materials at this site not otherwise credited are Copyright © 1996 - 2004 Trip Williams. All rights reserved. May be reproduced for personal use only. Use of any material contained herein is subject to stated terms or written permission.