*Winch Bumper Installation*
This procedure serves to document and evaluate the installation of a Rugged Ridge XHD modular bumper and Smittybilt 10,000 lb XRC winch on a 2007 Jeep Wrangler. Having a helper is recommended for lifting but not required if properly equipped. The specific instructions do vary depending upon vehicle.
Parts:
Rugged Ridge part #11540.10
Smittybilt part # 97210
Cost:
Bumper $369
Winch $399
Prep:
The day before you pull the stock bumper, get under your vehicle and spray the mounting bolts with WD40 or something similar.
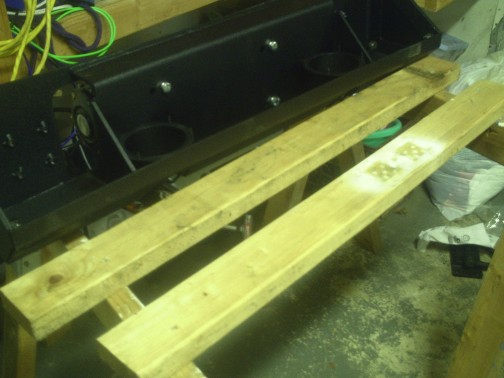
In order to work on the bumper upright I built a jig from a couple of saw-horses and (2) 2îx4î studs lying around the shop. I screwed the 2îx4îs to the sawhorses approx 5î apart this gave the bumper a cradle to stand upright in securely. At 80lbs for the bumper and 100lbs for the winch ñ you donít want this thing getting on top of you.
Verify:
First open your boxes and perform a full and correct inventory of your parts for your vehicle well before you grab a wrench.
Procedure:
The Rugged Ridge & Smittybilt instructions are adequate but donít give a few key warnings to prevent re-work. Iíll note those as ***NOTE***.
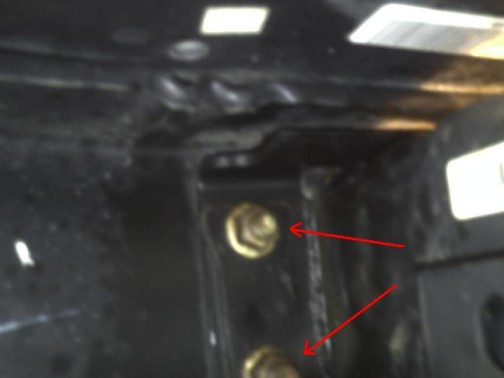
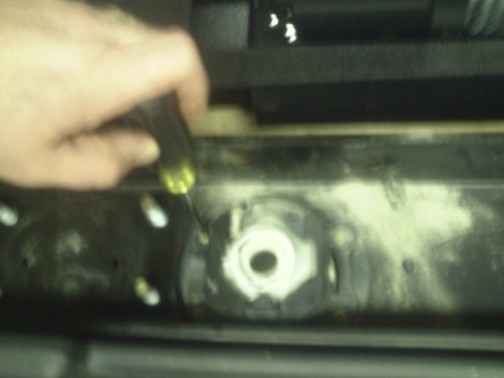
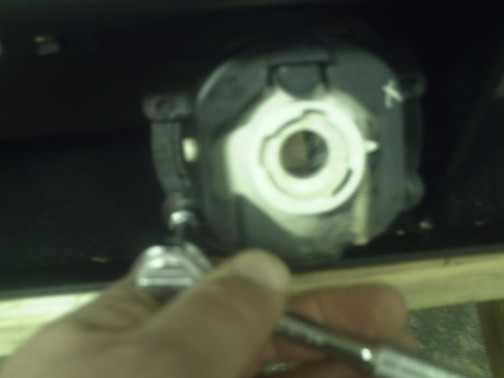
Once youíre sure you have your correct parts, climb under and start backing off the nuts for the old bumper. You can disregard these nuts as the Rugged Ridge bumper includes all new mounting hardware and fasteners.
Install the roller fairlead to the bumper.
***NOTE*** I would suggest removing the frame-topper dust cover from between the bumper and grill. This will give you easier access to the inner mounting nuts.
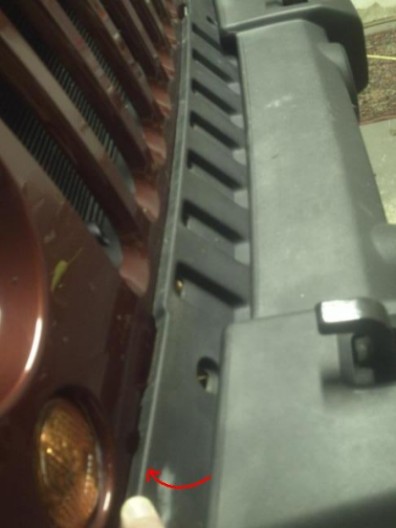
Pull up from the rear near the grill. The grill will flex out of the way.
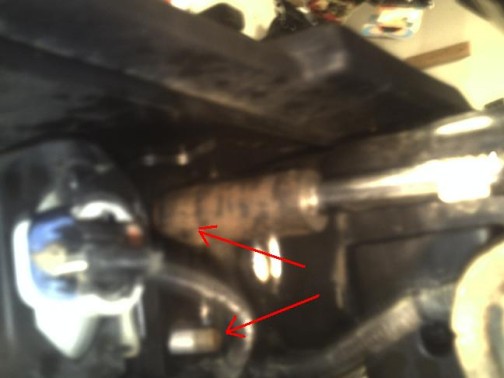
For Rubicon models the Swaybar Disconnect system is right in the way of the for the inner passenger side nuts. Make sure you can fit your hand in behind it with a wrench. Remove all 8 nuts from the original bumper. Disconnect your factory fog lights if so equipped.
Be sure to retain your factory fog lights and bulbs from the old bumper as mentioned in the RR instructions. There is no need to cut the wiring harness. I found it much easier to remove the fog light harness zip ties first. Remove the old bumper from the frame horns. Transfer the fog light housings to the new Rugged Ridge bumper using the tiny hex nuts and washers provided.
***NOTE*** Prior to mounting the winch to the bumper, connect the ground leads marked ìAî to the bottom of the winch motor (THERE ARE QTY 2 Ground leads marked ìAî for the motor & relays). This is your last chance to reach that darned nut, and you donít want to remove the whole thing later just to wire it up.
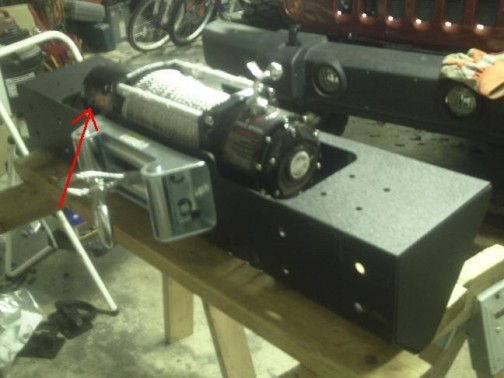
Feed your winch hook and cable-rope through the roller fairlead now. Once your ground leads ìAî are connected (QTY 2), you can proceed to mounting the winch to the bumper.
***NOTE*** The mounting nuts that sit inside the winch mount are square in shape and self locking. Regular hex nuts can work of they are Grade 8, but you might want to put a little wad of bubble gum on the bottom to hold it still while you insert the bolt from underneath. Secure all 4 bolts to the bumper for the winch using the hole set closest to the passenger side of the vehicle.
***NOTE*** Before installing the bumper to the frame horns, make sure your wiring harness is up over the cross-member so as not to be left hanging under the cross-member and come-up short on length and rip the harness on rocks.
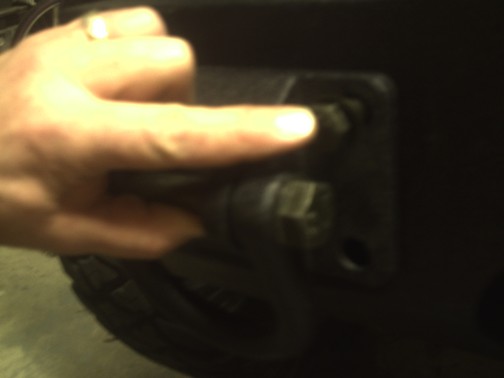
Once the fog light harness is cleared ñ mount your bumper to the frame horns. I found using a screwdriver to align the bumper holes & recovery shackles to the frame holes helped. Tighten finger-tight only until all 8 bolts are threaded. Tighten the bolts and secure the shackles at the same time.
Mount the relay box to either the motor-head or the spool tie-rods. Wiring the remaining leads ìBî ìCî and ìDî is straight-forward. Make sure you secure your battery leads well using zip ties as needed back to the battery.
***NOTE*** Be careful to protect your battery leads as the Rugged Ridge bumper has a plate steel edge which might rub through in time. I put a piece of heater-hose on the 2 leads as they crossed the bumper plate.
Some folks may install the bumper end-caps at this point if available. Lastly make sure you tighten all of your leads, mounting bolts and fairlead bolts prior to connecting the battery. Match the battery leads accordingly and secure these eyelets to the battery terminals.
The winch controller has a twist-lock plug, insert the twist-lock connector in and test your winch.
Next verify your fog lights are in fact street legal and aimed correctly. If your state requires a front license plate, there are plate holder frames that snap into a roller fairlead. Rugged Ridge part# 11235.08
Make sure you secure your winch hook to either of the shackles. It can get caught under the tires or chassis resulting in damage.
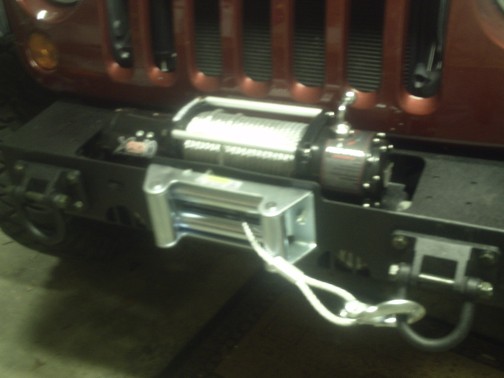
I am going to paint all of the shiny chrome and silver to a flat black to blend in.
Re-torque your fasteners after 30 days. Getting a full accessory kit of snatch blocks and tree-saver straps is recommended. When using the winch under load, placing a blanket or even a shirt on the cable when tight, can absorb some of the whipping action if the hook breaks, or attachment point slips. This can prevent injury, damage or even death.
Josephus
www.alpharubicon.com
All materials at this site not otherwise credited are Copyright © 1996 - 2010 Trip Williams. All rights reserved. May be reproduced for personal use only. Use of any material contained herein is subject to stated terms or written permission.