*12VDC Polarity/Test Light*
By: 2manytoyz
12 June 2006

Necessity is the mother of invention, or so they say.  Back in the 80s, I purchased a used conversion van that the previous owner wired using speaker wire.  What a mess!  Consequently, I spent a lot of time under the dash chasing wire.  Trying to hold a meter and leads at the same time while upside down is a challenge.  There had to be an easier way.

I had seen a bicolor (2 color) LED at Radio Shack.  With a limiting resistor, a couple of leads, I could make a simple test light that also shows polarity.  Nice thing to have when wires aren't identified.  This is a quick and easy project.  Costs only a couple of bucks, is waterproof, and will last virtually forever.  My original one is over 20 years old and still gets used.  I'm making a couple of spares so I can keep one in each vehicle, and 1 in my workshop.

The LED is Radio Shack P/N 276-012 and is $1.49.  I used a couple of pre-made jumper wires and just cut the wire at the mid point.  You could use your own wire and buy the clips separately at the Shack too.  The resistor is a 330 Ω (orange/orange/brown) and is a 1/8 Watt.  You could use a 1/4 Watt if that's all you have.  The clear tube I'm using was from a pencil eraser package.  Use your imagination on this one.  Any small clear tube will work.

To calculate the resistance, I used this formula: 

LIMITING RESISTANCE = (SUPPLY VOLTAGE - VOLTAGE DROP ACROSS LED) /  DESIRED CURRENT

In this case, this works out to be (12V - 2.1 V) / 30 mA = 330 Ω.  The current rating (30 mA)  and voltage drop (2.1V - forward voltage) info is printed on the back of the LED packaging.

Let's get to building...


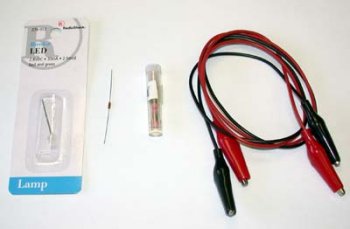
The basic components needed.

Radio Shack sells these in 5 packs for $0.99.

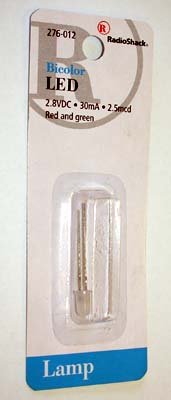
The LED is found in one of their parts drawers.  The don't put components on hooks anymore.

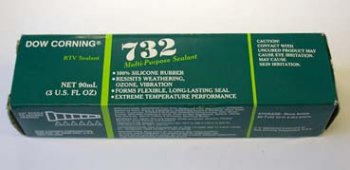
You can use RTV to seal the tube if you're not in a hurry.  This is what I used on my first one.

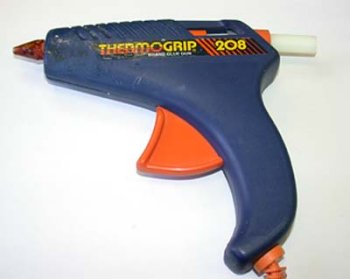
A hot melt glue gun works very well and is quick.  This is what I used this time.

Here's a close-up of the LED with the leads trimmed down.  Notice the flat on the right side.  This is the negative terminal.

Solder the resistor to one of the LED leads.  Doesn't matter which one.

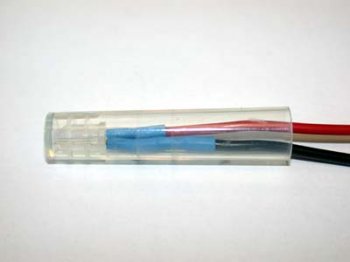
Put heat shrink over the ends, then slip the entire thing into the plastic tube.

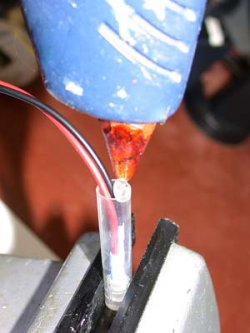
This glue is HOT.  If it contacts your skin, it will burn and will get you again when you undoubtedly try to peel if off with the other hand.  Don't ask how I know!

Squirt enough glue into the tube to seal the end.  No need to get it all the way to the end.

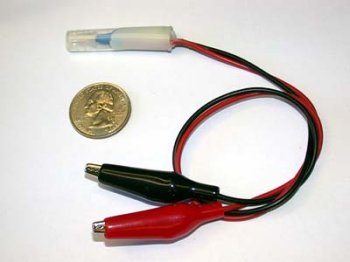
Here's what you end up with.  The quarter gives you an idea of the size.

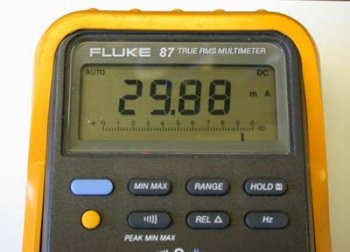
Well, did we calculate correctly?  Pretty close to 30 mA!

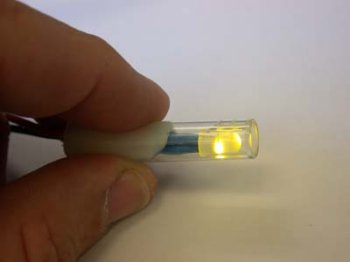
Now you see why I went with a clear tube.  You can see the LED from the side.

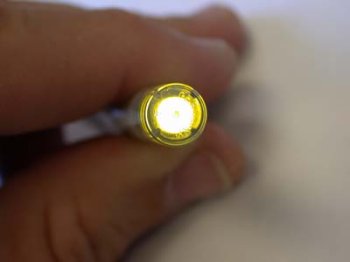
Really bright on the end due to the LED lens.

Reverse the clip leads, the light turns red.

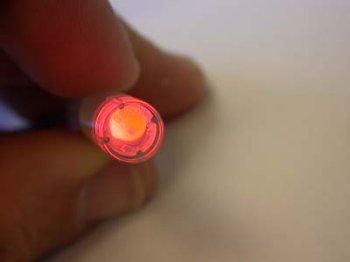
You almost wired something up backwards but your test light saved you.


This works great for chasing wires on trailers and BOVs.  Throw it in your toolbox, abuse it.  Never needs batteries, is completely waterproof.  May outlast you.  All for a couple of bucks, and 15 minutes of your time.


2manytoyz


www.alpharubicon.com
All materials at this site not otherwise credited are Copyright © 1996 - 2006 Trip Williams. All rights reserved. May be reproduced for personal use only. Use of any material contained herein is subject to stated terms or written permission.