*Storage Bed*
I recently got married, and of course my old bed was too small. We wanted to upgrade to a King. We were also low on storage space...adding a 2nd person to a survivalist's apartment without adding much closet space means you run out of storage room really quickly.
A typical bed only allows 4-6" of space underneath for storage--not enough room for much stuff, and it's low enough to the ground that it's awkward to get at what's under the middle. I looked online, and was unable to find any pre-made bedframes that were high enough to provide good storage options. Not finding what I wanted, I made it.
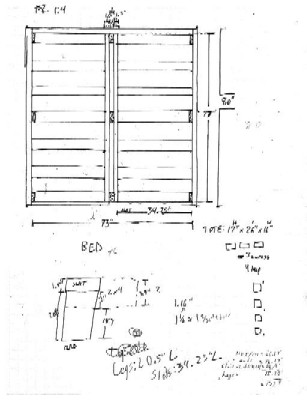
I'm a fan of rubbermaid totes. They're an easy way to group things together, store them, pull them out (if labeled), etc. Rather than just having "lots of stuff" under the bed, my goal was to have the capability to store a large number of totes with easy access. A normal Rubbermaid tote is 26 x 16 x 17"H. That gave me my height parameter for the design.
A King mattress is approximately 76"W x 80"L. Anything sticking too far out to the sides or ends would create corners to bump in to or room to slide, so the platform needed to be 80"x76".
At 76" wide, I did not want to just have a square frame with slats running across it. I thought it'd be too much for the width of the mattress and would probably break or deflect over time. If I'd been able to work with metal, it might not have been, but with wood, it'd be too wide for my comfort. I probably overkilled on this, but better over than under-kill with structural stability.
Here is what my final design looked like, with dimensions (click on the thumbnail for the large version... it's a scanned full page). This was my working copy, and as you can see there were a few changes and bobbles along the way.
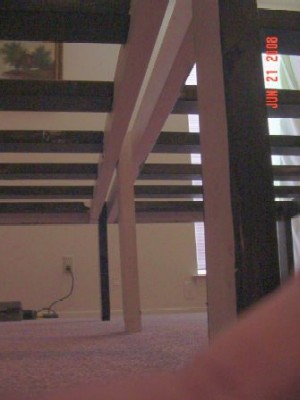
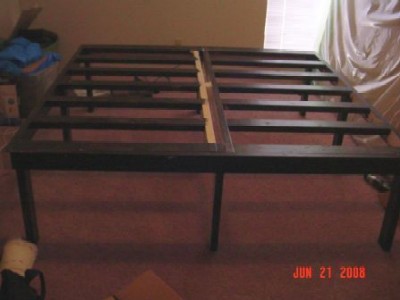
One disadvantage of this design is that it's significantly higher than normal bedframes. Even though there's no box spring, it's a bit on the high side and requires standing on one's toes to hop onto it. An inch or so could probably be taken off the legs without making it much harder to fit totes under.
I constructed the two halves at the same time (so that the sizes of the pieces of wood matched) but separate from each other. One side had one of the center legs attached to its inner portion. The other side had the other two. This let me stand both of them up to primer & paint them. The plywood top (put on to prevent the mattress from sagging between the slats) was also cut and painted separately off. I then did final assembly of the two frame halves and the plywood in the bedroom.

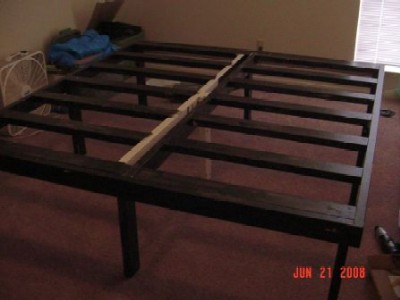
The frame + top are around 170#, and it was much easier to carry & maneuver in parts. Everything on this bed is screwed together, so it can be disassembled for transport if necessary.
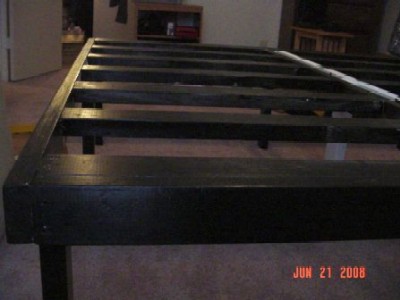
First I screwed together the "spine" via screwing into the 3 center legs, then I screwed on the head and foot "endcaps" that stretched across the top and bottom. That secured the frame together with 25+ screws. I then screwed the plywood top into the frame and onto some of the slats (to reduce its ability to flex and make noise).
I wrote disassembly instructions on the plywood top in sharpie so that it'll be easier to move. However, disassembling the bed still would mean taking out a LOT of screws, so I'd rather move it as one unit if I can.
After 3 months, it's still rock solid and has proven extremely useful for storage. I plan to eventually add a head & footboard--the wood construction means I have plenty of places to attach whatever I make/get.
CJ
www.alpharubicon.com
All materials at this site not otherwise credited are Copyright © 1996 - 2008 Trip Williams. All rights reserved. May be reproduced for personal use only. Use of any material contained herein is subject to stated terms or written permission.