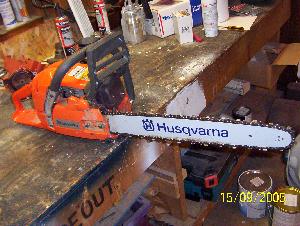
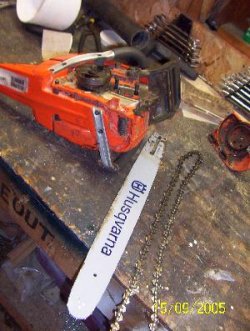
*Chainsaw- Freeing A Bound Chain*
Every once in awhile the chain on a chainsaw will bind up and be hard to move, as mine did the other day. Even the engine has to labor to move it. It’s not a big deal and very easy to fix. What causes it is small pieces of woodchips and sawdust that get between the drive teeth and the groove (gauge) of the bar.
All chainsaws are built a little different, but they all operate and come apart about the same. Start by removing the bar. You’ll need to remove the cover and then loosen the tensioning screw.

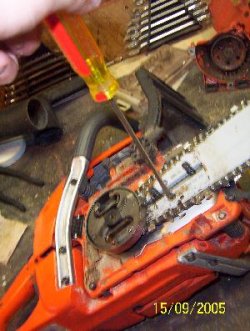
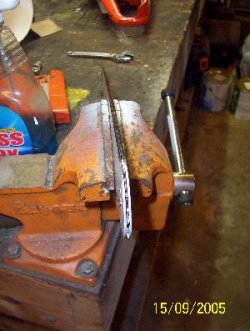
Loosening the cover bolts------------------Loosening the tension screw
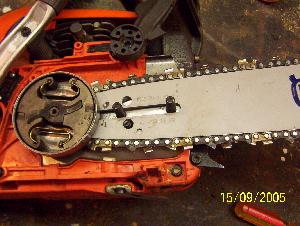
NOTE: where the mounting studs are with a tight chain (above right)
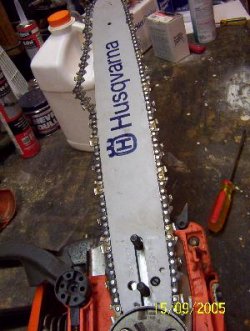
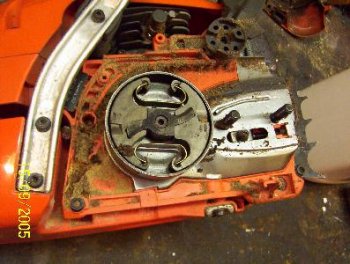
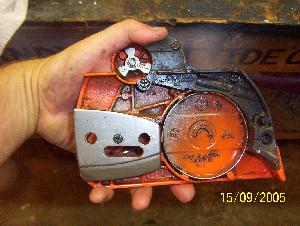
Pretty dirty inside there.
When you loosen the tensioning screw the chain will become slack. The bar will move toward the engine. You can then remove the chain from the bar and then the bar from the engine.
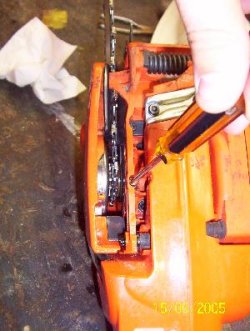
NOTE: Look where the mounting studs are in the left picture with a loose chain.
Now, you’ll need a wire brush and some bar & chain oil. An air compressor is handy if you have one. Use the wire brush and clean out the groove in the bar where the chain rides. Start at the end of the bar where the wheel (sprocket) is and brush any debris toward the opposite end. This will prevent that junk from getting in the sprocket teeth and jamming it up more. My sprocket was also stuck. I ran it across the workbench and got it moving. The teeth dig into the wood and it’ll turn. Then I’d stop and wire brush it and blow it out with the air compressor. A few times of this and it freed up considerably. You’ll be amazed at the crap that builds up in there.

My bar has a small hole on either side at the sprocket. I put a couple of drops of bar & chain oil on the hole and then ran it across the bench like you see in the above right pic. This allowed the oil to work it’s way in. Then I flipped it over and did the same on the opposite side. That lubrication worked miracles. I could then turn the sprocket with my fingers. Then I gave it all a final blow down with the compressor.
Next I cleaned out the clutch housing. Simply blew it out with the compressor.

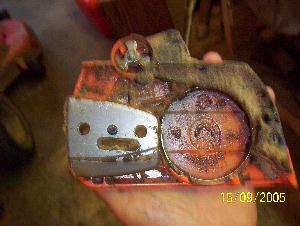
I also cleaned the cover.
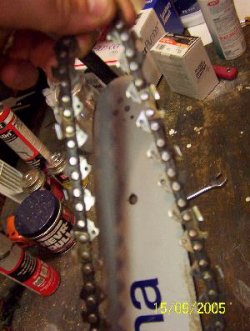
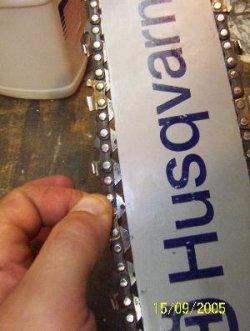
Then I put the bar & chain back on and tightened the chain. (Be sure that it’s on the right way. Cutting edge of the teeth faces forward when on the top of the bar!!!) Simply tighten the tensioning screw until the slack is out of the chain. Be sure that the drive teeth are seated on the clutch & sprocket correctly. Now replace the cover and tighten the nuts finger tight. Then tighten the tensioning screw a little more until the chain is taught. You should be able to gently pull on it and see ˝" of the drive tooth. Just like in the below right pic. Then snug down the cover bolts.
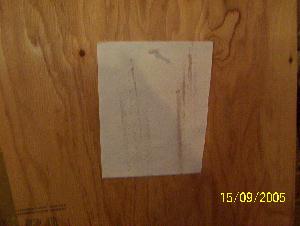
Ok, the saw is back together. I could move the chain with relative ease. Now it’s time to check to make sure that the bar & chain are getting lubrication. Hang up a piece of paper. Start the saw and hold it about 4" away from the paper with the bar pointing slightly up. Then squeeze the throttle and you’ll start to see oil appear on the paper.
The oil lines on the right is too much. If you get heavy oil showing you need to cut back the oiler a little. Too much and oil will actually drip out of the bottom of the clutch housing. You should see something more like the lines on the left. When cutting wood, 1 tank of gas should equal 1 tank of oil.
Adjusting the oiler.
Be sure to keep your chain sharp. I sharpened my chain and commenced to cut more wood.
Jaden
www.alpharubicon.com
All materials at this site not otherwise credited are Copyright © 1996 - 2005 Trip Williams. All rights reserved. May be reproduced for personal use only. Use of any material contained herein is subject to stated terms or written permission.