*Building Planters when your Soil is poor*
I live in the Gulf Coast of Texas less than a mile from the Gulf of Mexico. My soil is a hard sand clay mix which goes down about 4-6 inches then it is hard, HARD clay. Trying to plant a garden in this hard acidic soil is very hard. For the last 2 years, IÆve tried growing vegetables with very little success. After last years disappointing returns I added a lot of amendments to the soil of my garden and this year it should be different. However my mother is still trying to grow her strawberries and tomatoes. She lives right on the water and the clay is less than an inch down, so we cannot add amendments to her soil like I did to mine. My solutionģ Planters.. By building planters I could build raised beds and I could add good soil to them to ensure we get good returns.
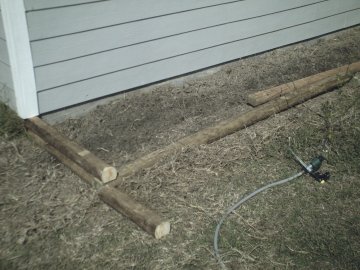
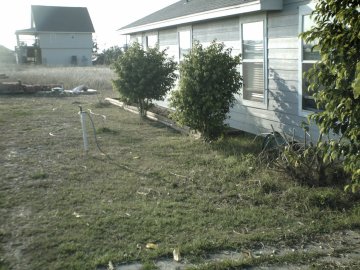
First I used my tiller and tilled down as far as I could. My first run I got about an inch to an inch and a half. Then I water it heavily and re-tilled it the next day. This got me down about a total of 4 inches. After I tilled it I added 160 pounds of bedding mix to the bed area and re-tilled it again to mix the soil up good. Then I framed in the bed area with landscaping timbers. The timbers are 8 feet long and 4 inches thick. The photo above shows the beginning of the framing in. Overlap the corners of the bed, and overlap any joints.
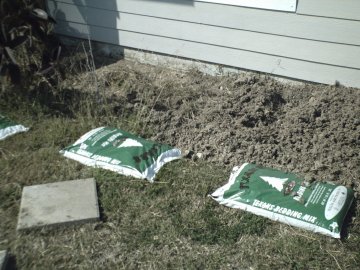
The second photo shows the other bed area I was preparing. You can see the bedding mix in the foreground. After you have framed out the basic area you will need to make your cuts.
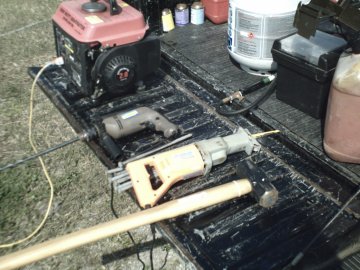
In this photo you see all the tools I used to construct these planters. My 2-Cycle 1000-Watt Generator, my Į" hammer drill with 5/16th-drill bit, my Reciprocating saw and my Sledgehammer. I pinned the planter together with 12" long Į" thick galvanized nails.
Measure your first cut, which determines how far out from your wall you want the planter to extend. Be sure you cut the piece for overlap.
Notice in this picture that the corner is overlapping. This will make for a strong connection. After you have all your pieces cut and fitted together, drill through the timbers at every overlap and pound in the nail with the sledgehammer to hold it together. I used 12" nails so they extend through into the ground to help hold it in place. After the planters are complete you can back fill them with good soil on top of the existing soil so you have a good planting mix. This one has been partially back-filled.
This shows the other planter.
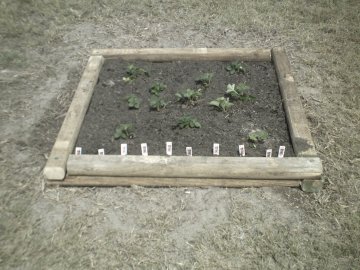
You can also make other shaped planting beds. This is the one I built for my strawberries. IÆve seen octagons, pentagons and other shapes made with landscaping timbers. Their uses are only limited by your imagination and skill level. Total material cost for these three planters minus the bedding soils was $65.00 for the timbers and the nails. They took me about 4 hours to actually build them after I tilled the ground.
GreyLocke
www.alpharubicon.com
All materials at this site not otherwise credited are Copyright ® 1996 - 2006 Trip Williams. All rights reserved. May be reproduced for personal use only. Use of any material contained herein is subject to stated terms or written permission.