*Making Garlic Powder at Home*
For the last few years, I've been growing my own garlic. Every time I end up with far more bulbs than I can use in a given year. With a dearth of actual vampires, there's only so much garlic that one can give away to neighbors and friends before they start to question your motives.
This year I decided to take the extra garlic and turn it into my own home-made garlic powder. There are various articles online that talk about this, but I decided to document my process as I did it. Your mileage may vary, I'm not a lawyer but I play one on TV, [insert your favorite disclaimer here], etc.
Here's a list of the tools I used. You can substitute many of these for something else.
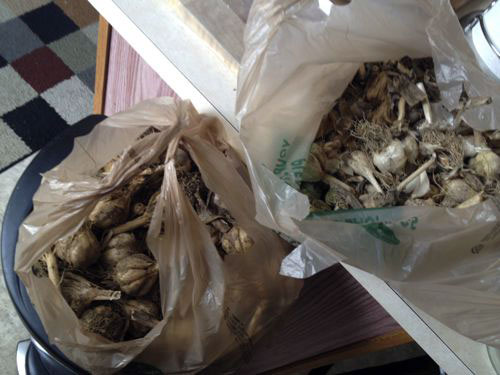
The first and most difficult part of the exercise is getting clean bulbs out of dried and cured garlic bulbs. These bulbs were grown by me and the farmer whose CSA (community supported agriculture) program I belong to. I asked him for any leftover garlic and was given a bunch of about 40 heads as well as his blessing to pick over the leftover garlic in a bin.
I was not able to process this immediately, and that was a mistake. I probably lost 10% of the garlic to various forms of decay or withering. Next year, I'll plan to do this as soon as the garlic is done curing.
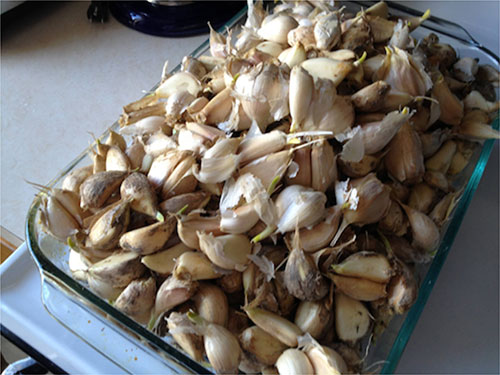
I started with the two bags of garlic heads (pictured above) and began to go through and break the bulbs apart into individual cloves. Any clove that was rotted or questionable was thrown away. I was left with a large Pyrex casserole dish full of cloves.
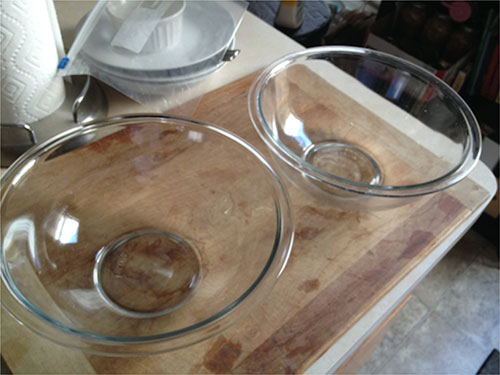
The next step is to get the hulls off the cloves of garlic. If you want to do this by hand, you can, but it's quite tedious. Since we were not looking for perfect finished cloves, I used a method popularized by Savuer Magazine on YouTube (http://www.youtube.com/watch?v=0d3oc24fD-c) but instead used 2 glass bowls (as I don't have 2 large steel ones lying around)
The idea is to put unpeeled garlic cloves into a bowl and match the second bowl upside down on the first.
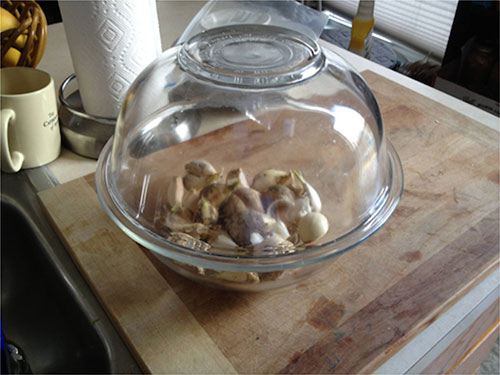
Grab them and hold them together, and then shake vigorously. Not all of the bulbs will peel, and so after each session, I'd put the peeled bulbs into a colander for further cleaning and the unpeeled ones into the former top bowl.
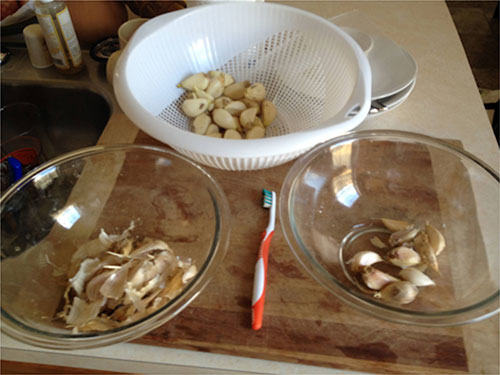
I'd also use the toothbrush to clean off any dirt that was loose on the bulbs. We'll do a wet cleaning before they get sliced, but this was to just help with the easy stuff.
This takes a while to process, and you may consider to do it in batches. Once you have enough done, go ahead and get your colander under running cool water and begin to clean off the peeled cloves.
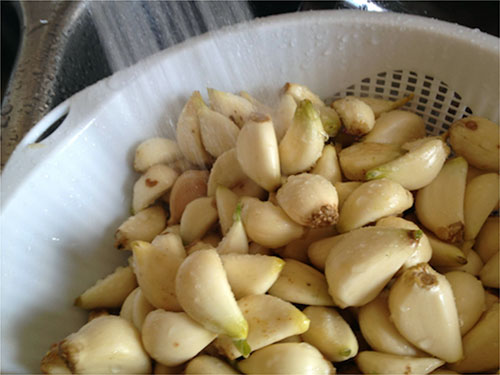
You want to make sure you get the dirt off. Don't worry if you have garlic that is starting to sprout. It's totally usable for this situation (as long as it's not squishy). After washing them, you want to cut off the bottom (what would become the roots of the new bulb if you planted it) and get them piled up for the food processor.
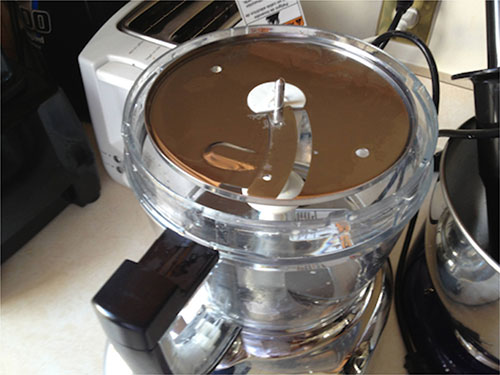
You want to use the attachment that is a flat spinning disc with a slicer built in. This will give you roughly flat slices of a vegetable that you feed down processor's entry tube. This is easier than slicing by hand, but if you don't have a food processor, you may slice or chop to get the garlic cut down so we can dry it out. The goal here is to get it to a point that it will dehydrate quickly.
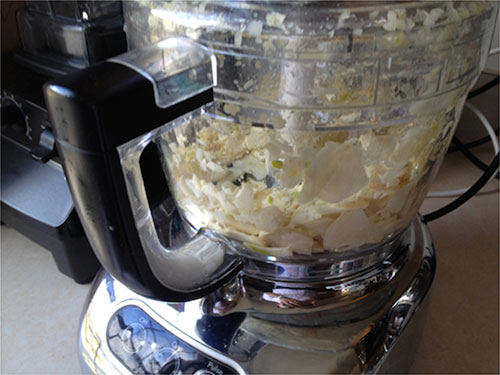
After running the garlic through, we end up with a full bottom bowl in our processor and we're ready to put this on our dehydrator trays.

I spread out the sliced garlic cloves on the racks and filled up the trays of the dehydrator. I tried to get it relatively thin, but it doesn't have to be perfect.

Once full, I ran the dehydrator for about 24 hours at 125° F. If you are doing this inside your house, brace for a strong garlic smell. It's not bad if you like that sort of thing, but it can be pretty overpowering at first.
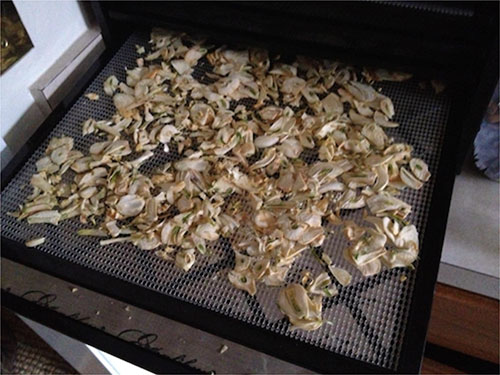
The next day, you can open up the dehydrator and check to make sure that the slices are now brittle chips. They should break in your fingers like a potato chip (with a little more pressure).

You can store these in this fashion in 1/2 gallon mason jars or in epoxy phenolic (lined) paint cans (example: http://www.thecarycompany.com/containers/paintcans/goldlined.html), or any other food storage solution that you have.
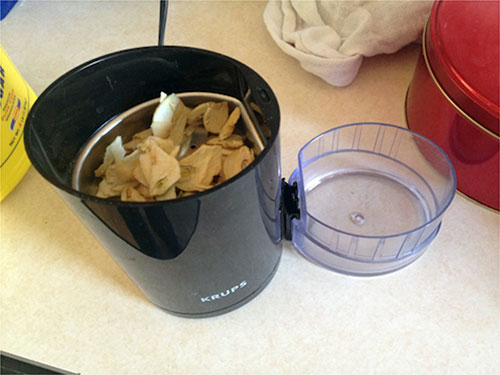
When you want garlic powder, or to process the chips into a batch of powder, you want to take out a coffee grinder and clean it out. Put in a handful of the chips (see photo) and then process until you've gotten the bulk of the stuff turned into powder.
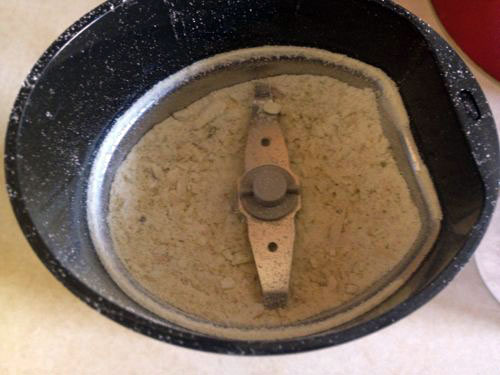
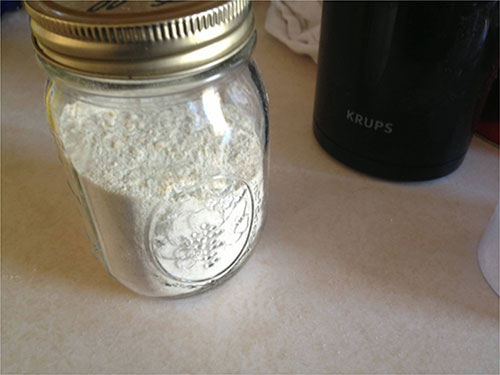
At this point, continue to process in batches until you've finished the amount you want. The half-filled 1/2-gallon mason jar above filled about 60% of a pint jar after being ground up. You may have some chunks still in the powder, and you can take care of those by sifting it and reprocessing the larger pieces.
And there you have it. Make your own garlic powder! You could easily repeat this with onion or almost any vegetable probably. Share with the class how it works!
Boboroshi
www.alpharubicon.com
All materials at this site not otherwise credited are Copyright © 1996 - 2013 Trip Williams. All rights reserved. May be reproduced for personal use only. Use of any material contained herein is subject to stated terms or written permission.