
*Creating A Portable Maintenance Fuel Tank*
By: AlasKen
30 January 2023
I like to store my generators without gas in the tank. Luckily I don't use my generators very often as it is just backup for power outages. I like to store them in a heated environment to make them easier to start. That is in my work room which is part of the living area. I do not want the gas fumes in the house. I also do not want to be continually draining and refilling the tanks to keep gas fresh.
I do like to test the generators at least yearly and I attempt every 6 months.
I just received a Yamaha EF2000iS from my son in law. He got it used for his travel trailer but it didn't have enough power to carry the load he needed. It was also not running well and leaking fuel. He just didn't have the time to tear into it and asked if I wanted it. I said "You Betcha".
I had it sitting around all summer and waited until winter to look at it. I watched a bunch of YouTubes on how to work on them. I found the owners manual and service manual online. I decided to tear into it. I didn't try and start it before beginning as I planned to do a complete carb cleaning and drain and clean the tank and check the fuel lines.
I did not take any photos but there are plenty of videos out there on working on these generators. I spent one day tearing into it. I cleaned up the inside and outside of the machine, making note of the missing items, not to bad, one foot, and a couple of screws. I drained the oil, pulled the carb and called it a night.
The next day I took the carb apart, ran it through the ultra sonic using diluted simple green. Paid extra attention to the primary and idle jets. I put it back together and installed it on the generator. These are real simple carbs and pretty easy to work on. I added oil and it was ready to try and start it.
As I mentioned above I will store it empty of fuel so I don't want to add fuel to it to run it. That is when I decided to try and build something to add fuel to the carb and bypass the tank.
When I was in Walmart looking for an aluminum water bottle to use I noticed a bottle of water in a cooler that was aluminum about the thickness of a soda can. It had a wide twist off mouth and was $1.89. I thought it might work.
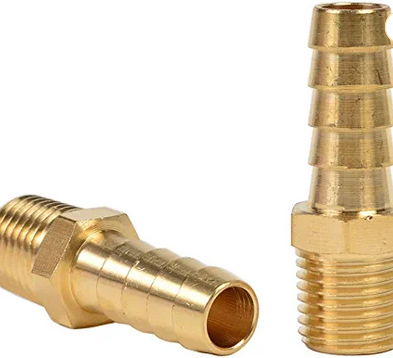
I went to the hardware store and found a brass hose connector 1/4" barbed x 1/4" NPT male pipe. I also found a couple of 1/4" NPT nuts. I got 3' of clear 1/4" tubing and a few clamps.
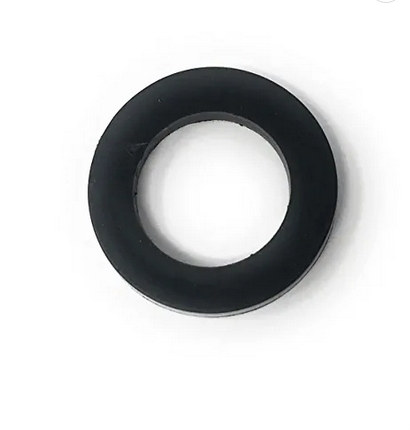
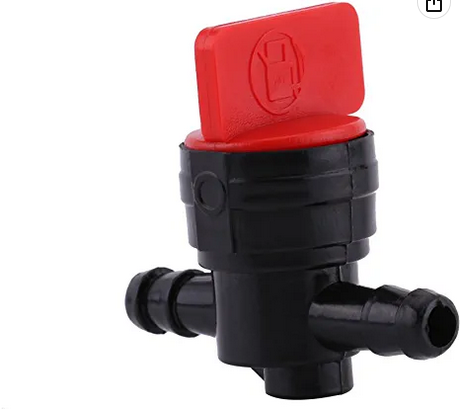
I had to go to a auto parts to find a 1/4" inline quarter turn fuel shutoff, and a 12mm oil drain washer.
I emptied the water from the bottle and used a step bit to drill a hole just slightly smaller then the threaded end of the threads on the barbed connector. I used some Teflon tape to the threads and put one nut on and tightened it, I put on the washer and the threaded it into the hole in the bottle. It was tight and actually tightened up pretty well. I took the other nut and held it with a long clamp that allowed me to reach the end of the fitting through the neck of the bottle. It was not that hard. I held the nut from the neck and tightened from the outside. The hard part was done.
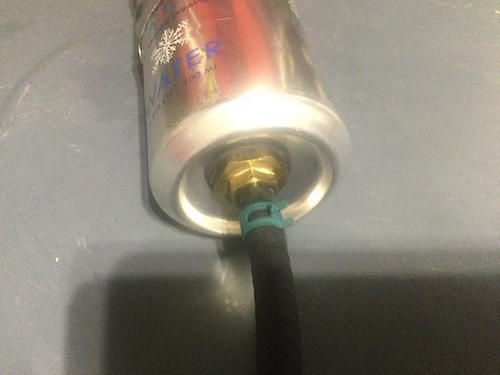
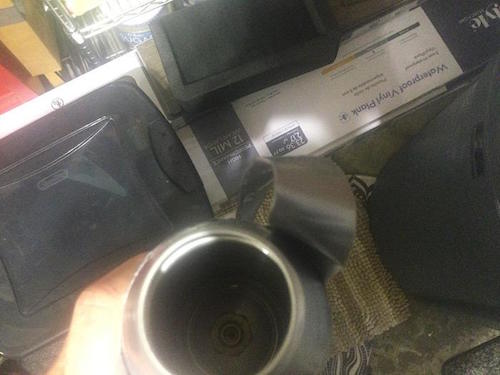
It is hard to see but here you are looking into the bottle to see the nut on the brass fitting.
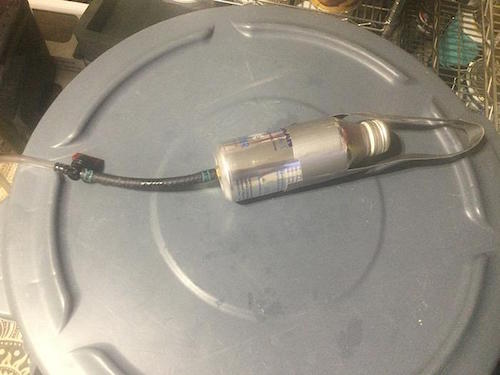
I took a short piece of 1/4" fuel line I had on hand and put it on the barbed end on the can and then the inline fuel shut off. I then connected a 3' length of the clear tubing to the other end of the fuel shutoff. I needed a way to hang it so I just folded a length of duct tape sticky to sticky to make a ribbon. I taped that to the can using another piece of tape. I can just hang it by the loop.
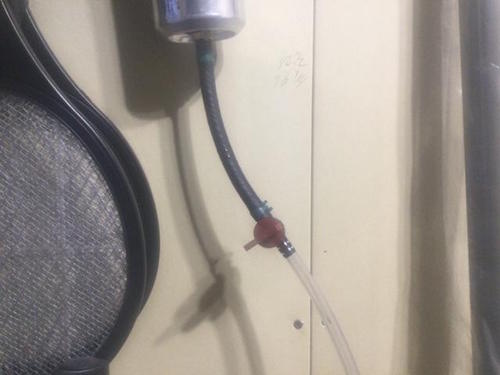
My fuel canister was complete. I know the tubing is not fuel rated but I wanted it clear so I can see the fuel flowing to the carb.
In order to use it I just pull the fuel line from the carb and slip on the tubing. It is tight enough that I don't need a clamp. Once I hook up the line I poured in about 8 oz of fuel into the can and hung it from the tail gate of my truck. I turned on the shutoff and could see the fuel go through the line. I had left the cap off the bottle so I had a vent. I saw a few air bubble in the line and they worked there way to the top very quickly.
I pulled out the choke and it took about 3 pulls before I got a sputter, the next pull it started. It ran rough for about 15 seconds then smoothed right up, no surging. Eco mode was working as well.
I plugged in the kill-a-watt and it was at 60 HZ, I added a 1500W electric heater with 3 temp settings. I used the eco mode and it ramped up with each setting. It ran well and I am pleased. I am also pleased that I didn't have to drain a fuel tank when I was done. I shut off the the valve on the fuel line and let it run until it died. I removed the clear tubing and put the regular fuel line back on. I started it again and choked it until it died again. This should get most of the fuel out of the carb. I then drained the carb and it had about a Tablespoon drain out.
I checked the oil level and it was where it was supposed to be. I did something a little different for me and got a oil funnel that was clear and had fluid marking on it. I found the 400 ml line which is what specs list for this model. This took the guess work out of it and made it much easier.
I hope this may help others on there generator maintenance.
AlasKen
www.alpharubicon.com
All materials at this site not otherwise credited are Copyright © 1996 - 2023 Trip Williams. All rights reserved. May be reproduced for personal use only. Use of any material contained herein is subject to stated terms or written permission.