"That's It"
*Home Built Staging*
Disclaimer: This staging isn't designed and rated by an engineer. Construct and use at your own risk. Neither AlphaRubicon or I assume any liability.
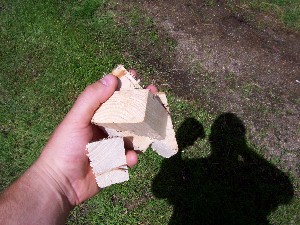
This is a material efficient project. The total wood waste I could hold in two hands.
"That's It"
Materials:
Tools: Saw, screw gun, tape measure, level, speed square or something similar, 1/2" drill bit, hammer, wrench, pencil.
Construction: Before this phase begins set the 4 10' 2x4's off to the side so that they don't get confused with the 8' ones.

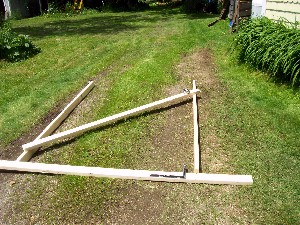
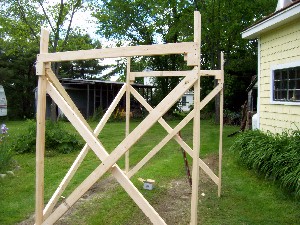
"The perceived staging-------The beginnings"
Lay 2 8' pieces 67" apart, outside to outside with the narrow edges facing up and down. Lay another one across the bottom, this will be used to make sure the legs are square. Think of this 2x4 as a flat floor. Use the speed square and square the two leg pieces up to the 'flat floor' piece. It'll look like the picture at the above right. Take another 8' 2x4 and lay it diagonal. The bottom is about 10" up the leg. The top of the cross brace is about.......... Once you get it where you want it use two screws on each end. Then flip it over and re-square the legs to the 'flat floor' piece. Confirm that the outside-outside width of the legs is 67". Check the top and bottom. Then attach another cross brace. You'll now have an "X". The corners of the 2x4's will stick by the legs a bit, just cut them off with the saw.
Now measure down 11 or 12 inches from the top and mark it on each leg. Now use another 8' 2x4 and run it horizontally across and attach it. Cut it off flush with the leg and then the left over gets used. Use it to make blocks like you see in the 3 pictures below.
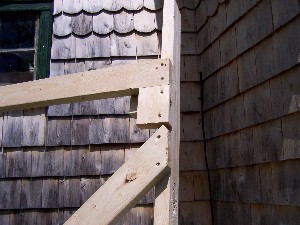
"Weight support"
Part of the remainder that was cut off goes between the cross bracing. Wind a screw through the middle of the 2 pieces of block and then one screw in each piece from each side. Offset the each piece's screw so that they don't hit inside the wood.
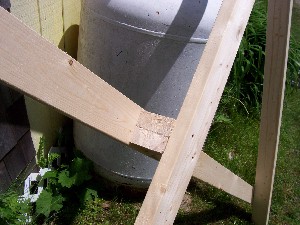
"The remainder"
This completes one end. Now build another one just like it.
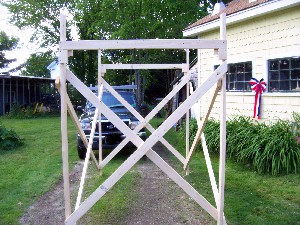
Once you have two ends it's time to build the cross bracing which holds them together. Now's when the 4 10' 2x4's come in.
I drilled 1/2" holes for the bottom of each brace at 6" up each leg. I then used a level to ensure that the ends were plumb before drilling the top holes, which came out being at 68 1/2" up.

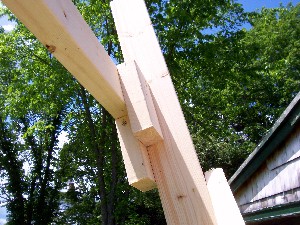
"Assembling the cross bracing"
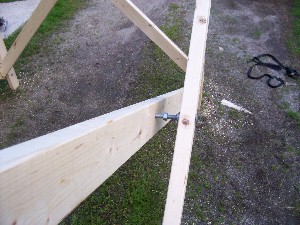
"Center of the cross brace----------Done"
Use the 4 1/2" carriage bolts to attach the cross bracing. Insert the bolt through the end's leg, then nut and washer. The cross brace piece slides over the remainder of the bolt and then another washer and nut.
The 6" carriage bolts go in the "X" of the cross bracing. There are 2 nuts in between the two pieces of wood which are used to keep them separated as seen in the above left picture.
The width is intentionally less than 6' so that when tipped on the side, the end pieces will go through a 6' door. This will accomodate 10' planking.
I will be adding on to this so that I can go higher, another article another time.
Jaden
www.alpharubicon.com
All materials at this site not otherwise credited are Copyright © 1996 - 2009 Trip Williams. All rights reserved. May be reproduced for personal use only. Use of any material contained herein is subject to stated terms or written permission.