*Kill Mulching*
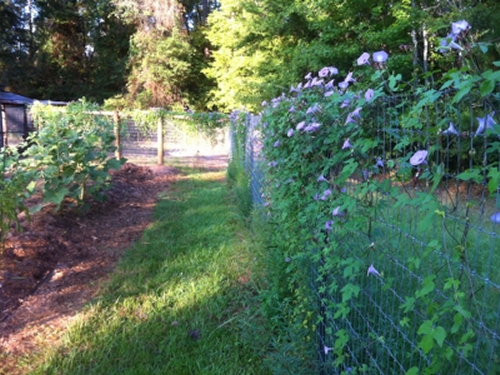
Now that the weather is beginning to cool off a bit I have begun the next phase in expanding my planting beds, etc. Between the garden fence and the first bed was a strip of grass that did nothing to provide for the garden or us. It required trimming with the weed eater weekly because the water we put onto the bed would soak in and move underground downhill into this area – which gave me an idea. If I could put some perennial food crop here and mulch around it the crop would get watered well from the bed runoff and I would no longer have to mow this area.
This area is a perfect location to do a technique known as "Kill-Mulching". The object of this technique is to eliminate or reduce the amount of competition a newly established planting would have in its first season or two by "killing" or smothering out the grass and weeds around it using biodegradable materials as the base mulch. This technique is often used in "lasagna-gardening" and it is also known as "Sheet-Mulching" Sheet Mulching
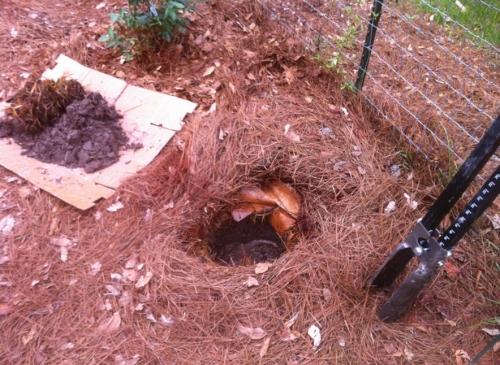
I started by putting down what is known as a kill mulch – layers of cardboard covered by organic material (in this case pine straw) that I raked up around the property and brought here for this purpose. Before putting down the cardboard I had trimmed the grass as low as possible and just left the trimmings to biodegrade under the mulch. The ground was already moist from a recent rain but if it is dry you should wet it first or it will take longer for your plants to establish. In my case the water was already moving underground into this area so this did not matter.
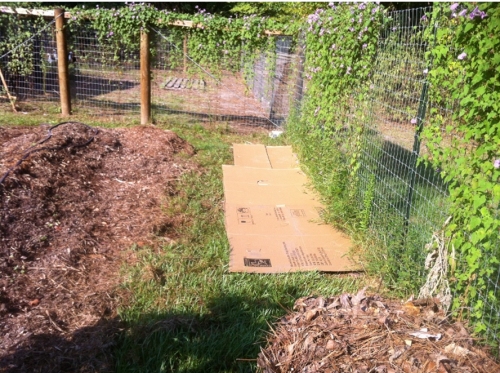
In the picture above the first layer is cardboard laid directly on the grass. You can see, in the foreground, the wheelbarrow full of pine-straw that will go on the cardboard.
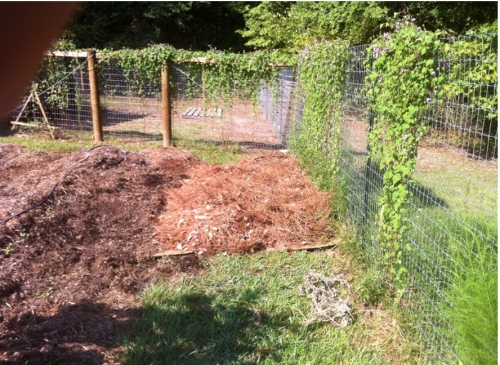
Here the pine straw is laid in a 6-10 inch layer on top of the cardboard. This keeps the cardboard in place and keeps it moist. The pine straw will break down over a season or two adding organic matter to the soil. The glue used in cardboard (corrugated) is actually good food for soil microorganisms which feeds them and speeds its decomposition.
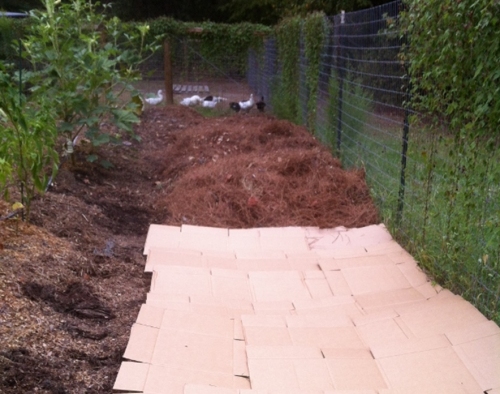
In this photo you see the continuation of the technique. Note that the cardboard is placed so that it overlaps itself and any surrounding sheet mulch by at least 6 inches. This helps to minimize any shoots or runners from the grass escaping and getting established.
The plants you select to use in these areas need to be established transplants that are big enough to stand above the 6-10 inch layer of mulch. Bushes and trees work well here – small annual plants like tomatoes do not. This is not a technique you could use well for starting seed in the ground.
I purchased 9 2-year old blueberry bushes consisting of 3 varieties (early, mid, and late producing) to fill this space. Planting is as easy as pulling back the mulch, cutting and "X" in the cardboard and pulling back the cut pieces like the petals on a flower, digging the hole for the plant, installing it, folding the cardboard petals back in place and replacing the mulch.
I did the same with 9 blackberry bushes on the outside of the fence, and I plan to use this same technique when I put in the grapes next month along another garden fence. I use the same kill-mulch technique for garden paths and surrounds where I want to control grass/weed growth.
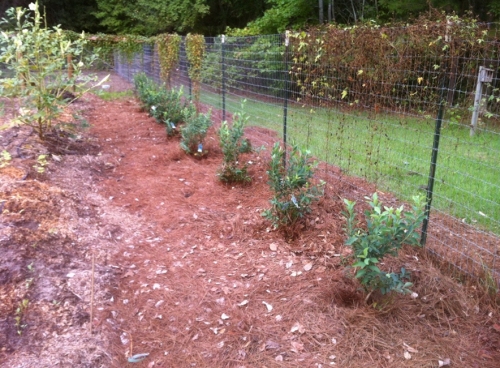
Now I have perennial bushes that require very little weeding and get irrigated by water I was already using on the garden.
Scubadaddydo
www.alpharubicon.com
All materials at this site not otherwise credited are Copyright © 1996 - 2013 Trip Williams. All rights reserved. May be reproduced for personal use only. Use of any material contained herein is subject to stated terms or written permission.