*AR Extractor Spring Replacement*
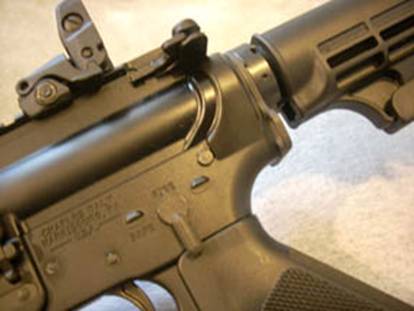
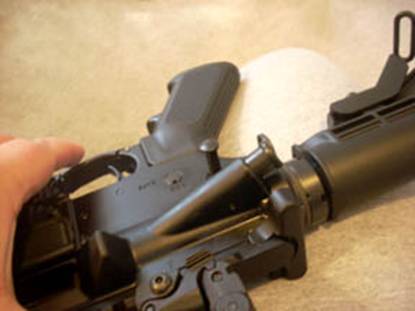
First thing you always do when handling a firearm (that you don’t intend to shoot), is to make sure it’s unloaded and safe. Next separate the lower and the upper by pushing the rear takedown pin through.
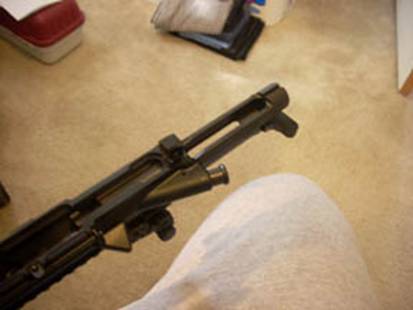
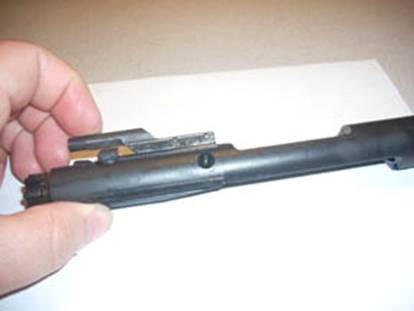
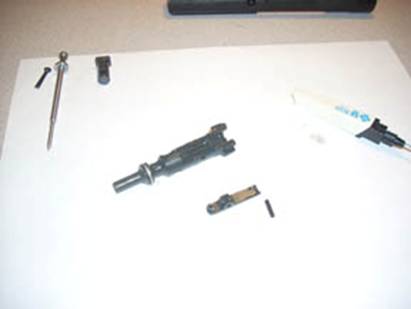
Next pull the charging handle about halfway out so that you can access the Bolt Carrier Group (BCG). Now pull the BCG out and set the rifle aside.
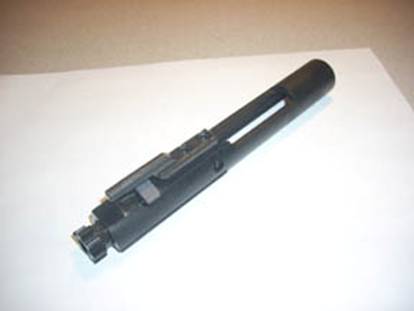
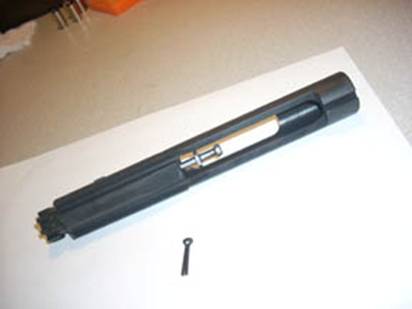
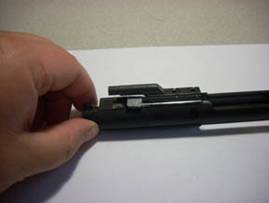
Now with the BCG out first thing is to pull the firing pin retainer (cotter pin).

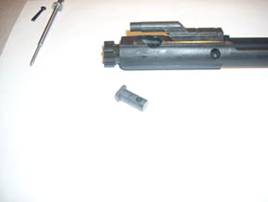
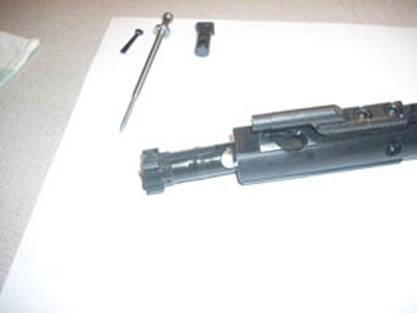
Now you can remove the firing pin.
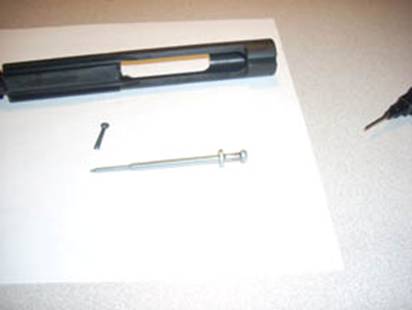
Next you can rotate the cam pin, and remove this.
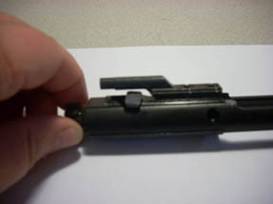
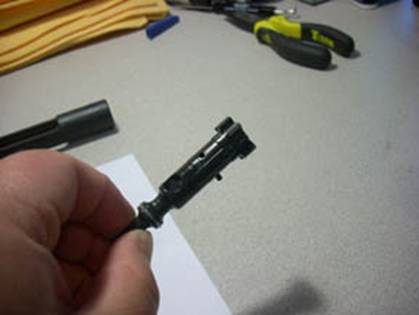
Now you should be able to slide the bolt out.
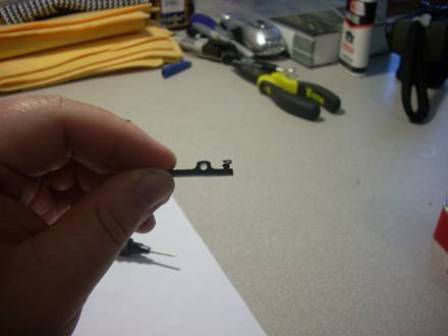
With the bolt free you can now access the extractor. I find that if I put pressure on the extractor directly above the pin it is easier to push out the pin.
Once the pin is free you can release the extractor and it should now be free. Now on the underside of the extractor you will see that one side has the spring and insert while the other side has the extractor “groove” or “claw.”
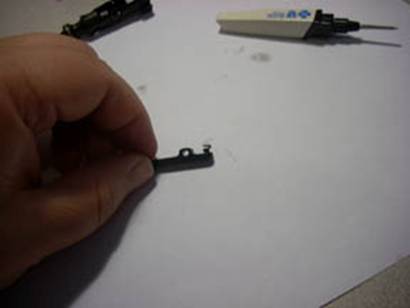
Now is a good time to inspect the extractor to ensure that there is no damage to it or the bolt. Barring any damage, you should now be able to replace the spring and insert. Begin by pulling the old spring out of its pocket. You should able to use your fingers, but if the spring is broken or stubborn, you may need to use needle nose pliers or a pick of some sort.
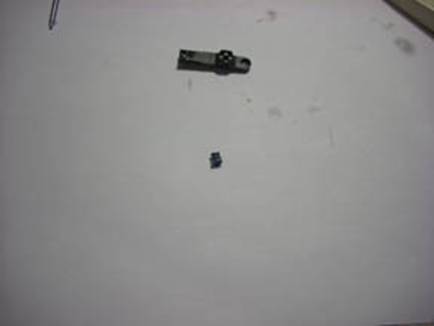
Once the spring and insert are out you can now replace with the new spring and insert. I ordered mine from one of the larger internet parts companies because they offer a three piece upgrade/replacement kit with a nice heavy spring and the black insert that I was told that I wanted (thanks JJW). The third piece is a “mil-spec O-ring.” Looking at the two side by side it is definitely obvious that my old spring needed to be replaced.
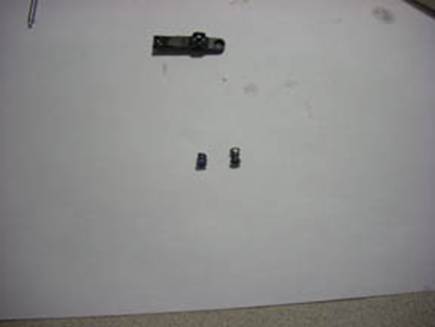
Now put the new insert into the bottom of the new spring and press the pair into the pocket of the extractor. This may take a little bit of work but it will eventually snap into place. Make sure it’s seated all the way.
The kit came with “O” rings inserts, but I didn’t think that they were necessary, so I didn’t use them. The only thing the “O” rings do, as I understand it, is place additional pressure on the extractor. With the larger spring there is already additional pressure above stock.
Now just reassemble, function test and send some happy downrange.
Lou832
www.alpharubicon.com
All materials at this site not otherwise credited are Copyright © 1996 - 2010 Trip Williams. All rights reserved. May be reproduced for personal use only. Use of any material contained herein is subject to stated terms or written permission.