*Knife Sharpening 101*
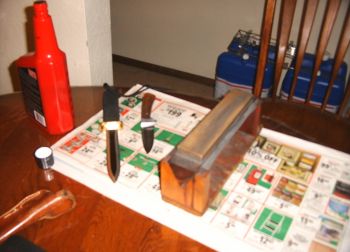
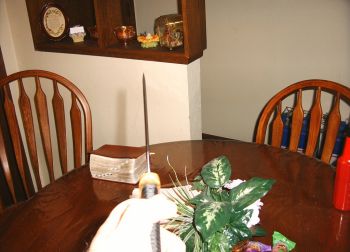
These are some of the items that I use to sharpen my knives. What I have pictured here is an 8 inch Tri Stone. This has three stones glued onto a base of wood. The wood base sits in a platform that allows you to lift the stones and turn them to which ever coarseness you want on the top. Next to that I have a bottle of marvel oil. I have used brake fluid and 3 in 1 and numerous other types of fluid and even water. I like marvels the best. I have even tried dry stones but I don’t like dry stones. The pores of the stones get clogged up to easily. What I like about using a fluid like marvels mystery oil is it floats the small grit and metal flakes up away from the stones surface allowing the stones to give a better bite.
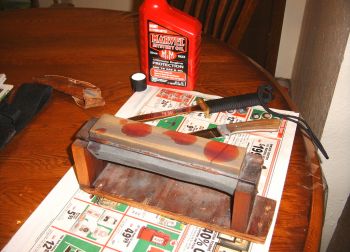
It doesn’t take much oil to do the job but you can’t use to much either. A couple of small puddles on the stones then spread them out to cover the surface and you are ready to go. Remember the most critical thing about sharpening in this fashion, or any fashion is the angle of the blade v the stone. Two things to keep in mind here. What will the blade be used for? The rougher and harder the use the greater the angle. Things like scalpels and skinning knives and straight razors would have a lesser angle than say a Bowie or K-BAR. The other thing to remember is once you determine the angle it has to be maintained with every stroke. I have been sharpening this way (free hand) since I was about 12 and got my hands on a 1940 something Boy Scout manual.
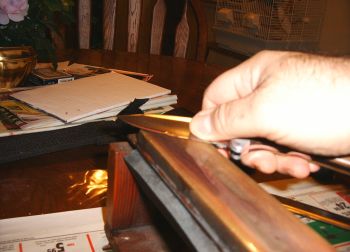
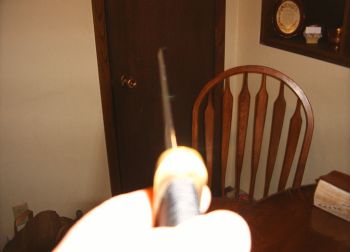
For the smaller knives and or stiffer knives I can usually get by with using one hand to draw or push the knife. But on longer or more flexible blades like the Fillet knife I will use 2 hands the second resting on the spine of the blade closer to the point. This allows me to control the pressure better and helps to control the bend of a more flexible blade.
The method I use is what I call a pyramid. I read about this a few years ago and really liked it so I have been using it ever since. It starts like this. Draw the knife 10 times toward you and then turn the knife over and push it away 10 times. The draw it toward you 9 times and turn the knife over and push it away 9 times. Doing this all the way down to one time per side. On the worst of blades and using a course stone this will usually be enough to get a working edge back on the blade. Then switch stones to a finer grit and start over. Once your blades are sharp it’s easy to maintain them. You might start out on the medium grit Arkansas stone and only draw and push 5 times per side working down from there. Remember each stroke, push or draw, is JUST LIKE TAKING A THIN SLICE FROM THE STONE.

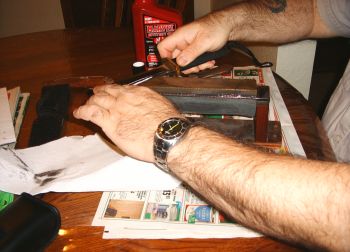
Pushing and pulling using two hands.
Once you think you have a sharp knife there is a couple of test to make sure you’re your blade is sharp.
So the angle is critical and takes practice. Once mastered I really don’t think there is another method out there that can do as well.
Murph
www.alpharubicon.com
All materials at this site not otherwise credited are Copyright © 1996 - 2004 Trip Williams. All rights reserved. May be reproduced for personal use only. Use of any material contained herein is subject to stated terms or written permission.