*Making a Molded Holster for a Revolver*
By: Grundy
30 January 2012
A wet molded holster for a revolver, and by extension any handgun, can be made in the following manner:
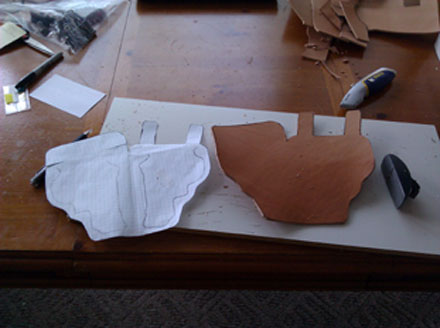
Lay out a pattern on paper. I prefer grid paper for the ease of measurement, scale and transfer of reference points. Check the pattern against the handgun to approximate the fit. Once satisfied, transfer the pattern to the stock leather. I used heavy cowhide...
The perceptive eye will notice that this is a left handed holster. Later pictures show a right handed holster. Yes, I had to make this holster twice due to carelessness. Always check your patterns for proper orientation. Also notice how I made heavy pencil lines on one side of the pattern and transferred them by rubbing. It made pattern construction much easier.
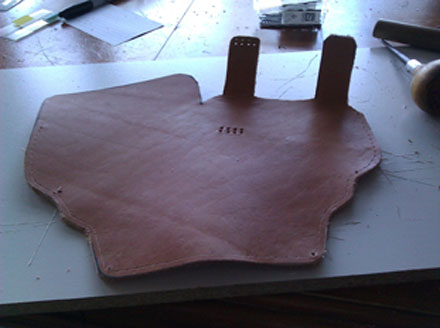
Mark and punch stitching holes. Pliers type leather punches work well at the edges of a piece, but I used an awl for the belt loop stitch holes on the front of the holster. Also, nailing the piece to a work surface can hold the two folded sides together so you can transfer stitch marks with an ice pick. I used short finishing nails...
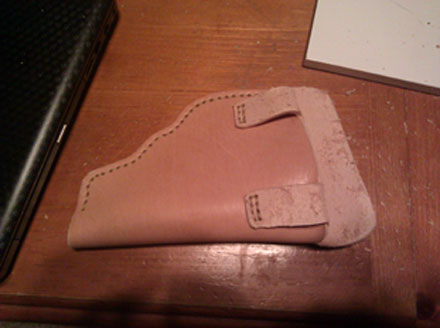
Here it is with the edges and belt loops sewn. I used synthetic sinew in a saddle stitch. I secured the ends with a square knot on the back of the holster, which I melted together with a lighter and dabbed with superglue...
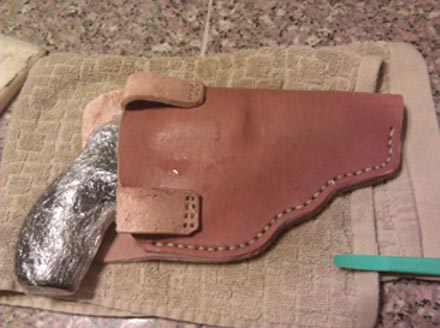
I wrapped the revolver, in this case a S&W Model 19, in several layers of cling wrap to protect it from water. Then I inserted it into the holster to the position I meant it to stay in and lightly sprayed water on the leather to soften it. I began molding with my fingers and some cheap plastic clay sculpting tools from a craft store. The first stages look like this...
After about an hour of working the leather, it looked like this...
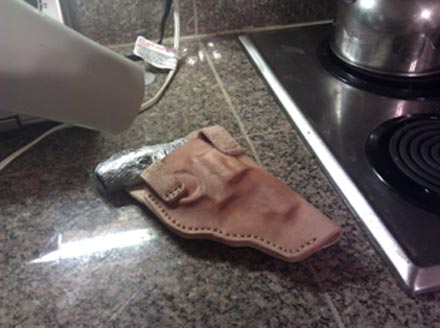
Keep the leather wet enough to be pliable, but not so wet as to keep it from retaining the shape you want. You'll have to determine the feel for it. A hair dryer can speed drying.
I added an extra stitch to keep the fit tight, as I made the holster a little larger than intended. In the picture, the leather is wet because I molded the edges of the stitch holes to lock the stitch in...
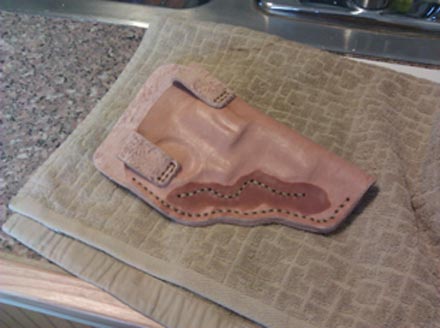
I waxed the holster by putting a mixture of Gulf Wax (paraffin,) beeswax and neutral shoe polish in a double boiler, melting the wax and pouring it repeatedly over the holster with a metal serving spoon. I treated the inner and outer surfaces to saturation. I used a hair dryer set to high to melt and reflow excess wax, dabbing with a folded paper towel. The finished product...
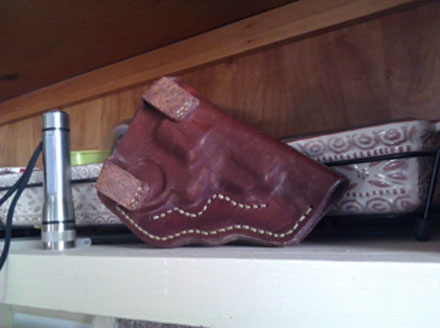
Note: I used a loose fabric buffing pad on my Dremel tool to buff the cooled and hardened wax to a dull shine.
Grundy
www.alpharubicon.com
All materials at this site not otherwise credited are Copyright © 1996 - 2012 Trip Williams. All rights reserved. May be reproduced for personal use only. Use of any material contained herein is subject to stated terms or written permission.