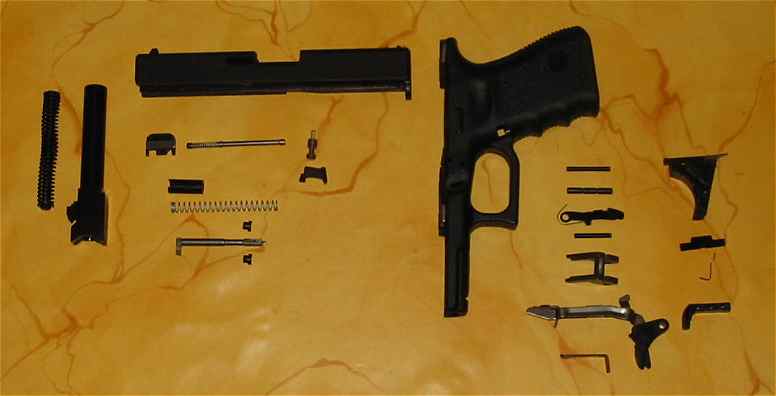
| Here's the stuff that you'll need. | 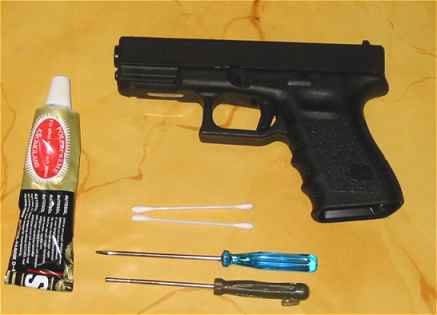 |
| Doublecheck that the gun is unloaded, and fieldstrip as per the manual. | 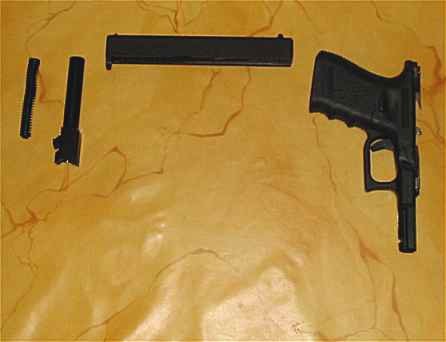 |
| Note the anti-seizure compound applied at the factory... Take a suitable pin and push the plastic sleeve forward as indicated. | 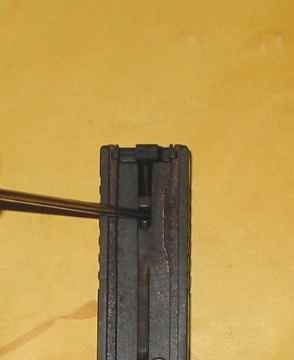 |
| While doing that, slide the back cover of the slide downwards, and pull the firing pin (Glock refers to this part as "the striker", which is probably a better name, as the gun is striker fired, i.e. there is no hammer. I'm going to use the two words interchangeably in this article) and extractor spring that become visible clear to the rear. | 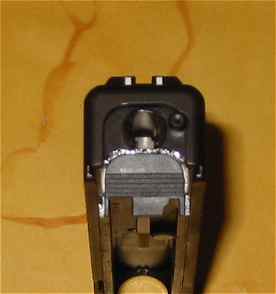 |
| Firing pin and extractor spring.When the cover comes off, there is some spring pressure, but not a whole lot... | 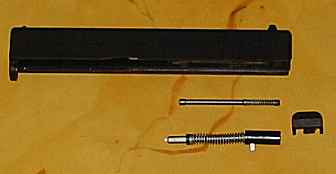 |
| Push the firing pin safety in with your thumb, and wiggle the extractor lose. The firing pin safety is all that is holding the extractor at this point. Once the extractor is lose, lift the firing pin safety out of the slide. Be careful with the small spring that is under it so you don't lose it. |  |
| This is easier to do than to explain... Stand the firing pin assembly up on the table, and pull the spring down. The plastic sleeve in the picture is split in two halves, that can be taken off. When they are out of the way, carefully ease off on the striker spring, and separate the parts. | 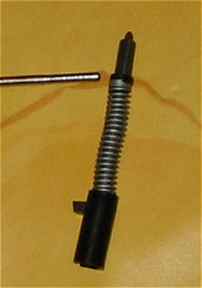 |
| The slide is now completely disassembled. | 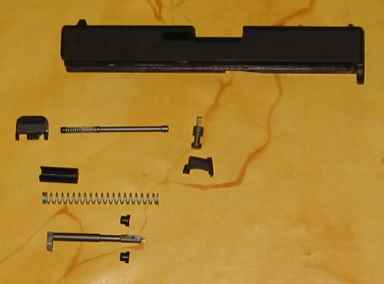 |
| Using your punch, press the first pin out of the frame, from left to right. Some older guns don't have this pin. Some force may be required, but be careful so you don't mar the slide or hurt yourself. | 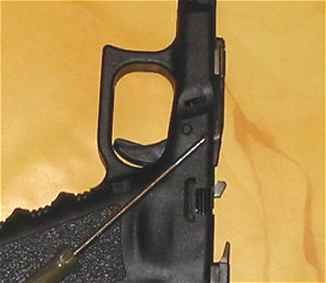 |
| Start pushing the second pin (the larger one that holds the trigger and the slide stop) left to right. The slide stop sits in a recess in the pin, so you may have to tinker with it to get it lined up. | 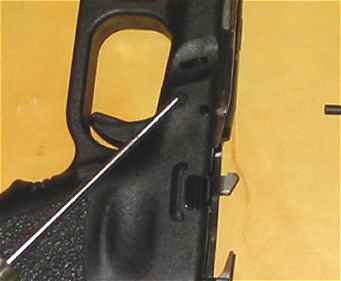 |
| Pull the slide stop out of the frame to the rear and slightly up. | 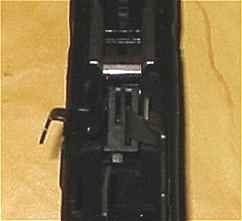 |
| Push the third pin out of the frame, left to right. | 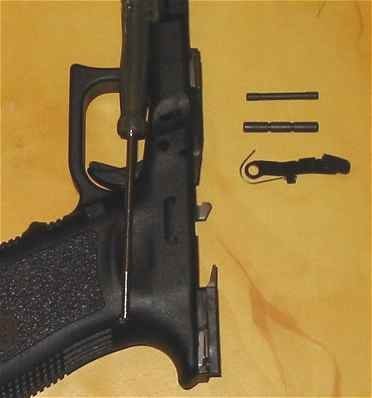 |
| Insert the punch under the locking block, support it on the left side of the frame, and gently pry the locking block out of the frame. |  |
| Insert the punch under the ejector in the same way, and gently pry the trigger assembly out of the frame. The impression here is that the whole guts of the gun are coming out, that's as it should be. | 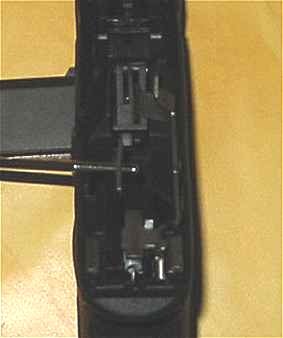 |
| Trigger assembly. Gently twist the trigger bar out of the plastic block that holds it and the ejector. Unhook the spring that connects them. Take a mental note of how it's all hanging together. | 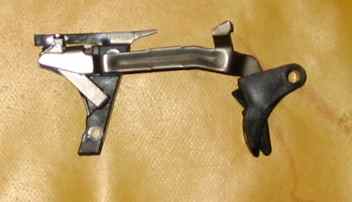 |
| Take a small screwdriver, and locate the point where the connector is fastened. Push it gently to start it out of the plastic block. | 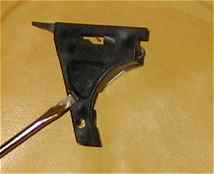 |
| Push the disassembly catch spring down, tilt the frame to the side, and shake. The catch will come out. The spring that held it is just lying loose in the frame at this point. If you only want to get to the trigger, you can skip this step. | 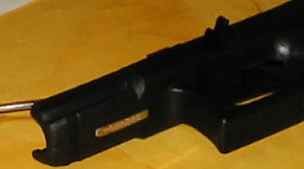 |
| Here's another one that's easier to do than to explain... look down the magazine well. You will see the magazine catch and it's spring. There is a small slot cut in the magazine catch where the spring can be guided out. Use a small screwdriver (pushing the magazine release can help) and do that. The magazine catch will come out of the frame to the right. You can skip this step if you were only interested in the trigger. | 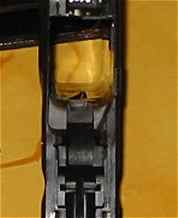 |
 The gun is now completely disassembled. If you want to go the de-luxe route (and blow the $0.25 budget. I know I did...), replace the standard 5.5 lb trigger connector with a 3.5lb one. It looks almost the same, but has a small minus sign stamped near the top. There is also a + marked one, refered to as the 8lb connector, and two alternate trigger springs , refered to as N.Y 1 and N.Y.2 that can be put in the gun instead of the original at this point if you want a heavier trigger pull for some reason. To each his own. | |
| Locate the parts in the picture, and using a Q-tip and some mild polishing compound, polish at the indicated spots. The idea is to work on the metal parts that rub against each other when you pull the trigger. We are not trying to change anything, just to make things go smoother, so take it easy. Clean off all polishing compound. | 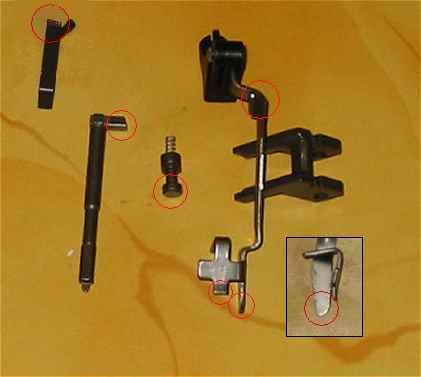 |
| Start the connector back into the housing. | 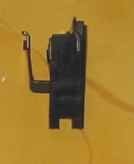 |
| Hook up the spring to the trigger bar, and put it back the way it was. It does not take any force other than to overcome the small spring. | 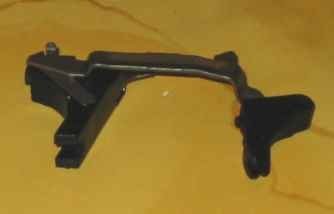 |
| Put the trigger assembly back into the frame, and check that the holes align. | 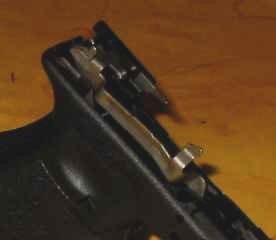 |
| Put the disassembly catch spring back the way it was, push it down with something, and insert the catch from the side (left or right). There is a groove cut into one side of the catch. The catch goes into the frame with this groove facing to the rear. The serrated "ears" (the parts of the catch sticking out of the frame when the gun is assembled) should face down. The part will go in either way, but this is how it should be put in. | 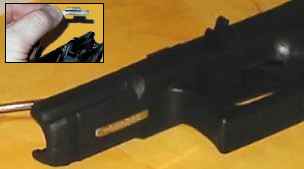 |
| Put the locking block back in the frame, and check that the holes align. | 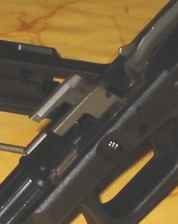 |
| Put the smaller of the two forward pins in first, right to left. | 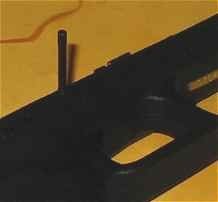 |
| Note the notch that the slide stop is riding in. | 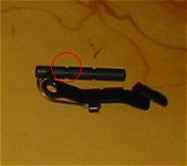 |
| Start the second pin back in, right to left. | 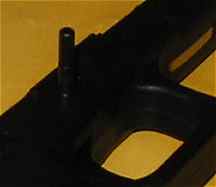 |
| Insert the slide lock from the rear. It rides in a notch in the trigger, and the spring goes under the first pin (that was why that pin was put in first). Push the pin back in, being careful to get everything lined up. You will usually hear when the slide stop hits the notch, don't force it beyond that point. | 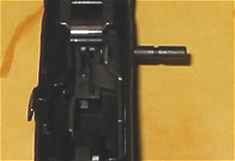 |
| Put the firing pin in it's plastic sleeve, and put the firing pin spring back on the firing pin. If you want to cheat, you can stuff the rear end of the sleeve with TP, but it can be done without. Push the spring down with one hand, and put the little plastic retaining thingies back around the pin using hands two and three ;-). Don't let the spring slip. | 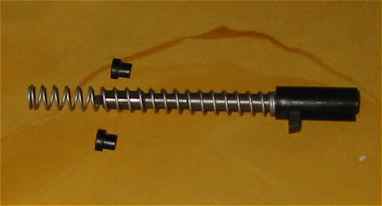 |
| Congratulate yourself. The firing pin assembly is complete. | 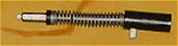 |
| Put the firing pin safety back in it's hole on the slide, push it in as far as it will go (use your thumb), then drop the extractor into it's cutout. Ease off on the firign pin safety, and check that everything holds together. | 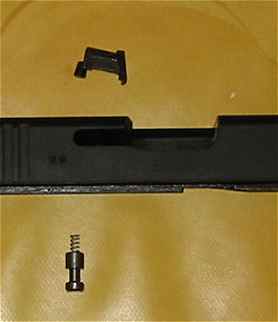 |
| Insert the firing pin assembly and the extractor spring from the rear as shown. | 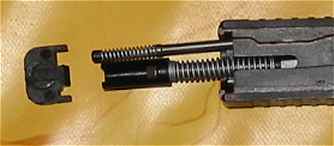 |
| You will have to push down on the firing pin sleeve and the extractor spring pin when the cover reaches them. | 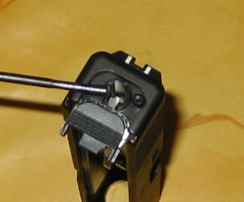 |
| Almost there, time for a function check: Push the firing pin safety in, and shake the slide back and forth. The firing pin should move freely. | 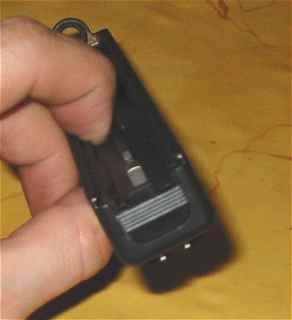 |
| Let go of the safety, and pull the firing pin slowly to the rear (not enough to start cocking the spring). You should hear/feel when the pin goes past the safety, and you should not be able to push the firing pin forward far enough to see it's tip in the breechface. If that was what happened, you passed. | 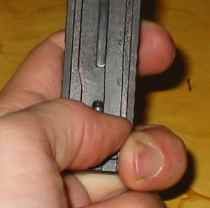 |
| Put the barrel and mainspring back into the slide as per the manual. | 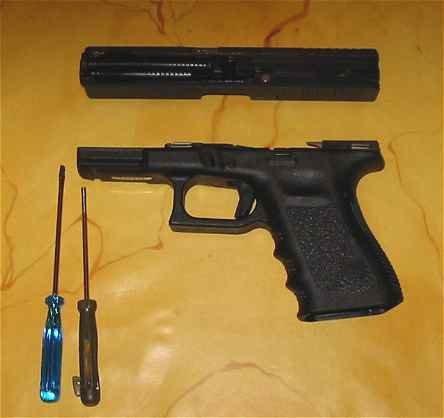 |
| Reassemble the gun. Check that you can not pull the trigger without pushing in the little thing in the middle of it (trigger safety). Dry-fire. Dry-fire again. OK, it's still not a match trigger, and it will never be, but it should be notably smoother now. | 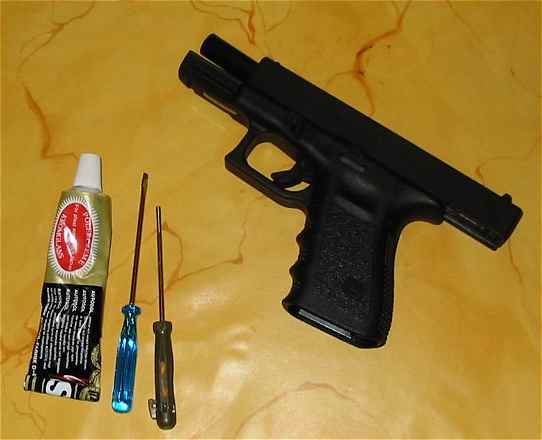 |