*Replacing An Axe Handle*
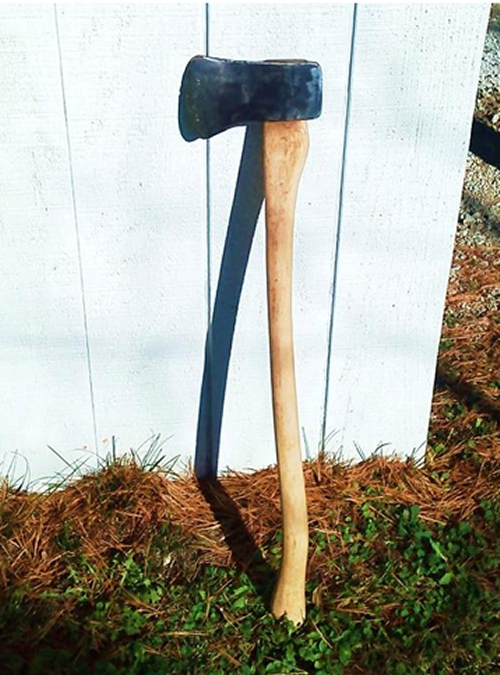
Replacing an axe handle is easy. Replacing one PROPERLY is a little more time intensive. I recently acquired a relatively nice Plumb single bit axe from the local flee market for the small sum of $5, which isn't a bad price for a quality American made axe. When buying a used axe try to find one that's American made with a decent edge that hasn't been chewed up by someone's bench grinder also check the back of the axe for cracks or other signs of negligent use.
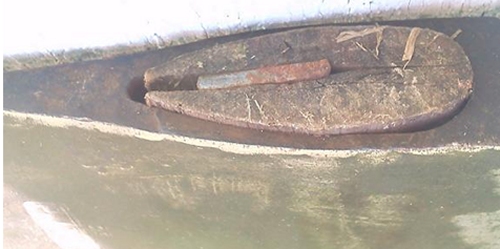
The former owner already replaced the handle on this axe and decided to only use a metal wedge, which wouldn't hold up to more than 10 minutes of serious chopping. The handle also was cracked at the bottom, so replacing it was a must.

Once you have the bottom of the axe where you would have to remove a lot of material to get it to slide any further I mark the handle as shown and start to tap the bottom of the handle on the ground to make sure the head is seated firmly. I also will tap lightly with a hammer to make sure there is no more movement in the head before I go further.
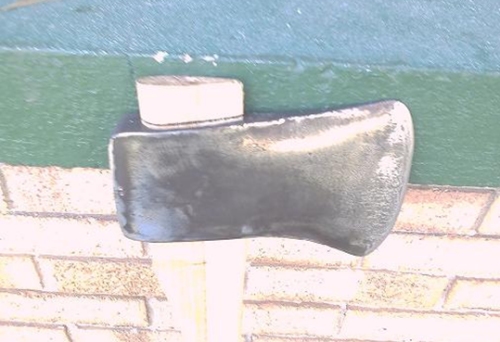
Once the head is completely seated I'll start to seat the wood wedge which was provided with the new handle. Use either a wood mallet or a piece of wood between your hammer and the wedge to help prevent it from cracking. Once you think the wood wedge it seat you can take a knife or scribe and make a line on the wedge and hit it a few more times to check for movement. Once everything is nice and tight and seated you can cut off any excess handle above the head with a saw leaving about an 1/8th inch of wood.
The handle I bought came with one metal wedge but since I salvaged the one the previous owner used I went ahead and used both but it's not completely necessary. The metal wedges really lock everything together. The metal wedges are pounded in perpendicular to the wood wedge to force the wood to expand in both directions.

Now all that's left is applying a light coat of boiled linseed oil to the handle to finish it up and make sure to rub some on the top of the handle and wedge to keep them sealed also. Attention to the fitting is key to a handle that will stay tight and last for years and take a beating.
Bignasty
www.alpharubicon.com
All materials at this site not otherwise credited are Copyright © 1996 - 2013 Trip Williams. All rights reserved. May be reproduced for personal use only. Use of any material contained herein is subject to stated terms or written permission.