
*Protecting Your Survival Library*
We have more than a few books here at the Winchester family library. These are 2 of the 13 bookcases here at the house and each one is piled just as high!
My book gathering is based primarily on two points, firstly, knowledge needed post SHTF such as metal working, medical, primitive engineering, repair of small engines, etc, etc. Secondly are books that I feel my kids should have in a schooless society such as Biology, classical literature, grammar, etc.
I can't always afford to get books that are "hardbacked" or the books I find may be no longer printed as "hardcovers". The best copy I find may also be damaged.
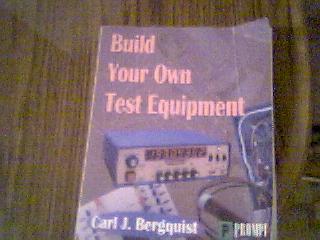
Either way, I'm getting books for the content not the looks or value as investments.
When I bring home a paperback book, new or used, I do a bit of "bookbinding" to help protect a book that may one day help protect my family.
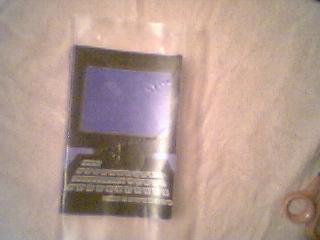
First I get a roll of clear contact paper at the store. This is the stuff that housewives put down on shelves that they have in their cabinets. It wont cost more than $4 or so and gives you enough material to cover many many books.
Unroll the contact paper on a table where you have plenty of room. When you cut the paper, cut it so that there is an extra 1/2 inch or so of paper around the outside edges of the book, assuming that the book was laying open on the paper.
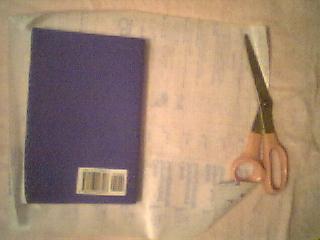
After making sure that you have adequate "overlap", peel the white paper backing away from the "contact paper". Lay the CP down sticky side up.
Lets say you want to cover the front of the book first. Lay the book down on the paper face first. Be sure to leave about 1/2 inch extra paper around the edges of the book. If you mess up, the paper can be slowly peeled back and you can try again.
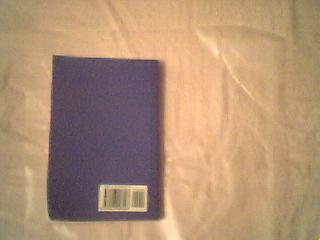
After you are satisfied with the book to paper ratio, trim the corners of the paper at an angle, right across the corner of the book.
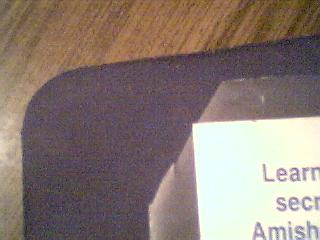
Now, roll the book over so that the rear cover is "papered".
Repeat the corner cutting for the back also.
Now you have to cut out for the spine.
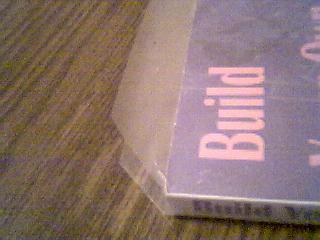
Make your cuts for the spine like this.
You are almost done. Open the front cover and just fold the "flaps" down onto the inside of the cover, top, side and bottom. Next, do the same to the back cover.
Now, you have reinforced the covers of you paperback book, a little. They are also a bit waterproofed now, not enough for a driving rainstorm or flood, but if someone sets a cool glass on it, the cover will not be ruined.
All materials at this site not otherwise credited are Copyright © 1996 - 2002 Trip Williams. All rights reserved. May be reproduced for personal use only. Use of any material contained herein is subject to stated terms or written permission.