*Chicken Feeder*
By: Pistolshooter
29 September 2012
Many may have chickens, and the feeder that I have built will hold a 50# bag of lay pellets. If your dog is not a glutton, it could also be used for him. You would have to adjust the angle some for the dog to be able to get the food out.
All you will need is one sheet of plywood, 2 pieces of 2X4X24", a box of 1" screws, and the hinges of your choice. I use 1/2" indoor plywood because that is what I usually have. 3/4" plywood might be better and probably wouldn't sag in the middle after a few years, as seen in the last picture of my old feeder. Since it will be in the coop and not subject to getting wet most of the time, I do not use treated wood, and it seems to do just fine.
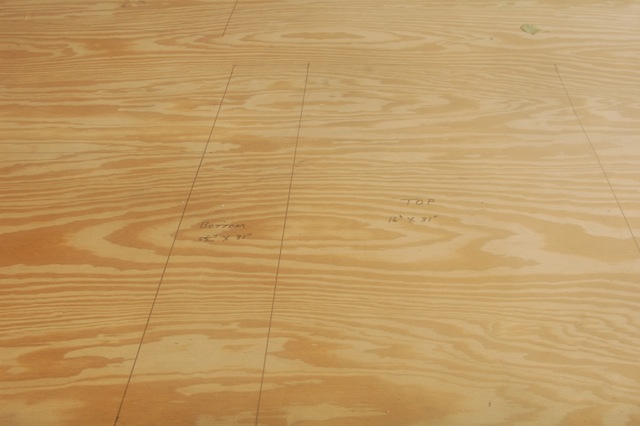
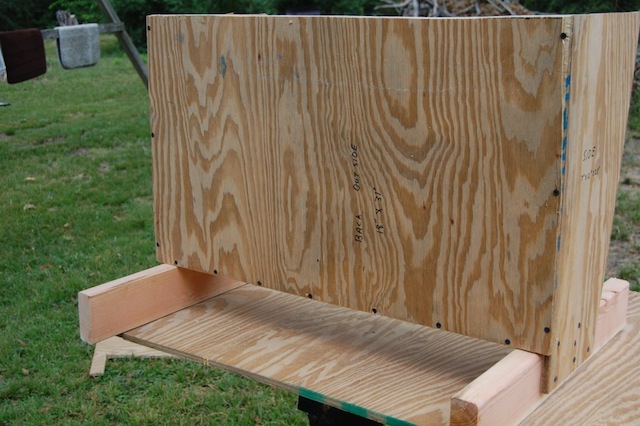
I will layout and label all my pieces before I start cutting. After all the pieces are cut, I start with the 2 sides and the back.
As you can see, the sides are longer than the back. The reason for this is for extra support for the two 2X4 legs. Also notice that I have the screws started, and placed about every 3 to 4 ". Remember that you are placing a 50# bag of pellets in this box, and you do not want the feeder falling apart from the weight. Also, I have gone into the coop several times and found several chickens standing on the feeder cover. That could be an additional 10# or so.
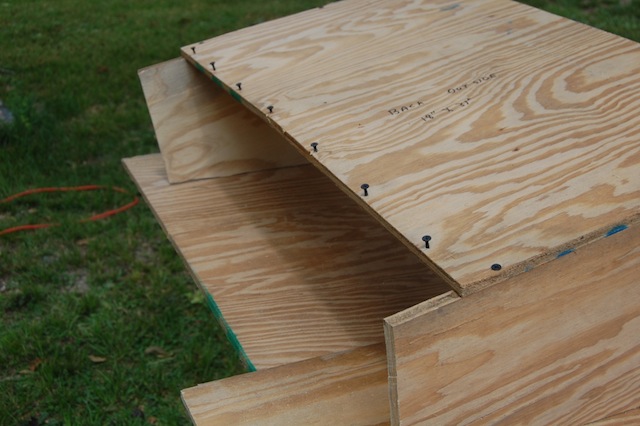
Another view of the back mounted on the sides. See that the back covers (or overlaps) the sides. All other pieces will fit snug inside this frame.
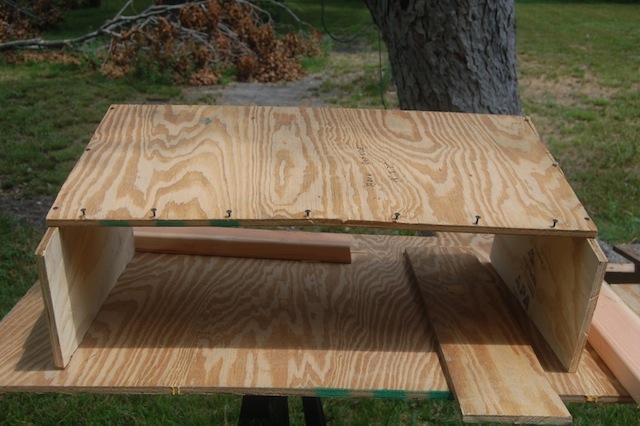
Here I have the bottom and the legs mounted to the sides and back.
This is a view of the back. I will add two more screws on each side of the back for more support before it is complete.
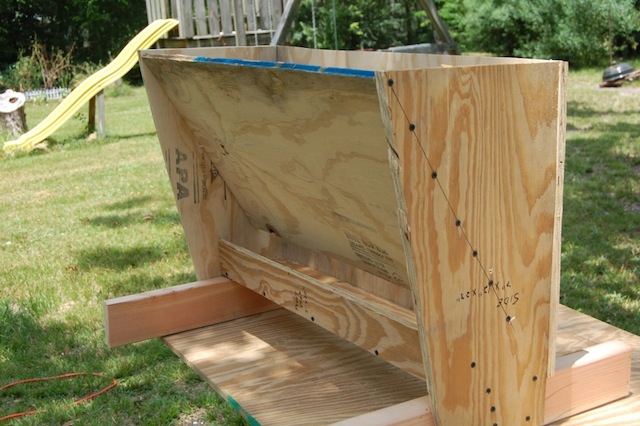
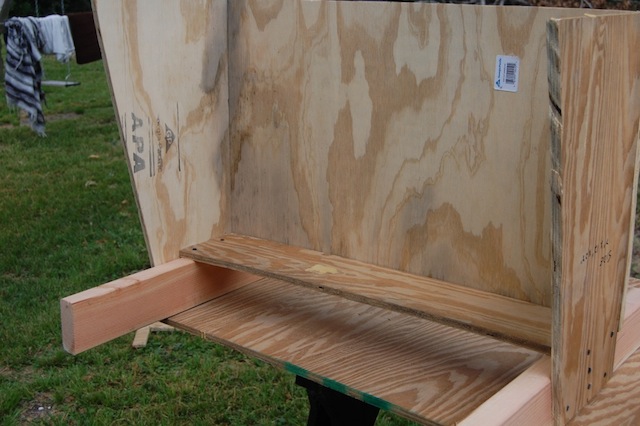
In this view, you will see the front of the feeder as well as the angle. I put one screw in the top on each side and one at the bottom. Draw a line between the two screws, and add the screws that will hold the front. There is a 3" gap between the front stop and the bottom of the sloping front. It is hard to see in this picture, but the front does protrude about 1-1/2" below the stop. The stop is the 3" wide board on the bottom of the feeder to keep the feed from just pouring out.
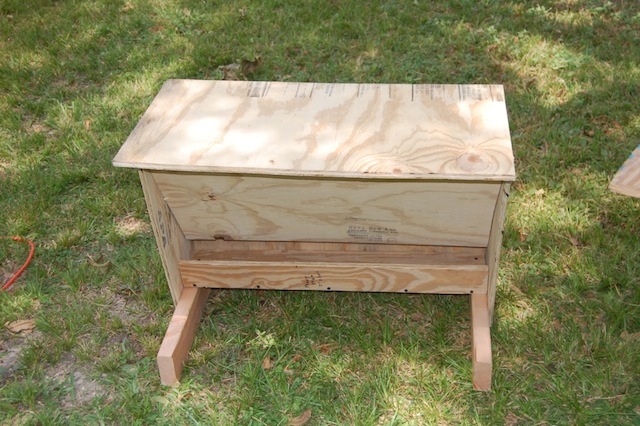
I place the top on, which is oversized. You can use any type hinges you may have on hand. Just place them flush in the back.
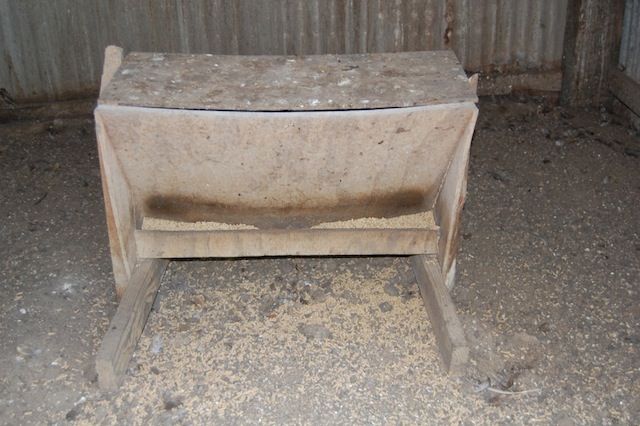
This is my old feeder. I have used it for about 8 years. You will notice the front is sagging forward. That is due to age, and all the extra weight that is on the top at times. On this feeder, I had two 2X6 boards running up the side for extra support. This is not really necessary, but it was my first feeder, and I was not sure how it would fare. You can also see why the lid should be oversized. The hens do not always scratch out the feed onto the ground as you can see from the picture.
The plans as I have drawn up. I did not put the legs on the plan. They are somewhat just two pieces of 2X4.

I did not lay out the two 2X4 feet. I made mine 24" long for stability.You can go longer, but I would not recommend any shorter.
With 24 hens and 1 rooster, a 50# bag of lay pellets will last me right at 2 weeks.
Pistolshooter
www.alpharubicon.com
All materials at this site not otherwise credited are Copyright © 1996 - 2012 Trip Williams. All rights reserved. May be reproduced for personal use only. Use of any material contained herein is subject to stated terms or written permission.