*Knots & Hitches Part I*
Basics
By Jaden
17 July 2003
Knowing how to tie some very easy and basic knots and hitches might just come in very handy someday.
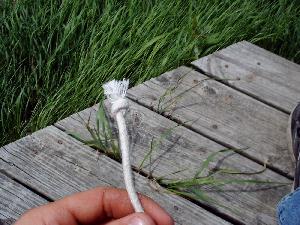
I’ve used 2 different color ropes to help enhance the detail.
There are 2 main terms when it comes to a piece of rope.
Bitter End= The end you are working with-
Standing Part= The unused portion of rope- 
Square Knot- Used for joining 2 ropes of EQUAL size. If you put a lot of strain on it, you won’t be able to untie it… oh well.
This knot is easy. Just remember, "left over right, right over left". You can also tie it "right over left, left over right". Just remember which one you do first and do the opposite next. Start off like you’re tying your shoe. I always go left first, then right. Then tie your shoe again the opposite way and you should come out w/ a square knot.
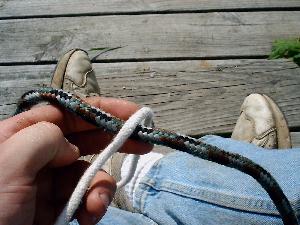
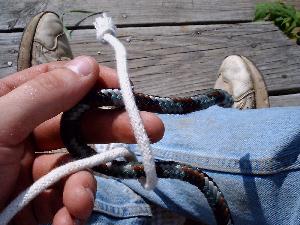
Left over right- Right over left- Tighten it up
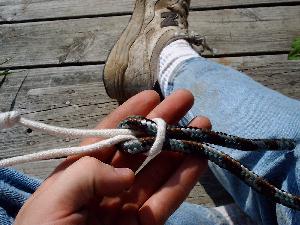
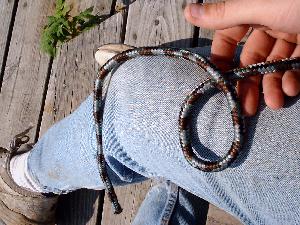
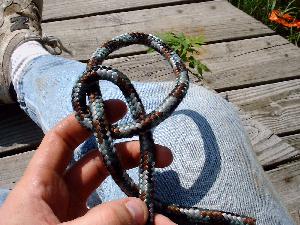
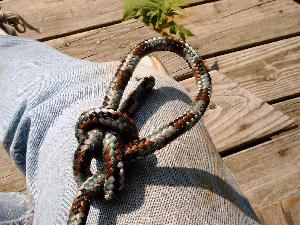
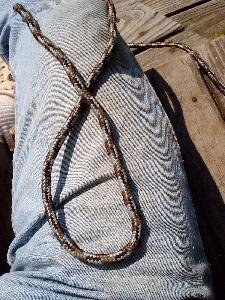
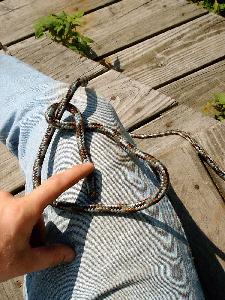
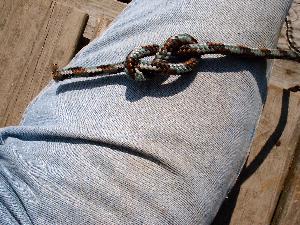
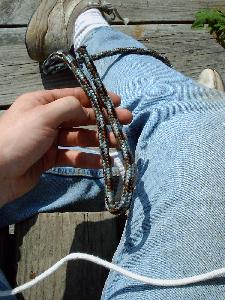
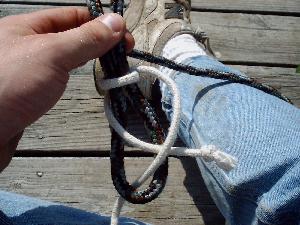
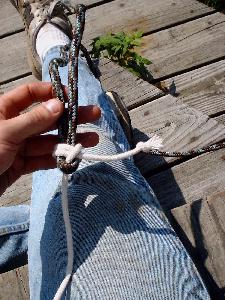
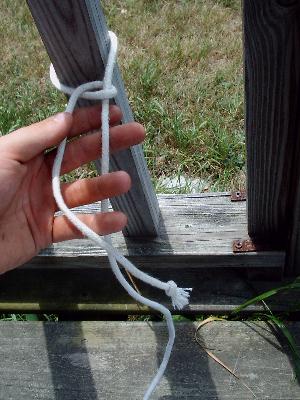
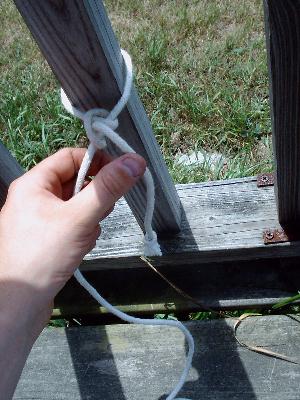
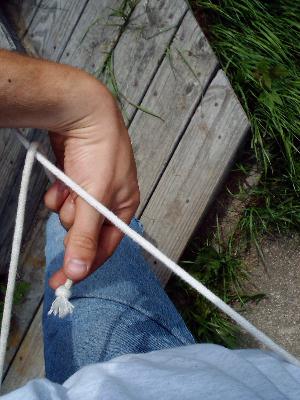
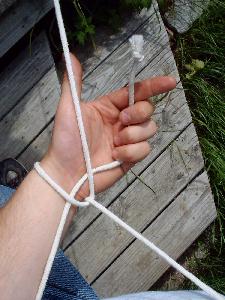
Bowline- Used to put a "temporary" eye (loop) in the end of a rope.
No matter how much strain you put on a bowline, it’s easy to untie.
1. Take the bitter end of your rope and loop it OVER the standing part. This is called an "overhand loop"
1 2 3
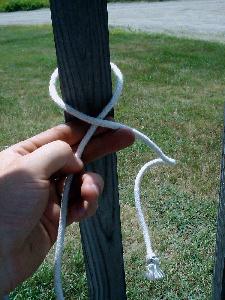
To untie the bowline- Turn the knot until you see this-
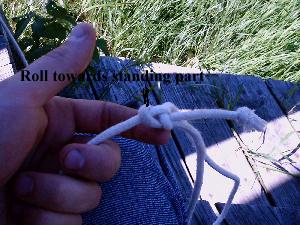
The line that passes over the standing part- just roll it towards the standing part and the knot will loosen right up.
Figure 8- a.k.a. stopper knot.
The figure 8 is used as a stopper knot. If you have a rope running through a pulley and need it to stop tie this knot and it’ll jam up in the pulley. You "should" be able to untie it.
1 2 3
Double Becket Bend- Used to join 2 ropes of UNEQUAL size
Like the square knot, you prolly won’t be able to untie it.
1 2 3
Clove Hitch- Used to secure a line to a round object… such as a pole
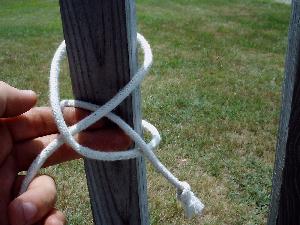
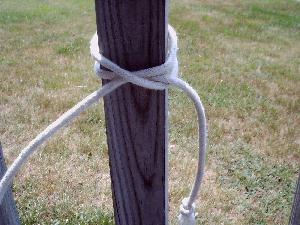
1 2 3
4
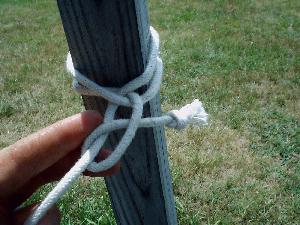
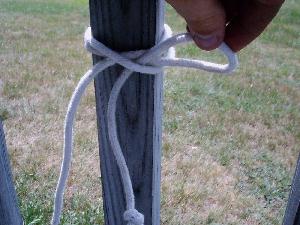
Slip Clove Hitch- Same use as the clove hitch only quicker to untie.
Instead of pulling the bitter end through the "X", just form a loop and pretend that it’s the bitter end. Pull it thru like shown. All you gotta do to release it is yank the bitter end and out she comes.
Two Half Hitches- Securing a line to just about anything.
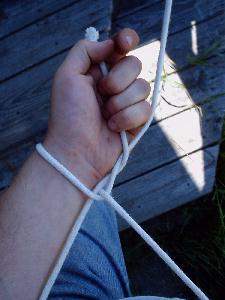
Rescue Bowline Around Your Waist- Single Handedly- Might just save your life someday.
You’re hanging off the side of a cliff or something and somebody lowers a rope to you. You’re using one hand to hang on to the cliff. You only have one hand free to tie a knot with. This will hurt like hell when they start to pull you up the cliff and the rope snatches under your armpits, but it works!
This is very easy….trust me! Practice w/ doing it with each of your hands.


1 2 3
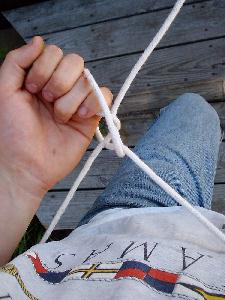
4 5 6
Well, the file size is getting big so I’m gonna hafta wrap this one up and continue later.
Practice, practice, practice
Jaden
All materials at this site not otherwise credited are Copyright (c) 1996-2003 Trip Williams. All rights reserved. May be reproduced for personal use only. Use of any material contained herein is subject to stated terms or written permission.