*Replacing a Sledge Hammer Handle*
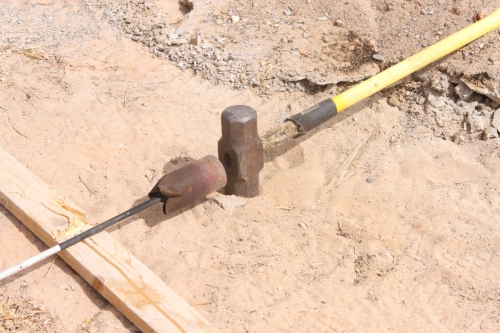
During a recent project on the well, a problem was discovered with the sledge-hammer. This ubiquitous tool of construction/destruction had been swung in the hands of a relative newbie who had "occasionally" missed his mark. The handle of the sledge was fiberglass and the handle right next to the head had taken the full force and brunt of a couple of impacts and had shattered. Unlike a wood handle, the fiberglass glass was still securely attached to the head, but the head flopped around loosely on the handle.
I like fiberglass handles, but they take time to install and I was on a roll so I used the hickory handle I had on hand for the replacement.
Step One
Remove all traces of the old handle from the head. As a child, this was a time of near celebration, because we would build a fire in the back yard and toss the head into it. We then proceeded to roast marshmallows, tell campfire stories, and other such fun. When morning came, we pulled the cold metal head from the fire and proceeded to fix a new handle. Here, I just used a 150,000 btu weed burner and accomplished the job in about 10 minutes. I kind of miss the old campfire though. If you look at the picture, it looks like there is no flame but, make no mistake about it, it is hot!
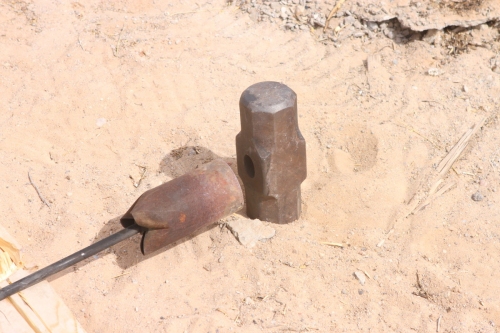
When the resin in the fiberglass melted, I was able to pull the handle from the head. It still had quite a bit of melted plastic resin in it; so, I let the burner run on it until all of it was burned away. The cleaner the head, the better it will look and the happier you will be. If some resin is left on, it's a possibility that it will interfere with the setting of the handle and then crack and fall away making the head loose on the handle again. Take a few extra minutes here and do it right.
Step Two
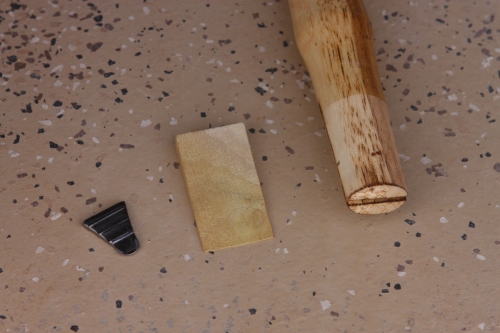
Prep the new handle. You should have two wedges, one wood and one metal. If you don't have these, you can easily make a wooden one and you can still use the metal one from the old handle. Any hardware store should carry a set of wedges as well. The metal wedge should have ridges on it that will help keep it from backing out during use. If you look at the hole on the sledge head, you'll notice that it is narrower in the center than at the ends. This is the key that will hold this handle on well.
Step Three
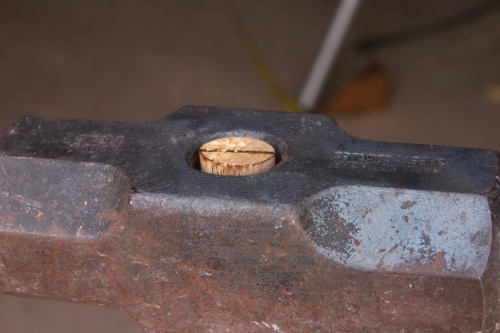
Seat the sledge head on the handle. They generally have a rounded edge on the hole on one side and a sharp edge on the other. I usually seat the sharp edge against the body of the handle and leave the rounded edge out. You want the head to bury itself in the wood of the handle. You can pick the head up and bang it, handle down, against the floor a couple of times to obtain a solid seat. The slot in the handle may start to close up. That's Okay. When it's well seated, make sure the handle doesn't protrude past the head of the sledge. If it does, use a saw to cut it off flush.
Step Four
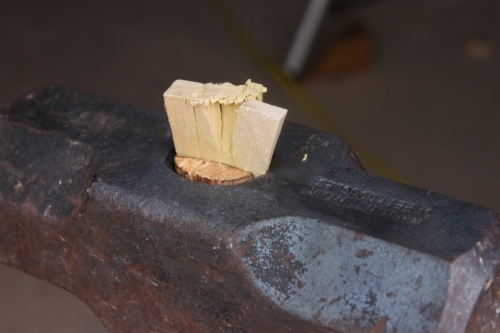
Seat the wood wedge in place. Place the wedge in the slot in the handle and drive it in place with another hammer. It's OK if the wedge breaks up as long as each piece is driven in as deep as you can. The goal is to spread the wood on the handle so that it has a good friction fit, forming around the hour-glass shape inside the head.
Step Five
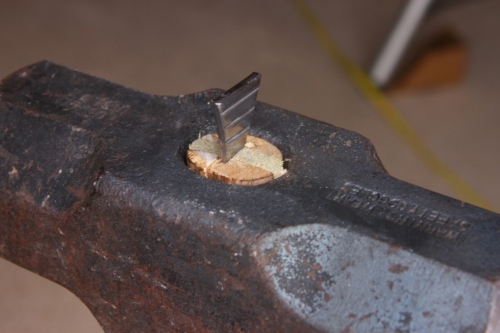
Cut the remainder of the wedge off with a saw and start the metal wedge crosswise to the original slot and wood wedge. You should start to see the edges of the handle touch the sides of the head at this point. It is imperative that you start this wedge crosswise to the first wedge. The head will not be secure if you set this wedge wrong.
Step Six
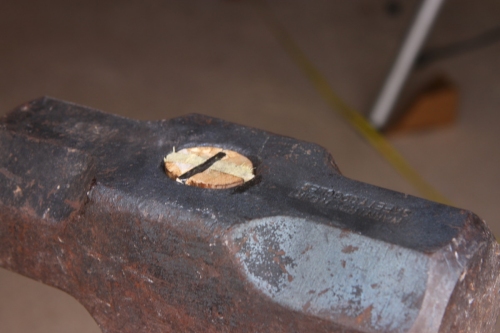
Drive the metal wedge in flush to the top of the handle. This is the final step and one of the most important. If you've done it right, the head will now be permanently attached and the only way you will get it out is to burn it out.
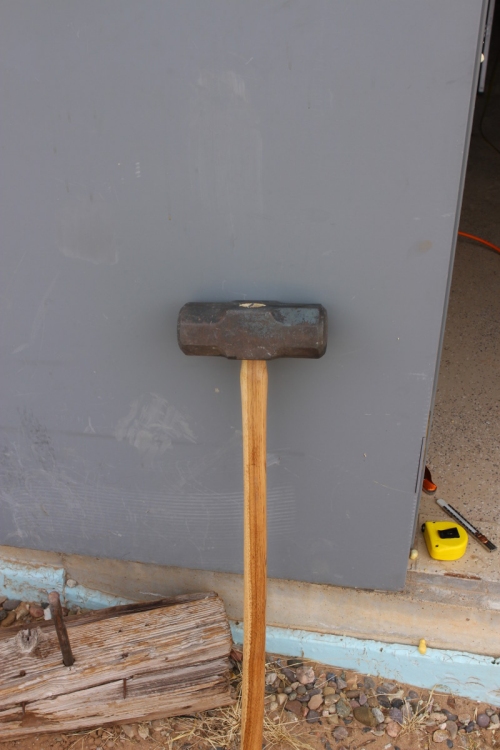
Congratulations! you just replaced your first sledge-hammer handle. Now go finish that job.
www.alpharubicon.com
All materials at this site not otherwise credited are Copyright © 1996 - 2013 Trip Williams. All rights reserved. May be reproduced for personal use only. Use of any material contained herein is subject to stated terms or written permission.