
*Temporary Shelter Bedding*
One of the considerations for those of us who are planning for a possible long term shelter in place scenario and have made a safe room to do so, consideration must be given to sleeping accommodations. In our case, our shelter is in our storeroom. While we could put a regular bed in the shelter, it takes up a lot of space and would be in the way. We choose to use a temporary, inflatable queen size bed instead that we purchased from our local "mart" store for $80. The model we selected has a bed frame to get it up off the floor.
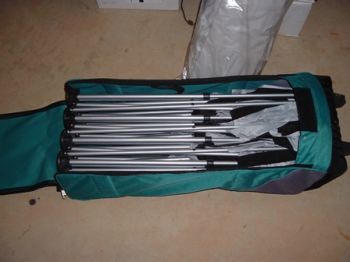
This bed comes in a nylon case with wheels on the bottom to make storage easier. It’s shown here on its side with the zipper cover opened. For normal storage it sits upright on its feet (those black protrusions on the right side)
Here, I’ve taken the vinyl air mattress part out to expose the collapsible metal bed frame underneath.
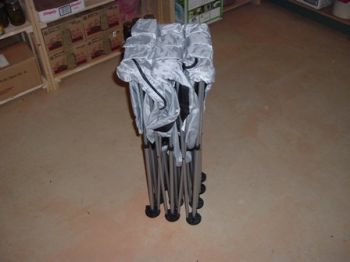
The bed frame has metal legs, a nylon air mattress cover and plastic feet.
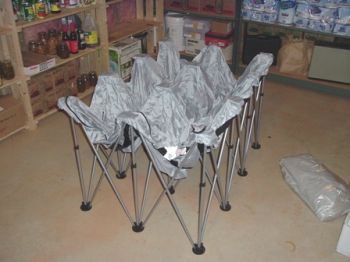
Here, I’ve begun expanding the bed frame, which is done quite simply by pulling on alternate corners.
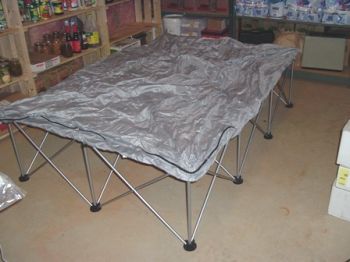
It’s all set up now, waiting for the air mattress part to be inflated and inserted into the cover.
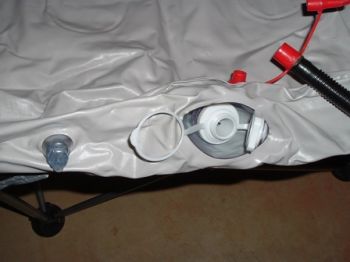
The air mattress part came with both an oral inflation valve and a pump valve port. This thing takes a lot of air, so we also bought a high volume hand operated pump for use with the bed. It cost about 10 bux, also at the local "mart" store. That’s its black hose with multiple red fittings on the right of the picture. I picked a fitting that plugged into the white air mattress port and pushed it in.

This particular manual inflator pumps air on both the downward *and* the upward strokes. It took about 3 minutes to inflate the mattress.
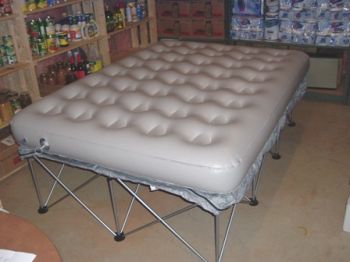
Here’s the mattress inflated and ready to insert into the frame cover. (For you extra observant folks, that’s a years worth of TP in the background!)
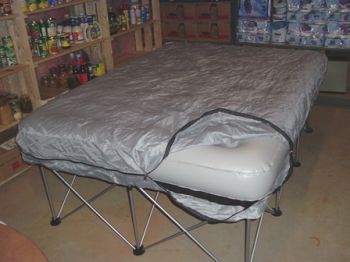
This is a picture of the finished bed assembly. I’ve inserted the air mattress part into the nylon cover that’s attached to the expanding metal bed frame. Zip it up, put your sheets on it (or use a sleeping bag) and it’s ready to use.
It took about 15 minutes from start to finish assembling the bed the first time. After all that work, I decided to test it out by taking a nap! Very comfortable and provided good support, much better than a sleeping bag on the hard concrete floor. The metal frame looks kind of flimsy, but it’s actually quite strong and stable. Taking it down and packing it away is basically the reverse of putting it together and took about 10 minutes, the bulk of which was spent squeezing all the air out of the mattress and wondering how the Chinese folks who made it got it in the bag so neatly in the first place ;)
I hope this gives you some ideas to improve your own sleeping arrangements.
Spitfire
www.alpharubicon.com
All materials at this site not otherwise credited are Copyright © 1996 - 2005 Trip Williams. All rights reserved. May be reproduced for personal use only. Use of any material contained herein is subject to stated terms or written permission.