*Waxing Cheese for Storage*
By: bunkerbob
30 May 2012
For a while now I have been thinking of preserving whole cheese for long-term storage, even though I have dry cheese powder in my larder. I then found a tried and true method that fascinated me. It's waxing with cheese wax.
You see them at the grocery store. Small round cheeses of different kinds, surrounded by soft red wax. Now, this wax isn't your ordinary paraffin wax you use for sealing the tops of your strawberry preserves or waxing your surfboard. This is much softer, and pliable, with a combination of waxes. Some contend you need multi-crystalline wax mixed with the paraffin to produce a good coating that will not be brittle and crack. Some even say you can mix non-toxic crayons with the paraffin to make your own cheese wax. Cheese wax prevents your cheese from developing mold or bacteria and it keeps the moisture in.
Well, I just purchased 2 lbs from an online homestead supply vendor and here is what I did:
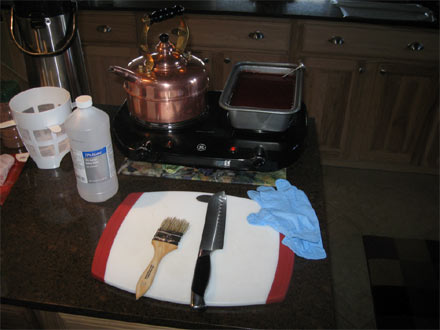
First, you want everything sterile. I used 70% alcohol to clean the knife, gloves and the cutting board, and then rinsed with boiled water. Next, I used an old loaf pan to melt the wax in, this will pretty much dedicate it to this purpose, because it is almost impossible to get all the wax off once you use it...
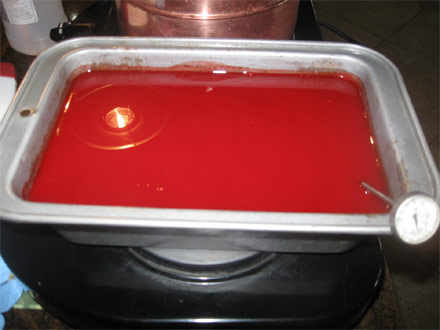
Bring the temperature to around 200f degrees, using a hot plate if possible. The wax is very flammable and an open flame is not advisable.
I bought two 5 lb blocks of cheese that were sealed in plastic from the manufacturer. I avoided the cheese that is repackaged by the grocers in their deli case, to lessen the contamination factor.
It's very important that you use cheese that has been set out to dry on a rack after opening. This way, the excess moisture has time to evaporate. If not, it could cause the waxed cheese to expand and crack.
Next, I put on my gloves and cut the blocks in half to a 2-1/2 lb size, which are more manageable.
At this point, you want to keep the cheese on the sterile board so that it is not exposed to any stray bacteria.
Another method is to wrap cheese in cheese cloth prior to waxing, for extra strength.
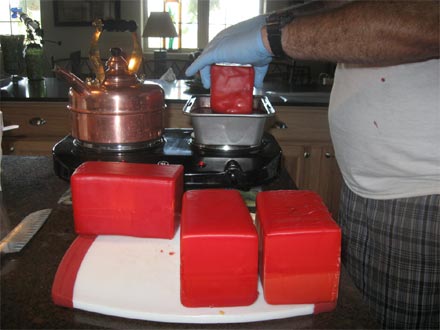
Now, let the waxing begin...
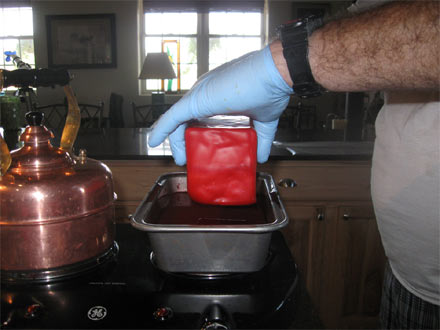
You will dip the cheese in the wax for a couple of seconds, then wait about a minute for it to cool. Set it down to cool some more (about 90 seconds). Then, turn it over and do the other side, again letting it cool between coats...
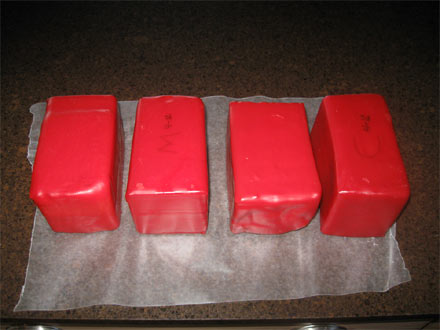
I used a magic marker to label the cheese wax with the type and date before the last coat is applied...
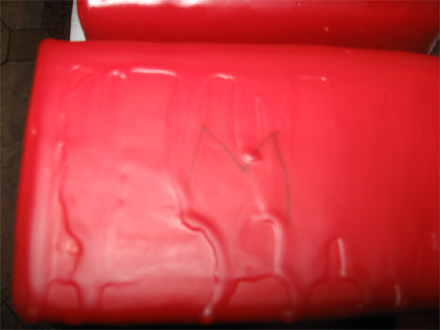
Repeat this process 3 or 4 times, until the entire block is covered, including any holes you see. Some recommend using a natural bristle brush to fill the holes, but I found this to be messy.
As you can see, on that large manly T-shirt, you may get some of the wax on you or your clothing. This does not remove easily...
There you go... Two blocks of mild cheddar and two blocks of mozzarella all ready to be stored in a cool place for up to 25 years without refrigeration...
Just hang them in a net bag so air can circulate around them, keeping like cheeses together. They will continue to age as time passes, so that mild cheddar may become a yummy sharp one.
I just keep the cheese wax in the pan for the next time. Just let it cool, then cover. If you get curious and open one of your creations early, save the wax, re-melt it, and reuse on your next project.
The soft waxed cheese blocks will respond to gravity, so you should periodically turn them.
Before waxing, you can brush on liquid smoke, or cold smoke the cheese for an extra treat.
bunkerbob
www.alpharubicon.com
All materials at this site not otherwise credited are Copyright © 1996 - 2012 Trip Williams. All rights reserved. May be reproduced for personal use only. Use of any material contained herein is subject to stated terms or written permission.