*No Knead Bread*
Is it possible to make great tasting home made bread without kneading? Why, yes it is! This article describes my experience making "no knead" bread.
First the ingredients:
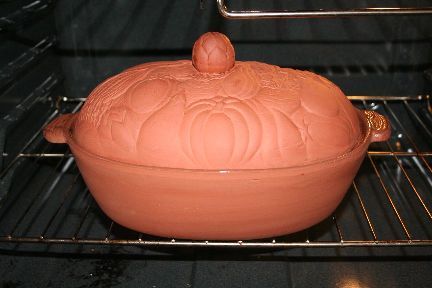
Next you’ll need a suitable vessel for cooking your bread. Unlike normal bread, you cook no knead bread in a 5-7 qt crock pot, Dutch oven, the heavier the better, but it must have a lid.
This is what I used to bake my bread in:
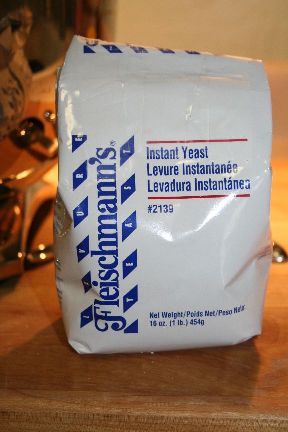
I also use instant yeast for all my baking… you don’t have to "proof" it before you use it, you can just throw it into the mix with the other dry ingredients. I found mine at Sams club here in Phoenix.
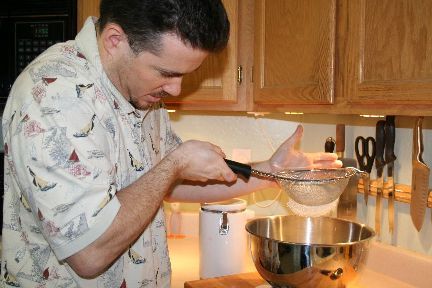
Once you have gathered all of the ingredients get a large bowl and add 3 cups or 405 grams of flour into the bowl. I always weigh my flour since it’s much more accurate than the old scoop and swipe method.
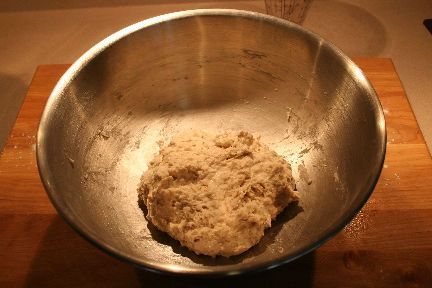
Now measure and add the salt, yeast and water to the bowl, stir until blended. No need to knead the mix… it will look really loose and you’ll wonder how this sloppy mess can turn into bread, but don’t worry, soon you’ll have some tasty home made bread. Note: your dough should be very sticky, if not, then add a bit more water… you want the dough to be pretty loose so that the yeast can properly lift it since we aren’t kneading the dough.
This is what it looks like after the mix:
Now cover the dough with some plastic wrap and place someplace to rise for 12-20 hours, I usually let mine rise in the microwave since it’s in the warm kitchen and draft free. I usually mix my dough at lunch and then bake the bread the next morning. Yes, I know 12-20 hours is a very long time, but it is well worth it!
The next day, take a look at what you have… the dough should have significantly increased in size and be covered with many bubbles.
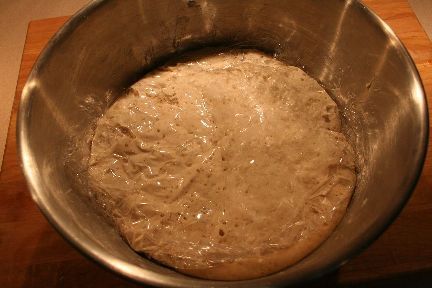
Now prepare a well floured surface and scoop, dump, or do whatever is necessary to get the sticky blob out of your bowl and onto your board, this is what mine looked like, still doesn’t look very appetizing does it?
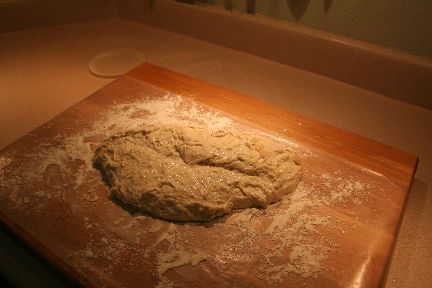
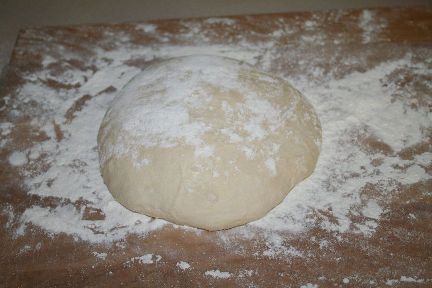
Flour the top of the dough mass and fold it over onto itself a couple of times. Now let the dough rest for 10 or 15 mins. After the rest quickly shape the dough into a ball (or so) and place seam side down on your board, generously sprinkle the top with some more flour, oat bran, cornmeal… cover with a towel and let the dough "bench proof" for 2 hours. This is what mine looked like after the 2 hour rest.
About 30 minutes before the 2 hour "bench proof" is finished, place your Dutch oven or suitable cooking vessel into your oven and heat to 450 degrees.
When the dough is ready remove your cooking vessel from the oven and place your dough ball in it, with the seam side up. Cover your vessel and place back into your oven and bake for 30 minutes. After the 30 minutes is up, remove the cover from your cooking vessel and bake your bread uncovered for an additional 15 or so minutes until the crust has darkened. Remove from the oven and from its cooking vessel and cool on a rack.
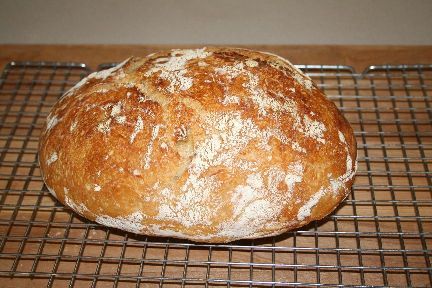
Happy bread making!
Azgard
www.alpharubicon.com
All materials at this site not otherwise credited are Copyright © 1996 - 2007 Trip Williams. All rights reserved. May be reproduced for personal use only. Use of any material contained herein is subject to stated terms or written permission.