
*Oil Lamp Basics*
6-27-02
By Stryder
We tend to keep a very low profile regarding our survivalist activities. There are a number of reasons for that. Partly, I just don’t want the whole world to know what preps I have in place as a matter of security. Also, survivalism is a life style that is still very much frowned upon where I’m living and in my line of work I’m in (a VERY liberal line of work – please don’t hold it against me, I like what I do and the money isn’t too bad!)
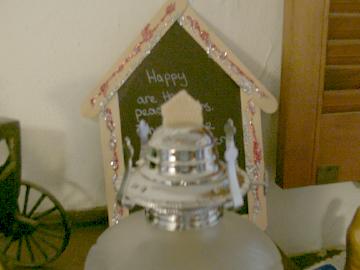
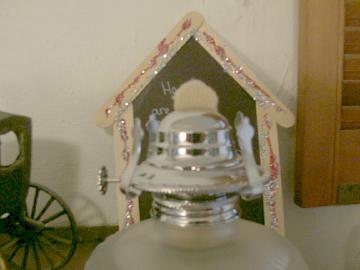
Anyway, many of the preps we have we try to blend in to our everyday life. So, if you come to our house you’ll see oil lamps in about every room. A few are antiques bought at auction, most are right out of the local survialist headquarters (Wal-Mart). They are a part of our preps for alternative lighting and fit right in as simple home decorations. We give them to folks as presents on a regular basis as housewarming, hostess, or even simple wedding presents. They make a nice gift and with the addition of some extra wicks, oil, burners, extra chimney, etc. people get a little sample of the survivalist mindset from us (be prepared and have repair parts) without knowing it.
Filling:
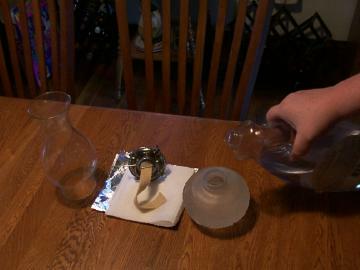
Remove the glass chimney and unscrew the burner from the lamp. Fill the lamp with oil up to about a ½ inch below the top. Screw the burner back on and you’re ‘good to go’.
Cleaning and Trimming:
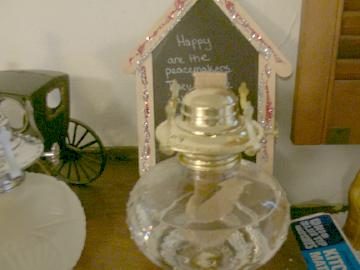
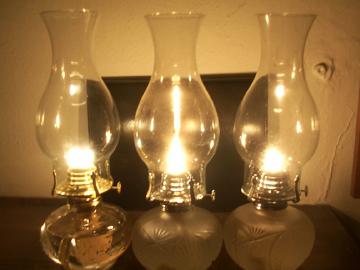
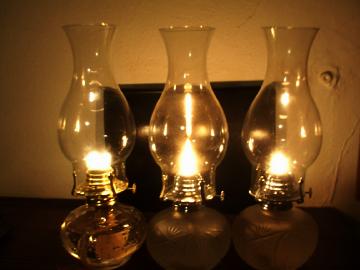
Smoke and soot will buildup on the glass chimney and degrade performance of the lamp. After every use, remove and clean the chimney. Roll the wick out of the burner tube about ½ inch and trim the burned and charred tip off the wick with scissors, the sharper the scissors, the better. There are three basic shapes for wicks. They are flat, pointed, and crowned as seen in the pictures. They all produce a different type of flame.
Lighting:
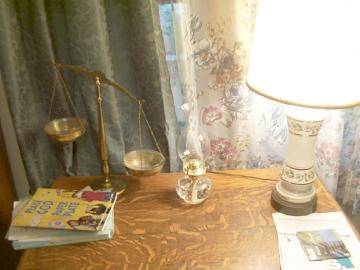
Remove the chimney and raise the wick about ¼ inch up from the wick tube. Light the wick with a match or lighter and replace the glass chimney. Do NOT use the lamp without a chimney or it will overheat and pressurize the lamp base and potentially create an oil fire that you do NOT want to deal with! Adjust the flame height to the correct level based on the shape you have chosen for the wick. If you see any smoke you’ve got the wick too high and need to lower it or your chimney is going to look black and you will really cut back on the light output. Remember that you have an open flame here, so treat it pretty much like a candle. In the pictures below, the order of the lamps in both pictures is flat wick, pointed wick, and crowned wick, left to right. As you can see from the picture, flat trimming creates a wide flame of medium light output, pointed a tall flame that is brightest, and crowned creates a narrower flame that has the lowest light output.
Fuel Use:
The easiest fuel to use is lamp oil and it’s available in any large store, Wal-Mart, Kmart, Ames, etc. and most of the small ones around us too. We’ve also used kerosene but everybody I talk to recommends NOT using gasoline or alcohol. Oil lamps burn about ½ oz. of lamp oil per hour when correctly adjusted. In colder weather they tend to burn a little more and in warmer a little less for some reason. Pointed wick trimming will also use slightly more but it produces more light as well. By The Way, last winter we had a training campout here in the Northeast and one of the attendees had some lamp oil with him. It froze SOLID at about 15o F. Getting frozen solid lamp oil back to liquid again is a real trick that involves slow thawing because of the volatile nature of the stuff, so keep that in mind in cold weather and unheated storage. We’ve found that the ultra-pure oil is really not that much cleaner in a properly adjusted lamp and freezes much faster too.
Extinguishing:
Simply cup your hand at the back of the chimney and blow towards the hand. The breath will travel into the chimney and extinguish the lamp. DO NOT touch the chimney it gets HOT!

Well, that’s about all there is to oil lamps. Learning to use one or scrambling around to get one at the last minute when you need one does not work at all. Add one or more to your preps and get a little practice with them ahead of time. The kids love to eat dinner by lamp light in the winter and they make nice "mood" lights at other times. Use them now and then and you’ll know how when the need arises. As I always say -
Get out and train!
Stryder
All materials at this site not otherwise credited are Copyright (c) 1996-2002 Trip Williams. All rights reserved. May be reproduced for personal use only. Use of any material contained herein is subject to stated terms or written permission.