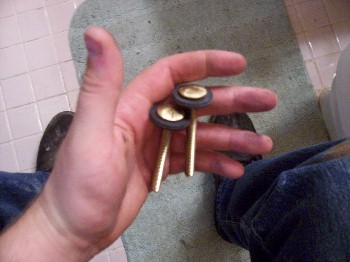
Bad valve----------------------------------New kit
*Toilet Flush Valve Replacement*
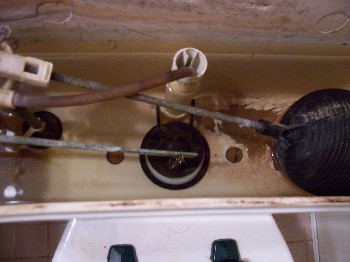
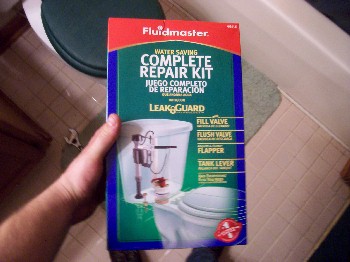
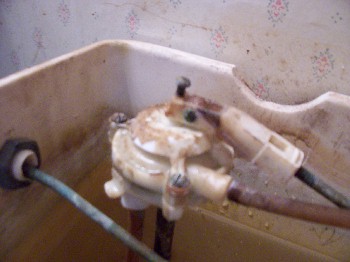
Here we have a constantly running toilet caused by a bad flush valve. The rubber flapper isn’t big enough for the hole so water would easily run by it. The best course of action was to replace the entire valve. The first thing to do is get new parts. The new kit contained tank bolts, tank seal, a flush valve, fill valve and flush handle. It was advertised to contain “everything” you need. Well, it almost had everything. The entire kit cost $20.00. I only used the flush valve so the rest will be saved for future reference.
Bad valve----------------------------------New kit
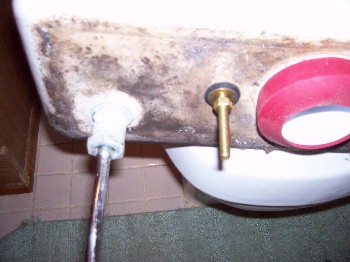
To change a flush valve the tank has to be removed from the toilet. First thing to do is turn off the water supply, flush the toilet and then disconnect the water supply line. You can disconnect the line either at the valve or at the tank.
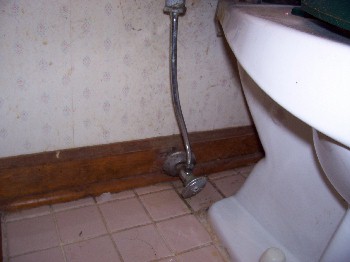
Shut off valve--------------------------notice the rusty bolts
Note: If the valve fails to shut off completely and you have no access to a main valve, you can get a 3/8’s brass cap at about any hardware store. Pop the line off and thread the cap on, that’ll keep the water from spewing all over the floor while you work.
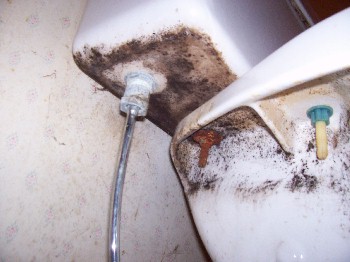
Once the tank was ready for removal, the “some items not included” part of the kit was needed. The tank bolts were so rusty that removing the nuts was not an option.
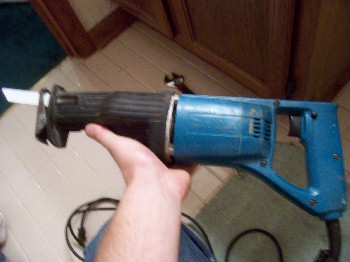
Weapon of mass destruction...heh heh heh
Due to the toilet being in a rather tight location, I had to remove the seat to gain better saw-z-all access to the bolts. Using the saw-z-all I had the bolts cut in about 15 seconds.

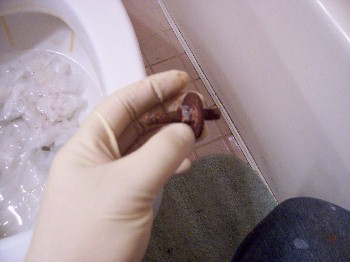
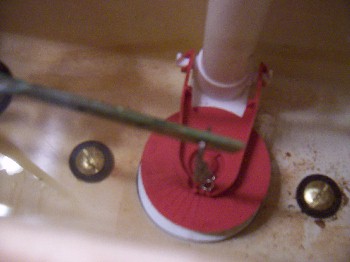
Bolts are accessible here----------------------------------Old bolt and nut
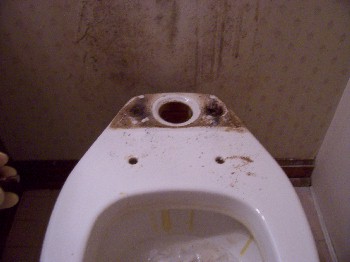
The black ring is the tank seal. It provides a cushion and seal between the tank and bowl. This one actually had started rotting and was getting close to needing replacement anyway. On the bottom of the tank were two more nuts which were cut off with the saw and then the bolts fell out of the tank. Under the tank seal is a large plastic nut that holds the flush valve in. If it can’t be removed by hand, a pipe wrench that opens to about 6” will fit it. If worse comes to worse, use a handsaw and cut the base of it off. Once the old valve is out, replace it with the new. Be sure the new valve has a rubber seal on it.
When tightening the new plastic nut, it only needs to be hand tight. There’s no need to use a wrench.
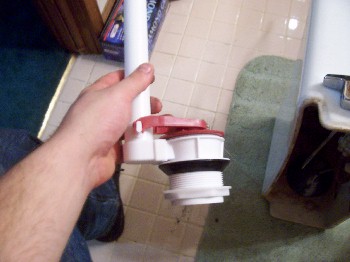
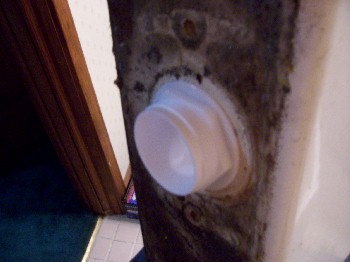
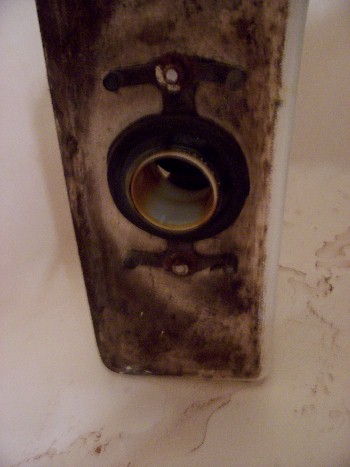
New valve (plastic nut on bottom)--------------------------------------Valve installed
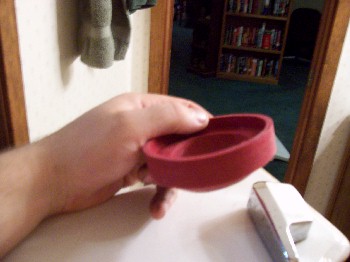
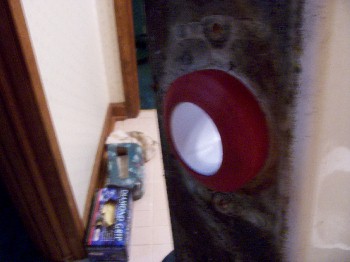
New tank seal------------------------------------------------Installed
In the bolt kit there should be rubber washers, metal flat washers, hex nuts and wing nuts. Put one rubber washer on each bolt and slide it to the head. These washers seal the bolts so water can’t run out around them. They are ready to be installed in the tank. On the bottom of the tank, slide another rubber washer up to the tank, followed by a flat washer and then a nut. Tighten with a wrench until snug, don’t over tighten. Once both bolts are sealed up and snugged, the tank is ready to be installed back on the bowl.
NOTE: Bolts kits may vary some and not contain wing nuts, but more hex nuts. If your tank is a 3 bolt pattern be sure your new kit has 3 bolts. Some tanks have 2 and others have 3.

Creates a seal in the tank, ready to install-------------------------Bolt holes
Keeps the bolts tight
Put the tank back on the bowl and then install a metal washer and wing nut on each bolt and tighten slightly. If your water supply line is solid like this one, be sure it’s seated in the valve. If you’re using a flex line, don’t worry about it. Tighten the wing nuts evenly so that the tank stays level on the toilet. Tighten the nuts firmly by hand, be sure not to over tighten them. The tank shouldn’t have excess wobble or twist from side to side. There will be a “slight” wobble if you push and pull it, but it should feel firm to the bowl.
NOTE: “Do not over tighten” has been mentioned a couple of times now. If you do get a little bit greedy, nothing major will happen...you’ll either break the tank or the bowl and have to buy a new toilet. Good luck finding just a tank.
So once the tank is installed, reconnect/secure the water supply line. Then crack the valve open and check for water leaks. Once the tank has some water in it look for leaks around the bolts between the tank and toilet.
If there’s no leaks, you’re almost good to go.
The new flapper will probably have a lengthy chain on it. You’ll need to adjust it to the flush handle so that it opens and closes correctly. Once you’re satisfied, cut off the excess chain. It’s ok to leave an inch or two dangling, but if there’s enough to hit the bottom of the tank it’ll suck down in the hole and prevent the flapper from closing entirely.
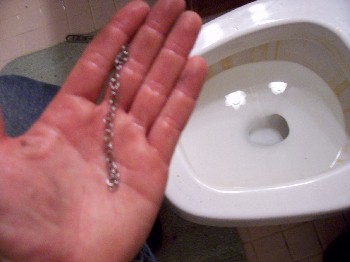
I had to cut off about 5” of chain
The water level in this toilet was low and needed adjustment. For a minor adjustment you can use the fill valve adjustment screw. This one needed a major adjustment so I bent the float rod slightly. The water level is now about 1” below the overflow.
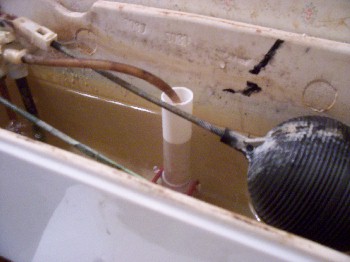
Low water level-----------------------------------Fill valve adjustment
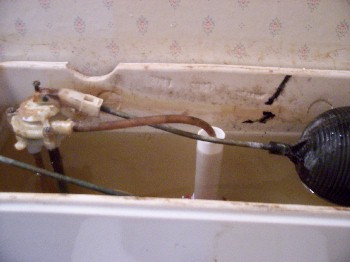
Bent rod
Now, it’s good to go.
Jaden
www.alpharubicon.com
All materials at this site not otherwise credited are Copyright © 1996 - 2007 Trip Williams. All rights reserved. May be reproduced for personal use only. Use of any material contained herein is subject to stated terms or written permission.