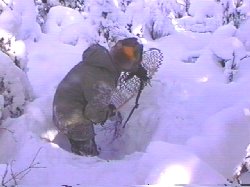
(digging the trench and building up the walls)
In the first part of this series of expedient snow shelters we talked about how to build a quinzee also known as a snow cave. As was mentioned in the first part, being able to make a shelter can mean the difference between life or death, especially in nasty cold environments. Depending on the circumstances, quinzees might not be the best shelter to build as it requires quite a bit of snow and several hours to build. As a matter of fact it took my buddy and me just over two and a half hours from start to finish to build the quinzee in the first article. Whether it may be lack of time or just physically impossible to build a quinzee, many other types of snow shelters can be built. In this article we'll be covering how to build a snow trench.
Snow trenches are probably one of the quickest and easiest types of emergency snow shelters to build. Even if you only have a few inches of snow on the ground, it can be built. Notice I said "emergency snow shelter" as it's not roomy and is only intended as an overnight shelter.
Making a Snow Trench
First, select an area to dig your trench the width and length of your body. Once the area has been chosen, you can start digging the trench. The trench should be 2.5 to 3 feet deep. If the snow in your area is less than 3 feet deep simply build up the walls of the trench from snow in around the area.
(digging the trench and building up the walls)
If you're planning on putting thick layers of insulating materials beneath your body (strongly recommended), then it may be necessary to increase the height of the trench walls. Like any other snow shelter, smaller trenches are easier to warm up and to keep warm than larger shelters.
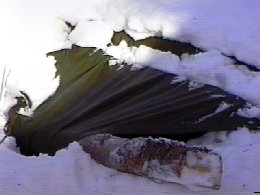
Once the trench has been completed, it can be covered to add extra insulation and warmth. The trench can be covered by placing large branches and/or logs etc.. to support the roof. Then some boughs, a poncho, or even a tarp can be used to close up the opened roof, use your imagination if you have to improvise. Having closed the roof will definitively help stop the wind form coming inside the shelter.
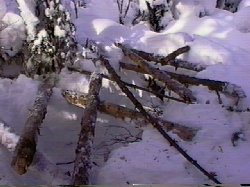
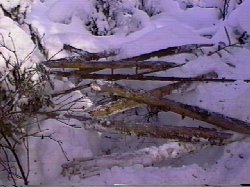
(using sticks and branches as roof supports)
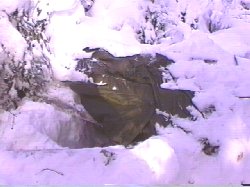
(shelter closed up with a poncho and edges sealed with snow...ready
to be insulated with snow)
If the weather is nasty, insulating the roof with snow will add lots of warmth and comfort to your shelter. At least a foot thick of snow on top of the roof is desired, but the more there is, the better it will be insulated. Once the snow has been placed on the roof, put one vent hole in the roof (I used the poncho hood for the vent).

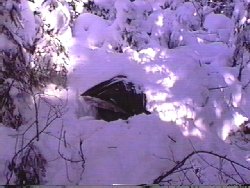
(roof insulated with approximately a foot of snow)
When you crawl inside the shelter for the night, fill the entrance from the inside with snow, more boughs or anything. This trench was built with the entrance on top. I simply entered from the top and closed the entrance from the inside with the end of the poncho and some snow. I could have made the entrance at the bottom of the trench like we did with the quinzee, in part one of this article. Regardless of how you make your entrance, try to make the entrance and the trench as airtight as possible, except for the small air vent, then light a candle and Relax!
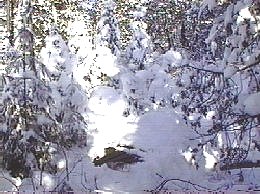
(ready for a goodnight...and don't bite the bed bugs! J)
Here are a few tips that might help:
Trigger
All materials at this site not otherwise credited are Copyright © 1996-2003 Trip Williams. All rights reserved. May be reproduced for personal use only. Use of any material contained herein is subject to stated terms or written permission.