Confidence Target No. I
For as long as I can remember, I've believed in the idea of "confidence targets"; that is, easy goals when you're just starting out, for no other reason than to show you can "do the thing" at least at some level.
Well, I did the thing:

This is about the humblest project someone can do. I cut off a leg from an old pair of uniform pants and sewed one end shut in order to make a very ugly drawstring bag, utilizing the ties at the hem. For the purposes of the photo I stuffed a "woobie" poncho liner in it.
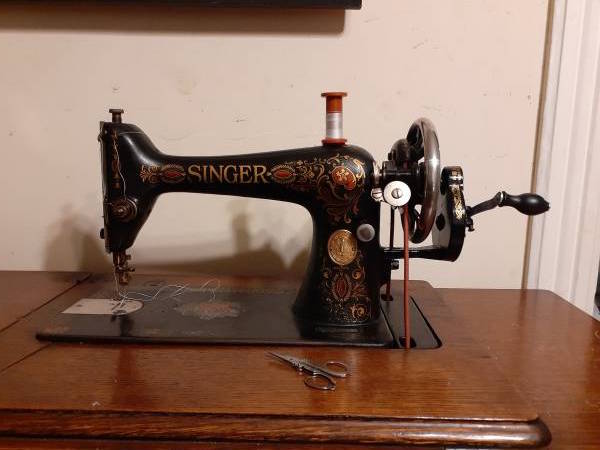
It took a long time to figure out how to properly set the machine up and get it to make fair-dinkum stitches, but I was determined to do so. I reckoned, if illiterate Russian peasants could figure the thing out, I ought to be able to.
Well, I did, and I figured out another thing - the needle gets stuck on big thick stuff like the seams on trouser legs. That's where the hand-crank contraption you see on the end came in handy. I got it to turn the bobbin-threading sub-assembly - the belt won't, but the hand-crank will. Turns out it'll force a needle through trouser seams too. I can see myself using it more frequently on challenging things.
I didn't need to make this "bag," but I'm glad I did. It showed me I can figure out how to make this old sewing maching go, and actually use it for its intended purpose, not just as an attractive relic.
Confidence Target No. II
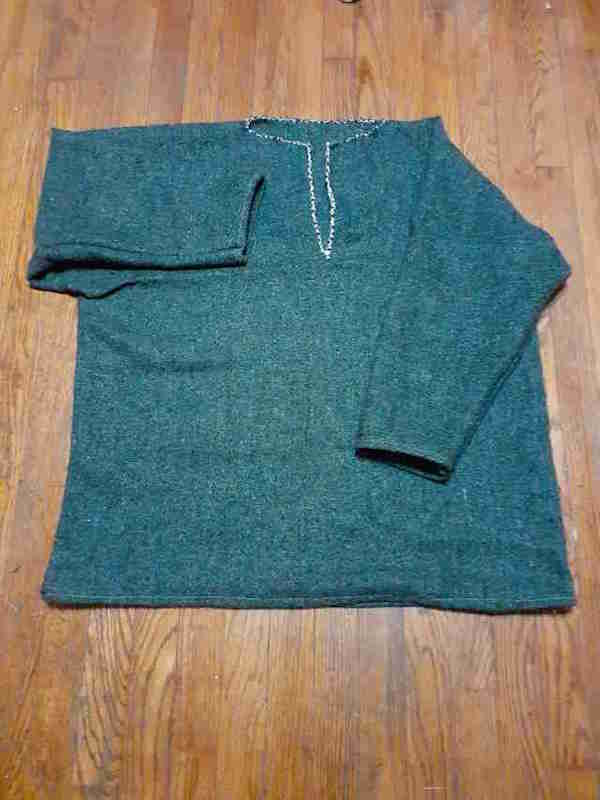
It's made out of a "wool blend" (i.e. industrial dryer lint) blanket. The stuff around the collar is the guts of a piece of 550 cord. That part had to be hand-done.
I insisted on making this out of only what I had on hand and not going out & buying anything, hence the 550-cord guts. If I'd wanted to make "the ideal blanket-shirt," I'd have done a few things differently; namely, wait until I had more experience with a 106-year old oatmeal-powered sewing machine.
There were MANY botches that required me to go back & start things over/un-jam the machine/etc. It took a lot longer for me to make this than someone with experience would have taken, but I don't mind. Failure and mistakes are an important and undervalued part of learning - I can honestly say I've discovered almost every possible way NOT to sew a blanket-shirt!
I'm learning, I'm making progress and I don't need perfect - "fit-for-purpose" is good enough.
Confidence Target No. III - tactical gear...
At least it was "tactical," if you were a musketeer in the New Model Army during the English Civil War.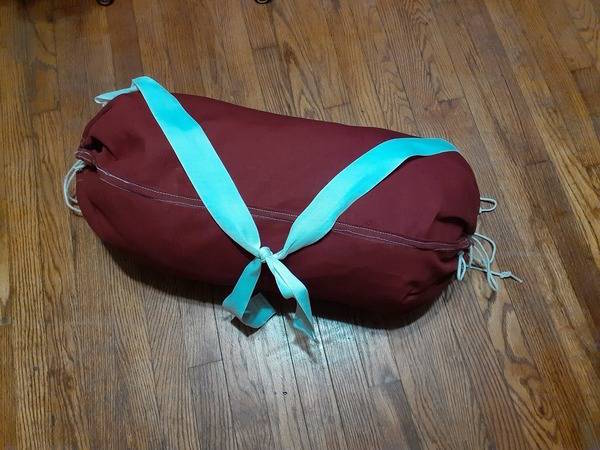
Made from materials on-hand: canvas duck (maroon and white), clothesline cord and "engineer tape" - the stuff combat engineers use to mark cleared lanes in minefields and what-not.
It's called a "snapsack," which means absolutely nothing. The word is supposed to be of German origin, but its root ("knap" = bite, so "food bag") has no connection to its use in English. "Snapsack" "napsack" and "knapsack" were all used interchangeably to refer to military baggage of any description; and the period of its widespread use was back before English spelling was standardized.
It's basically a small duffel bag that can be opened at both ends. Mine is by no means "period correct." I'm no reenactor. For example, I used metal grommets for the cord holes rather than put myself through the tedium of hand-stitching 34 little holes.
This was mainly to learn about elements of design, what makes sense and what doesn't.
I always appreciated the flaps at the top of a military duffel bag. It was relatively easy to reproduce.
I purposely used contrasting thread because I want my errors in technique to stand out. I'm still in the learning phase, and this is not the time to hide mistakes.
The sailmaker's palm is to sewing what the tap-and-die set is to auto repair. It was necessary for the several thicknesses of canvas at the ends of the seams at the bottom.
Between the blanket shirt and this artifact, I think I'm done with thick wool and heavy canvas for the time being. The next thing will be a shirt in linen or something that isn't so hard to work with.
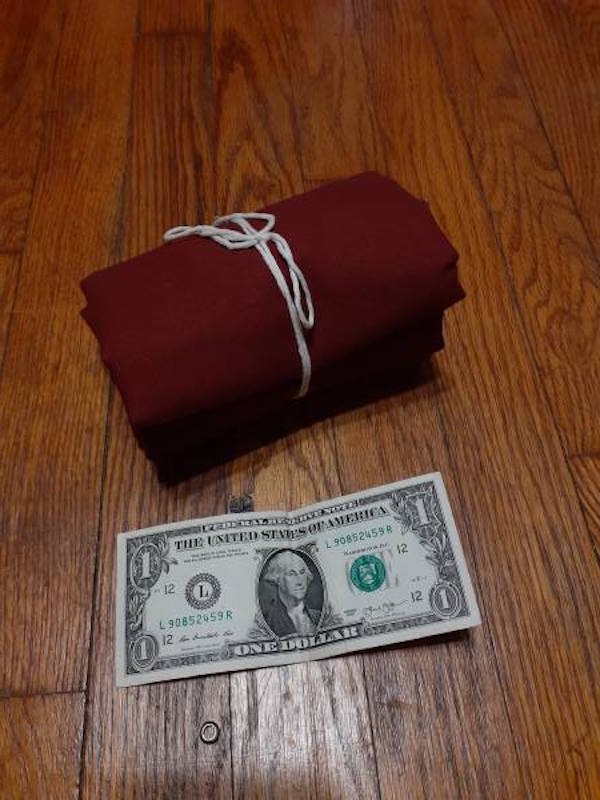
Packs down to the size of a rolled hand-towel.
Confidence Target No. IV - haversack...
Another project substantially completed. Smaller than the "snapsack" in terms of size, but more complicated in terms of construction.
It's called a haversack and historically they were supposed to be ration bags - basically a soldier's lunch bag. Some had liners. The version I copied wasn't supposed to, but I made one for it anyway. The original is British and if the information in the link is to be believed, was a pattern accepted for service in 1880 and machine sewed - likely on a machine very similar to my own.
I mean for it to button into the haversack, but I've done enough sewing today and I can't be bothered right this second to hand-stitch three more buttons into the bag and six buttonholes into the liner.
It was probably originally made from canvas duck but I used the material from a drop cloth. I ended up with a floppier bag than it was probably intended to be but I don't really care. You'll also surely see several mistakes I made but that doesn't bother me much either - they can all be fixed and I'm getting better at making more complicated things.
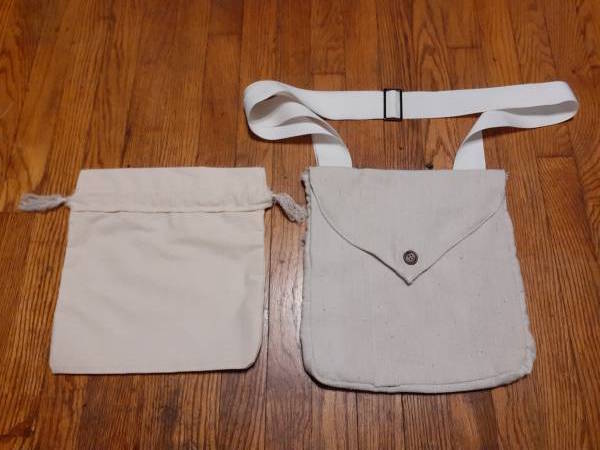
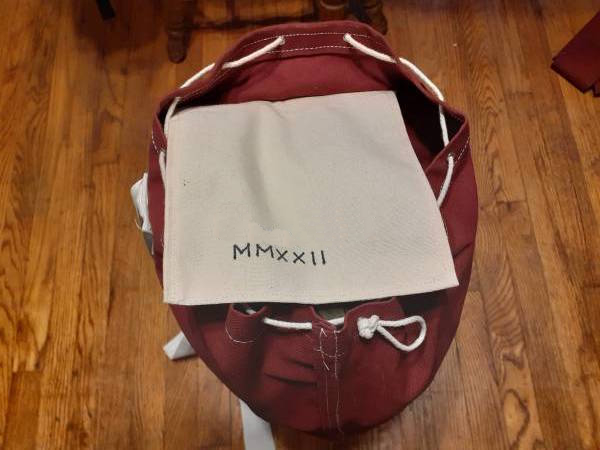
Haversack (r) and liner. Size for both is around 11" left-right and about 12" up/down.
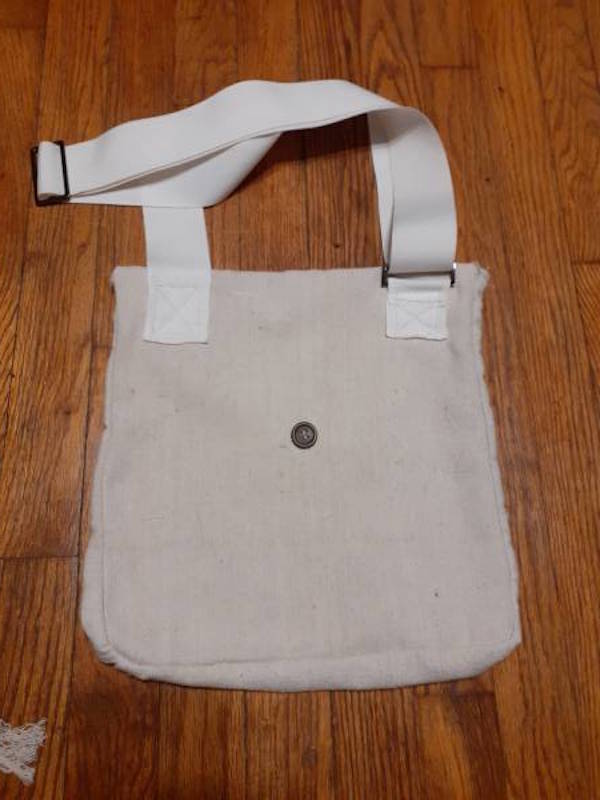
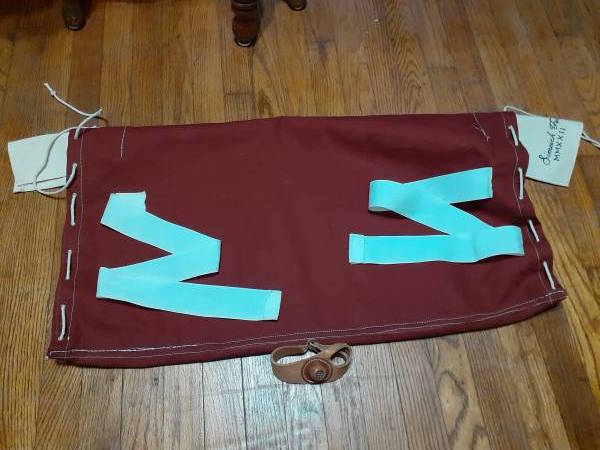
The back of the haversack. The button is there so it can be rolled up and secured when not used, as for example when in barracks with proper mess halls.
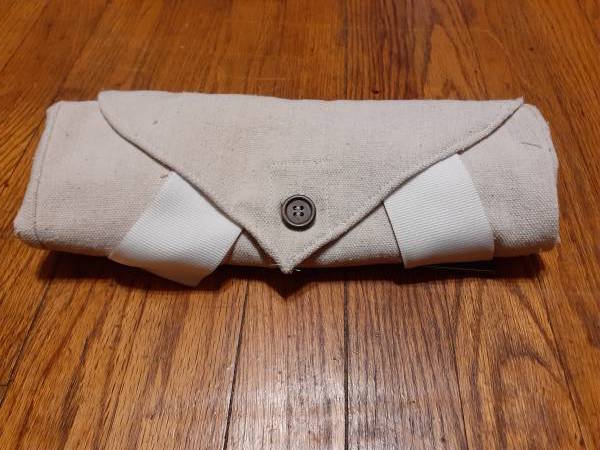
This is what it looks like rolled up. I'm sure some ancient RSM would tell me I did it wrong. He can go chase himself.
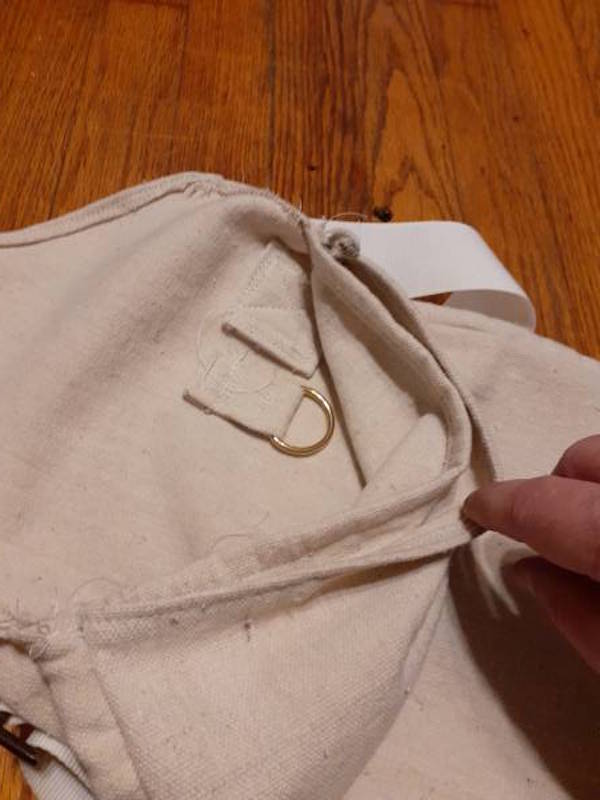
The original had a loop of fabric whose purpose the presenter could not explain. I can't either, but it gave me the hint to put a D-ring for keys in its place.
"A near-run thing." I wasted a lot of thread and this was all that was left on the spool when I finished.