* Hi Power Detailed Frame Stripping *
By serger
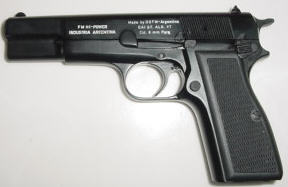
Before you can detail strip the Hi Power Pistol frame you must field strip the weapon first. Go here for instructions on Field Stripping.
Once you have the slide by it’s self the easiest place to start is the removal of the grips. A single screw holds them on and the only caveat is to use a screwdriver that fits the screws to prevent marring them
.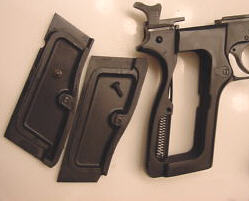
The next thing is to remove the magazine release. It is the same set up as with the Model 1911. You press on the release on one side of the frame while taking a screwdriver on the other side and turning the magazine release screw a quarter turn( 90 degrees) the magazine release spring is then held captive and the release slides out of the frame.

To remove the trigger group you might have a small problem. The gun (except for old ones or those modified by consumers) has a magazine safety for the magazine that will not allow the pistol to be fired with the magazine out of it. This feature was installed to supposedly prevent accidental discharges in the field. It has been my experience this safety only makes the trigger pull bad and prevents the magazine from dropping free when the magazine release is pressed. The function of the pistol is not degraded in any way by not having this part but they still put it in there. I have them out of my guns so you might have a little more problem than I did to remove the trigger group.
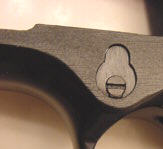
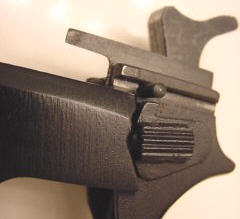
To remove the trigger group drift out the trigger pin and then rotate the trigger group until it clears the frame and comes out the trigger guard. It’s a real tight fit and requires patience to get it. If you have to, drift out the magazine safety pin and you can wiggle the trigger lever out and then the magazine safety will slide out. You will be able to get the trigger group to turn and you should be able to slide it out the frame via the trigger guard hole. The picture below has the magazine safety in place and it can be seen on the far right. It’s part 22 in the parts drawing.
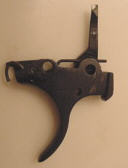
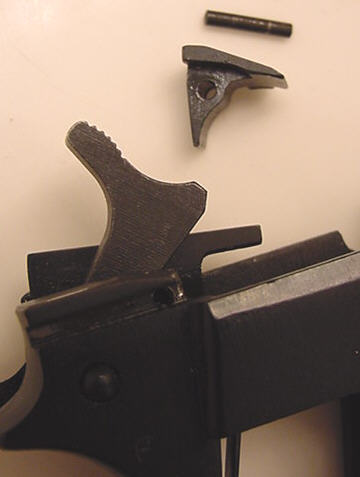
Lastly to remove the hammer group stuff you need to drift out the sear pin. Prior to doing this hold the hammer and put you finger in the magazine well and press on the sear. This will release the hammer and keep you from being bit when the sear disengages. The next picture shows the sear pin starting to come out of the frame
When it is out, the sear will come out in your hand. Note in the picture the ejector on the far side of the picture has started rotating toward the magazine well. That’s the next step in the stripping process.
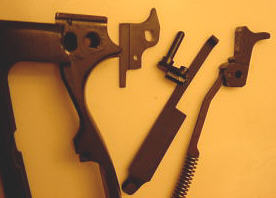
Rotate the ejector 90 degrees and then you can rotate the frame safety and remove it. The hammer group will then be loose and you can remove it from the frame along with the sear spring. You’ve now detail stripped the frame.
If you want there are 2 pins in the hammer assembly. One hold it to the hammer strut and on the bottom of the hammer strut there is a pin that holds then main spring on via a nut.
I really hope it’s easier to do than it was to write.
Thanks for the read.
serger
All materials at this site not otherwise credited are Copyright (c) 1996-2002 Trip Williams. All rights reserved. May be reproduced for personal use only. Use of any material contained herein is subject to stated terms or written permission.